


This winter sure has been a cold one! Not to worry though, we’ve prepared a super easy and quick project that will help keep you warm out there. If you are new to the world of heat transfer vinyl then this project will be perfect to help get you started!
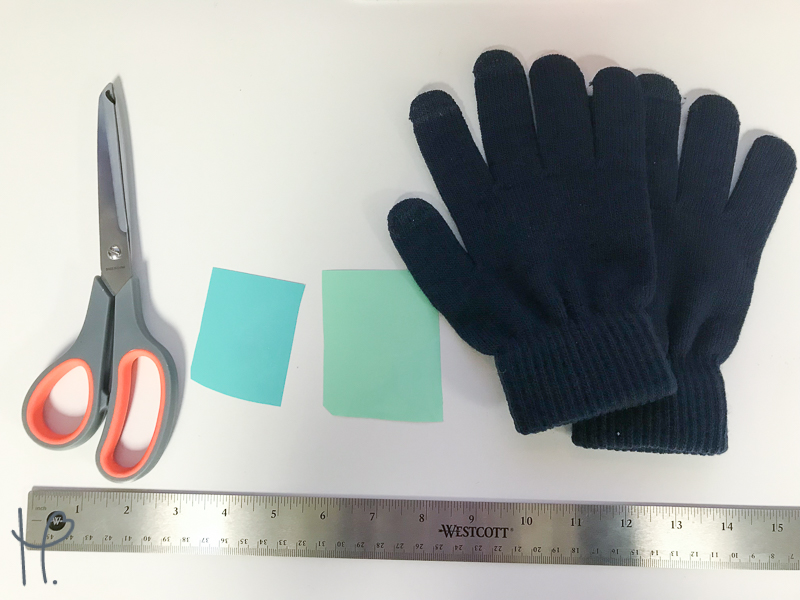
What We Used:
- Cricut Explore Air Vinyl Cutter
- Craft Perfect Stretchable HTV
- Weeder Tool
- Gloves
- Home Iron
- Ruler
- Re-usable cover sheet (you can also use a pillowcase!
1. Set Up Your Workspace
Find a good place to set up your iron, avoiding unstable surfaces like ironing boards or anything that will suck up too much of your iron’s heat like granite or metal. Set your iron to the Linen setting and make sure that the steam function is turned off. Let your iron heat up while you cut your HTV.
2. Cut Your HTV
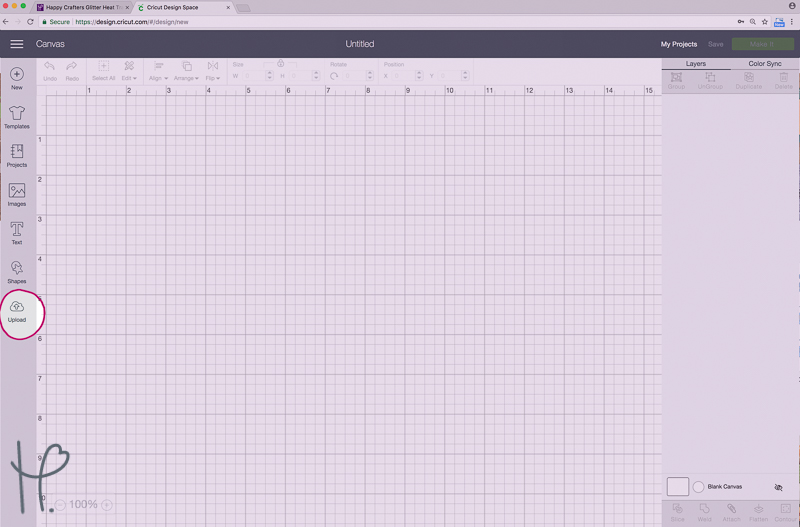
Once your workspace is set up and you have your HTV picked out it’s time to start cutting your design! We will be using our Craft Perfect HTV for this project. It is a great stretchable vinyl that is perfect for something that is meant to stretch like these winter gloves. Open up Cricut Design space on your computer. Once you are logged in you will be taken to this screen. Go ahead and click the “New Project” square.

This will take you to the Design Space Canvas. From here you can easily type a name or create a shape. For this project, we will be opening an SVG file. To do this you will want to click on the “Upload” button at the bottom of the left panel.
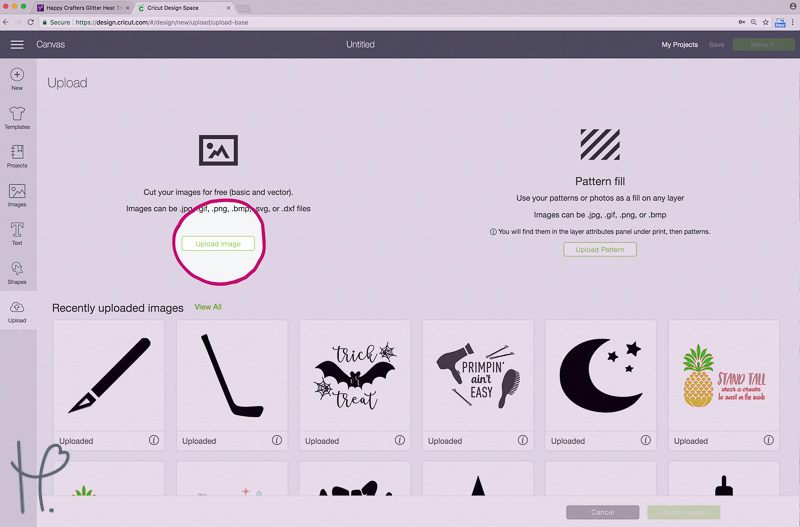
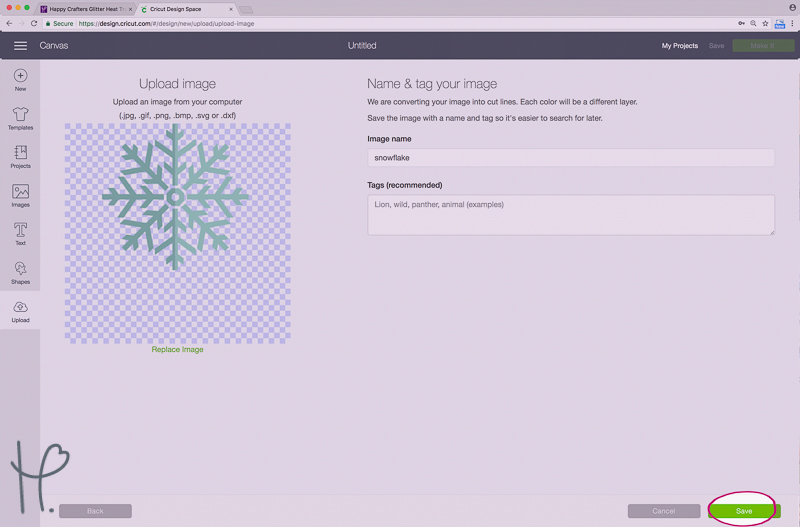
From here you will select “Upload Image”, where you can simply drag the SVG file into the window and click “save” to get started!
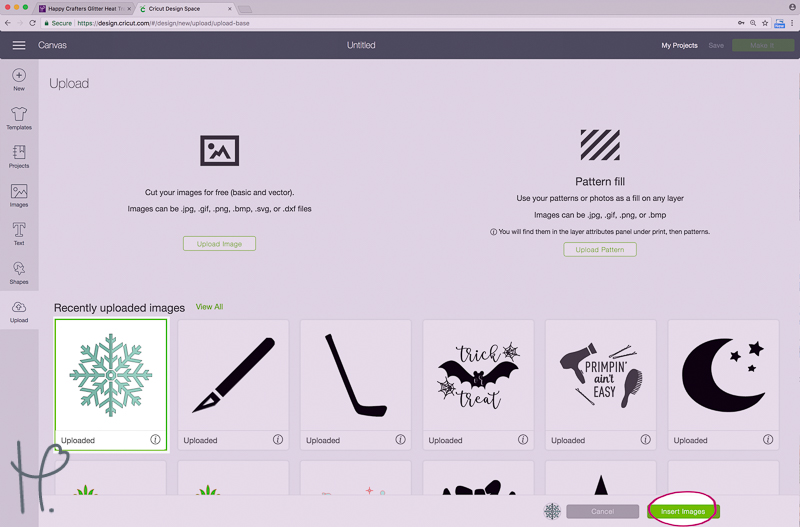
Choose your uploaded design from your recently uploaded images and click “insert images”.
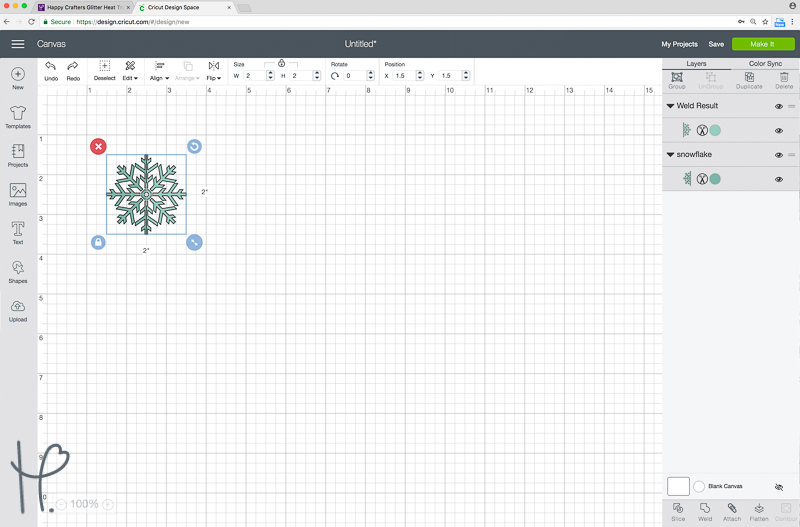
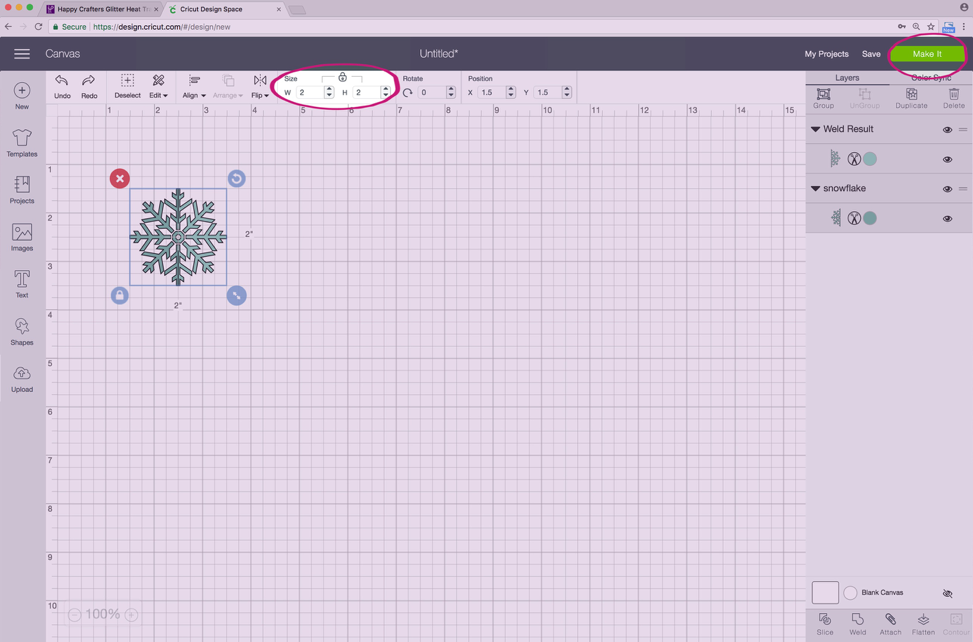
Once your SVG file has been uploaded to design space you will want to measure your gloves to make sure that the file is the right size. For this project, we will want our design to be about 2” tall, which you can adjust by changing the height in the upper part of the window.
Once your design is sized correctly, click the “Make It” button in the upper corner of your screen.
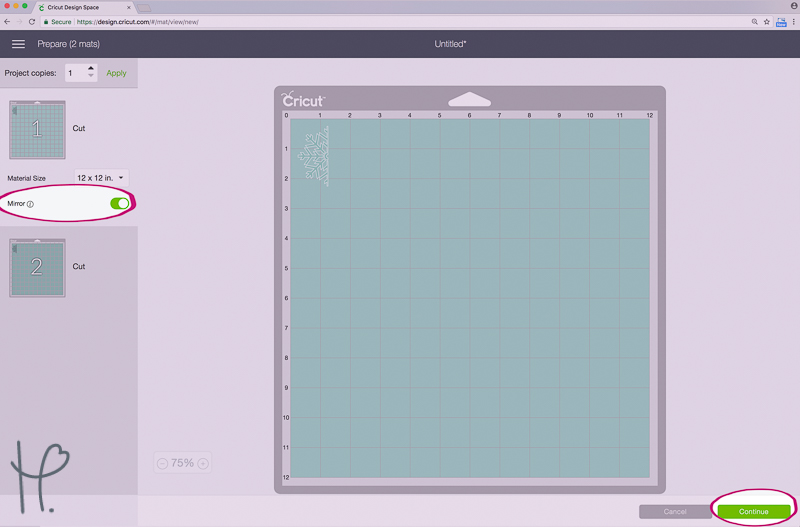
This will take you to the “Prepare” screen. From this screen, Cricut Design Space will automatically sort your design by color. This design is sorted into 2 colors- one for the right glove and one for the left. Make sure to select the “Mirror” option for all colors when cutting heat transfer vinyl!
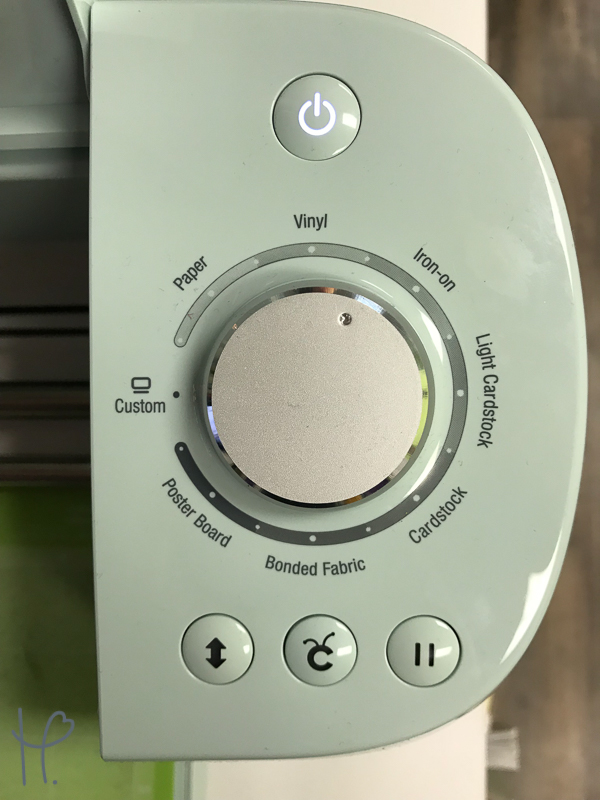
Next, make sure that your Cricut is set to the correct cut settings. You can find the proper cut settings for all of our vinyl here! Since we are using Craft Perfect heat transfer vinyl, go ahead spin the dial to the Vinyl + setting.
From here, press the “Continue” button on your screen. Follow the on-screen prompts to load and cut your vinyl.
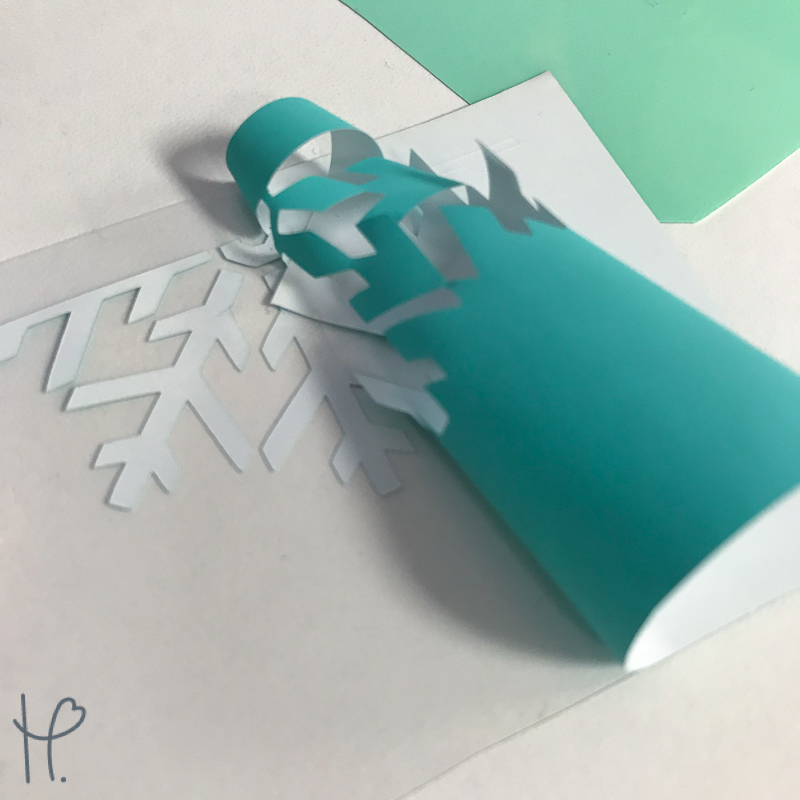
3. Weed Away Excess Vinyl
Once your vinyl is cut, grab your weeder tool (an x-acto knife works if you’re in a pinch!) and weed away the excess vinyl.
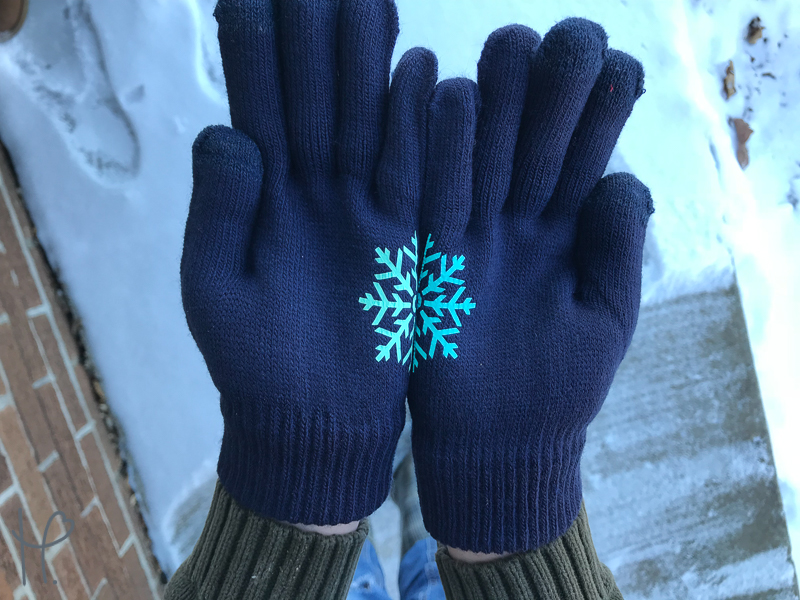
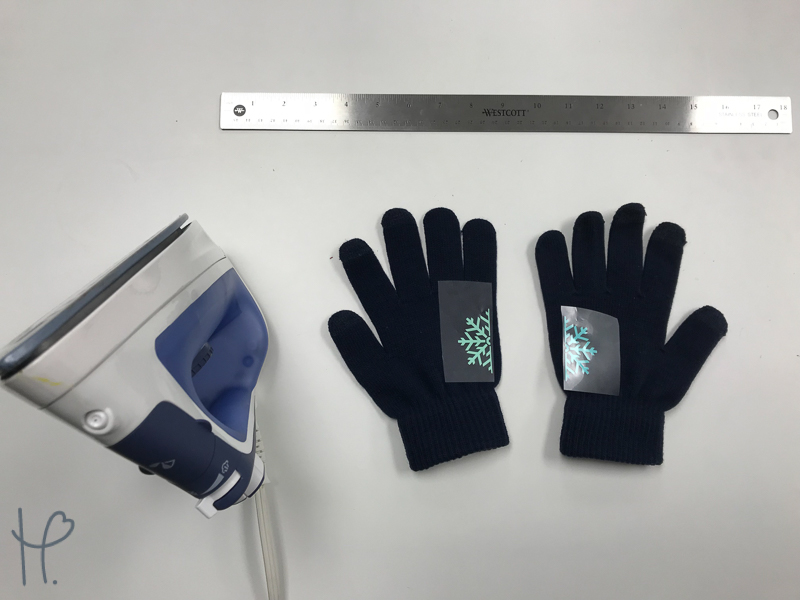
From here you will want to position them on your gloves to make sure that they will line up. I put mine just above the side seam, between the wrist and beginning of the little finger. When in doubt, put them on yourself or find someone to model them for you!
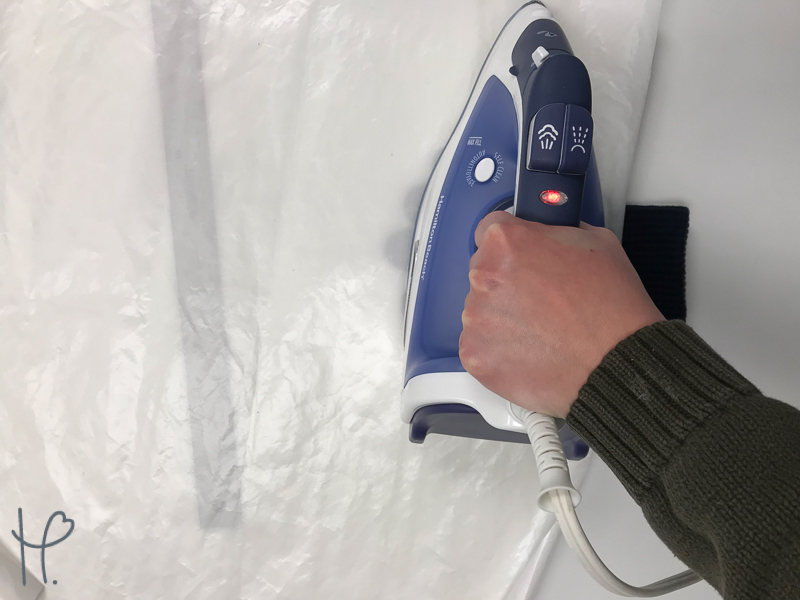
4. Apply Heat
Once your design is positioned where you want it, cover your first glove with your re-usable cover sheet. Your iron should be fully heated at this point, so go ahead and center it over your design and press down for 30 seconds. When applying heat transfer vinyl PRESSURE IS KEY, so make sure to put as much even pressure onto your iron as you can. A trick that often helps me is to make my workspace something low to the ground (like a coffee table). Working on a lower surface causes you to use more of your body weight while pressing your design, rather than relying on arm strength alone.
After your 30 seconds are over, peel back the plastic carrier sheet. If part of your design is still sticking to the carrier sheet – don’t worry! Simply lay it back down and press again, focusing on the problem area.
Repeat the process with your second glove.
5. Go Outside!
Congrats on your new cute custom gloves! Feel free to make these for yourself, your favorite little one on their next snow day, give them as a gift, or sell them for a profit! We’ve included the cut file here for you to use however you choose. Download this Snowflake here!
Until next time!
Elisha