Sometimes heat pressing large and multilayered designs can be intimidating. Where do you start? What do you layer first? How do you position everything? Honestly, it’s not that complicated. My biggest struggle with this particular project was placement. Once I figured out where I wanted everything, the rest was easy-peasy.
For this project I used:
- A cheap knit dress from Amazon (I think this one was $9)
- Craft Perfect HTV – it’s thin and stretchy so it worked perfectly since I was layering so much
- Siser® Easyweed® HTV in Pearl
- Our Pink Craft Heat Press!
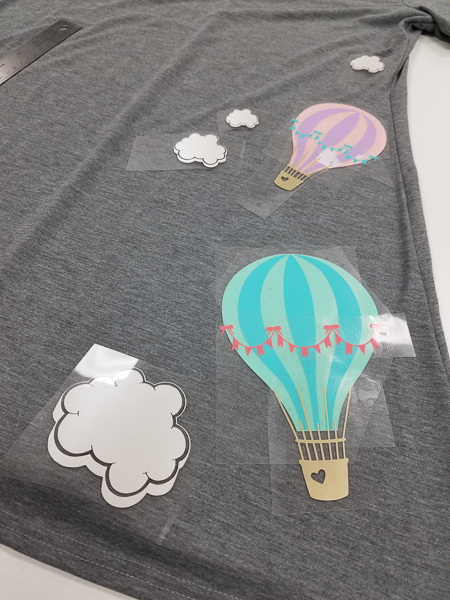
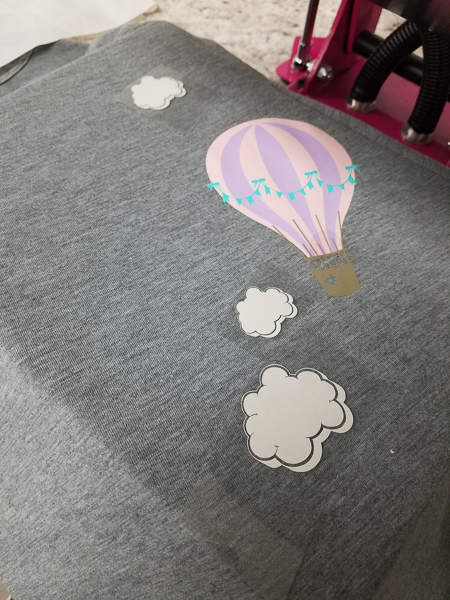
My first step was to position the design. I piled up all of the layers on the carrier sheet so I could see the full design while I positioned them. Once I knew where everything was going, I took apart the layers of HTV that I had stuck together.
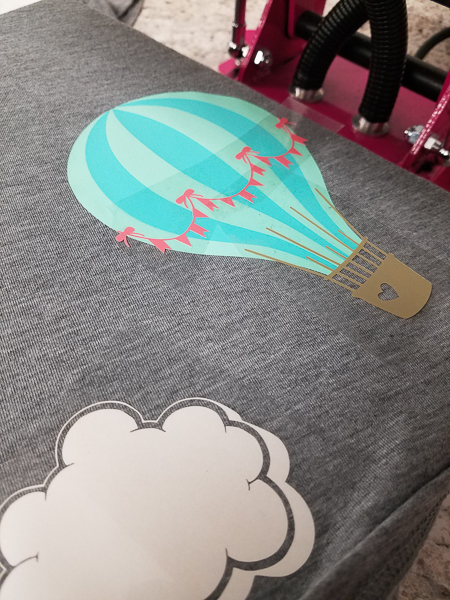
I started at the bottom and applied the first layer of the hot air balloon and a cloud that was next to it. I pressed it once with my pink heat press for just 2 seconds at about 302 degrees. This method called the “two-second tack” can save you a lot of time and headaches.
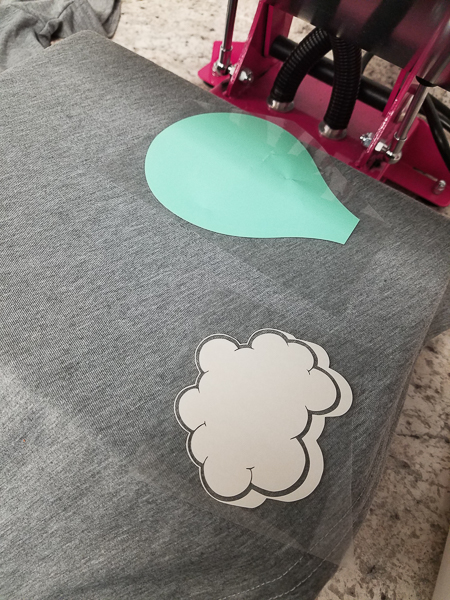
I grabbed the stripes for the second layer of the balloon and positioned them on top of the first layer. I gave this layer a press for just 2 more seconds. Pressing for only 2 seconds sticks the vinyl down just enough to let you remove the carrier. If you were to apply each layer for the full application time, your vinyl would shrink and the extra heat could actually burn off the adhesive- having the opposite effect of sticking it to the shirt.

My last layer for this section was two more pieces. Since the vinyl nor the carrier sheet were overlapping, I was able to do 2 more layers in one press. This final press I hit for a total of 10 seconds. Try to remember, the last press when you’re layering vinyl is the full application time of the vinyl you are using.
Since the other balloons on the dress were higher up, I moved and positioned the whole dress so that the vinyl we already applied was no longer on the heat press platen (the plate that gets hot). I didn’t want to over apply to vinyl by heating it again (since we know now that over applying is totally a thing!) I moved it down just enough where the first balloon was hanging off but that the area I wanted to apply the other balloons to was on the platen. The mighty little pink press might only be 9”x12” but it sure does just fine when a big job comes along. It’s just a matter of a little repositioning!
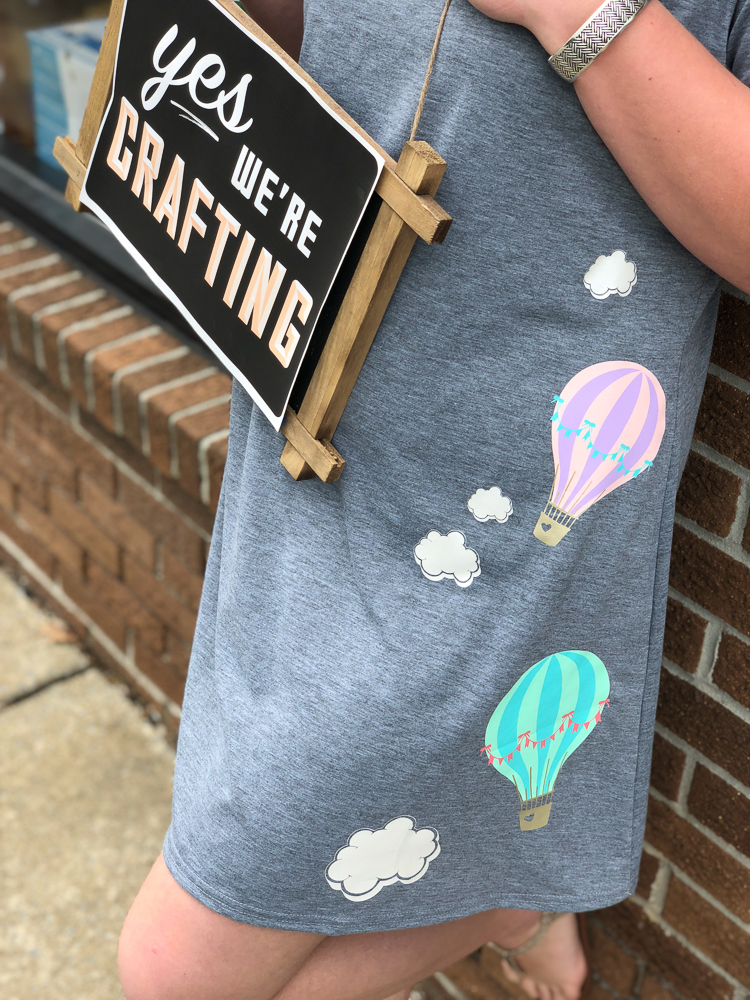
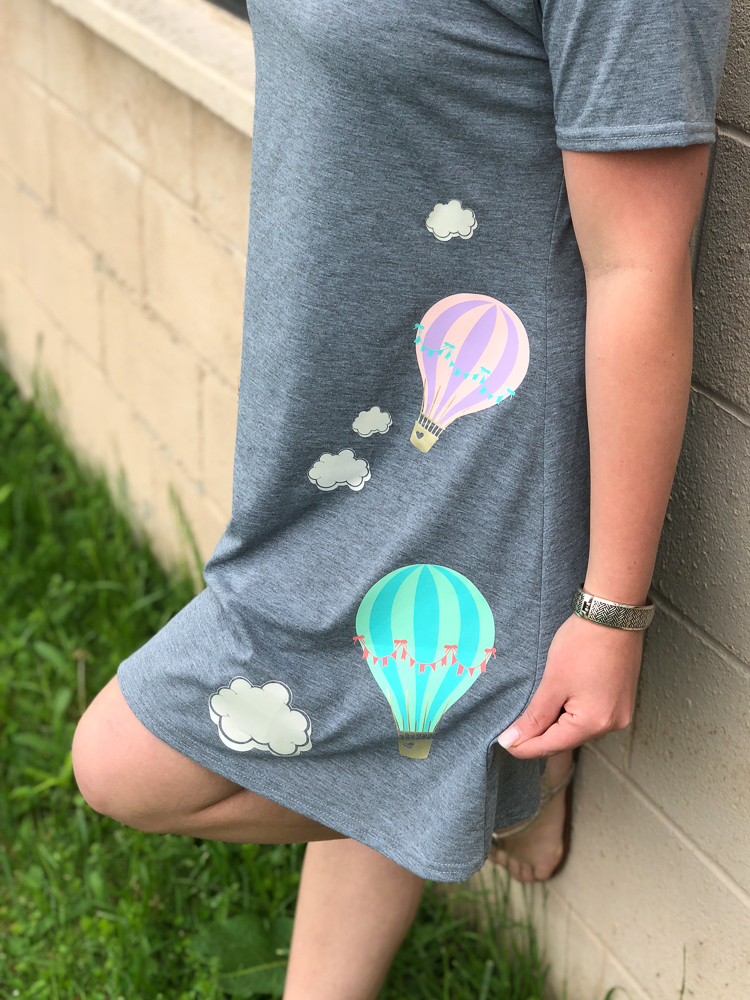
I repeated the steps above for the other balloons and was so happy with the final result. I couldn’t be more impressed by the way the vinyl looked and felt layered so many times on such a thin dress. If you have too been nervous to try layering, I vote you give it a go now! You can even practice with some scraps and an old t-shirt if you still don’t feel ready. Once you finish your first attempt I’d love to hear how it went! Comment below or shoot me an email at sales@happycrafters.ca!