

Do you know someone having a baby soon? Maybe you’re the one expecting! Well, making cute baby clothes is definitely a fun project for any Silhouette or Cricut user. My friend is expecting a baby in December and I decided to craft her up some very cute little onesies. Making baby clothes is a great project, especially since personalized baby gifts are rather expensive these days. Plus, its an easy way to make your gift personal with just some heat transfer vinyl.
• Silhouette Cameo 3
• Silhouette Studio
• Happy Crafters Pattern HTV in Small Lumberjack
• Happy Crafters Standard HTV in Jet Black
• White long sleeve Gerber Onesies from Walmart
• Cutting Mat
• Weeder Tool
• Scissors
• Pink Heat Press
This project was inspired by photography and the mountains. My friend and mother-to-be is a photographer in Colorado who loves hiking and camping, so I knew her baby boy needed some cute clothes for photo ops. I found my designs on Pinterest. These were free files for personal use. Always make sure your cut files are commercial use when selling your creations. Since this project was a gift, I didn’t have to worry.
My first design was the very cute photography assistant onesie. I knew this one would be pretty easy because I only wanted to make my design in black vinyl. I opened my design into Silhouette Studio and made sure to size it right. We have a great shirt sizing guide on the homepage of our website if you ever need help sizing for any kind of shirt or onesie. Once my design was sized and the image was mirrored, I placed my black vinyl shiny side down on my cutting mat. Standard HTV cut settings for Silhouette are Blade 2, Speed 8, thickness 5. Now that my design was cut, I weeded it and set it aside while I designed my other onesie.
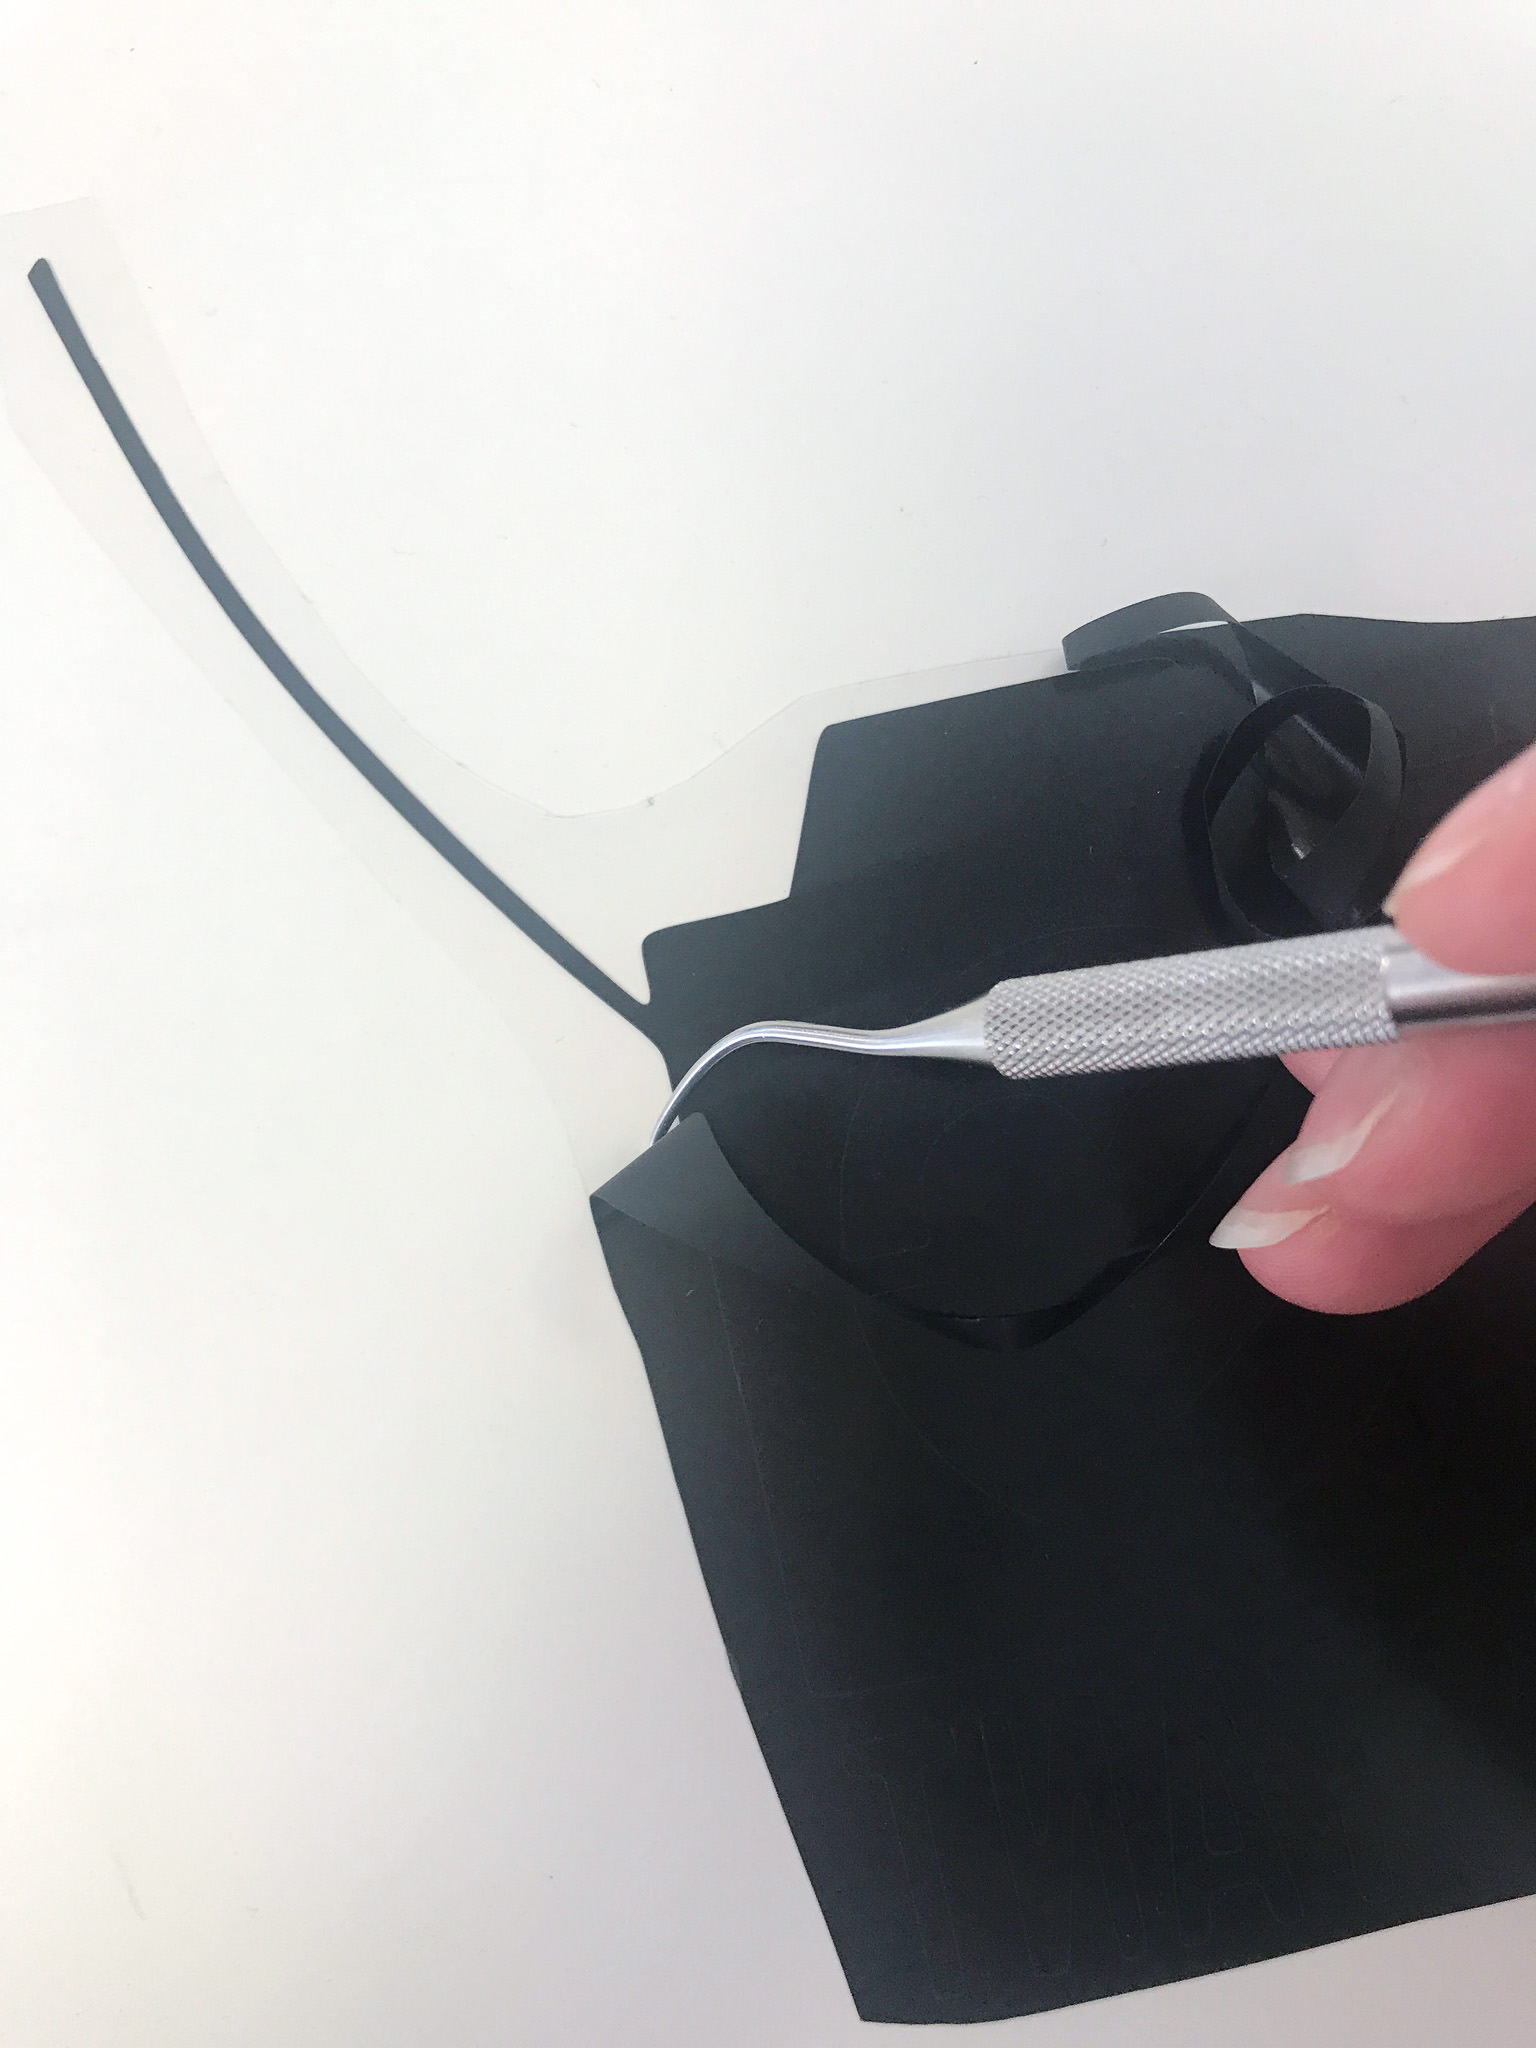
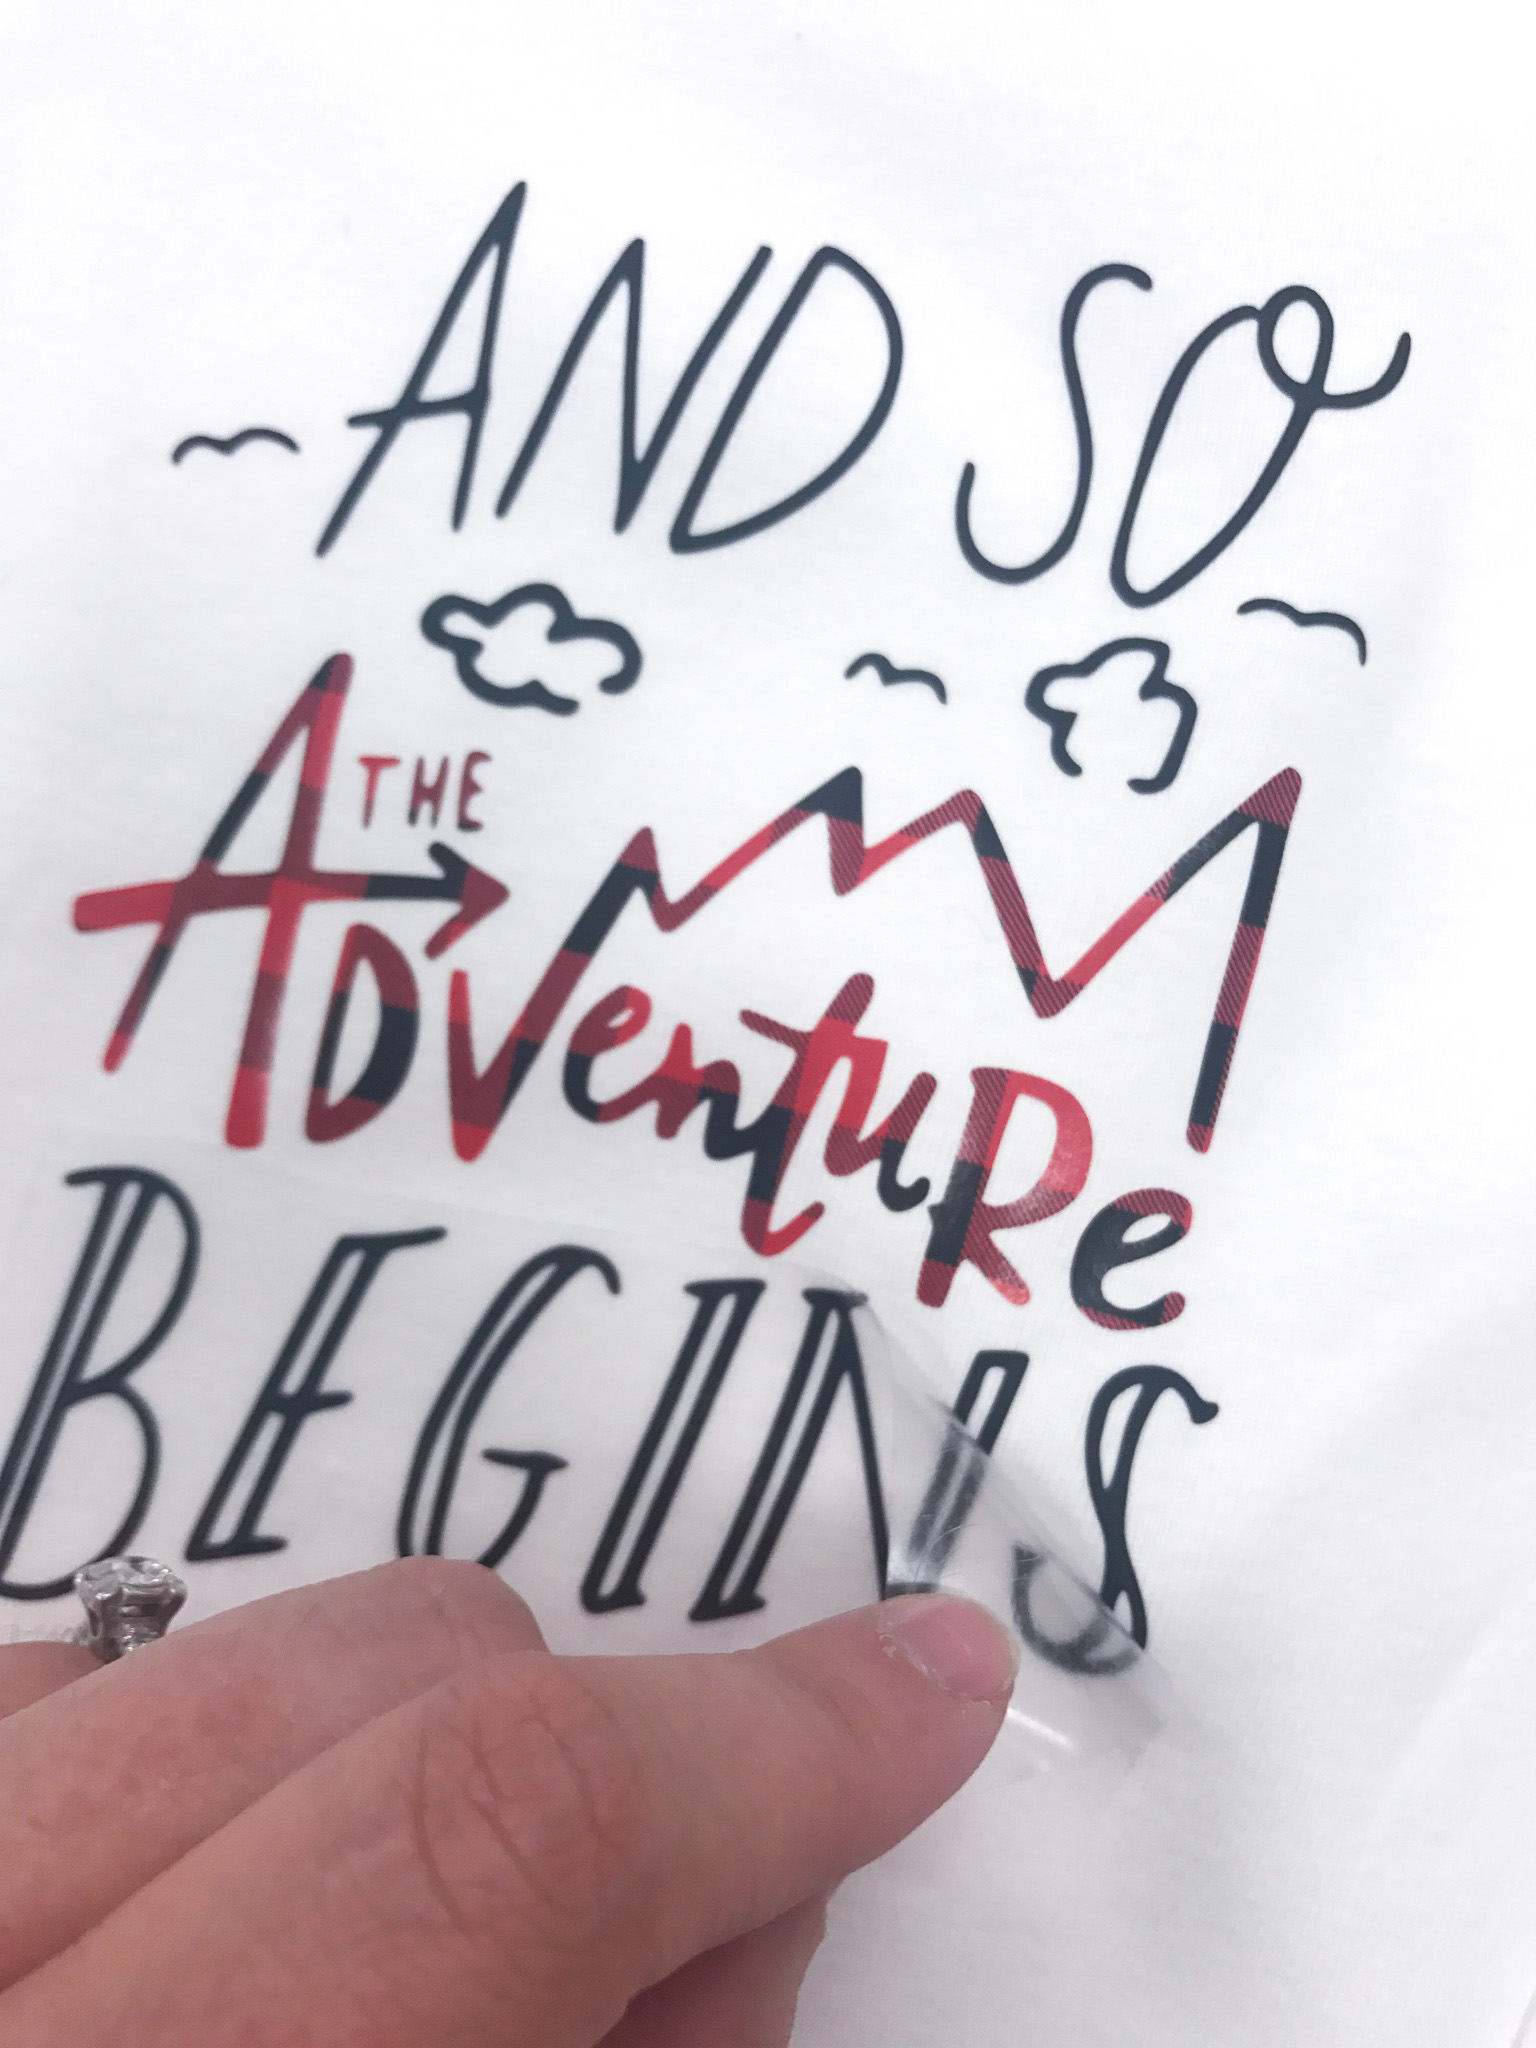
I opened my design into Silhouette studio and resized it for my onesie. After resizing, I right clicked on my design to release the compound path because I wanted the word “Adventure” to be cut out of my Small Lumberjack pattern HTV. Once my compound was released I moved my “Adventure” off the mat so I could cut the rest of my design first in black. I mirrored my image, placed my HTV on my cutting mat shiny side down, and loaded it into my machine. My cut settings were already programmed in so I was ready to cut.
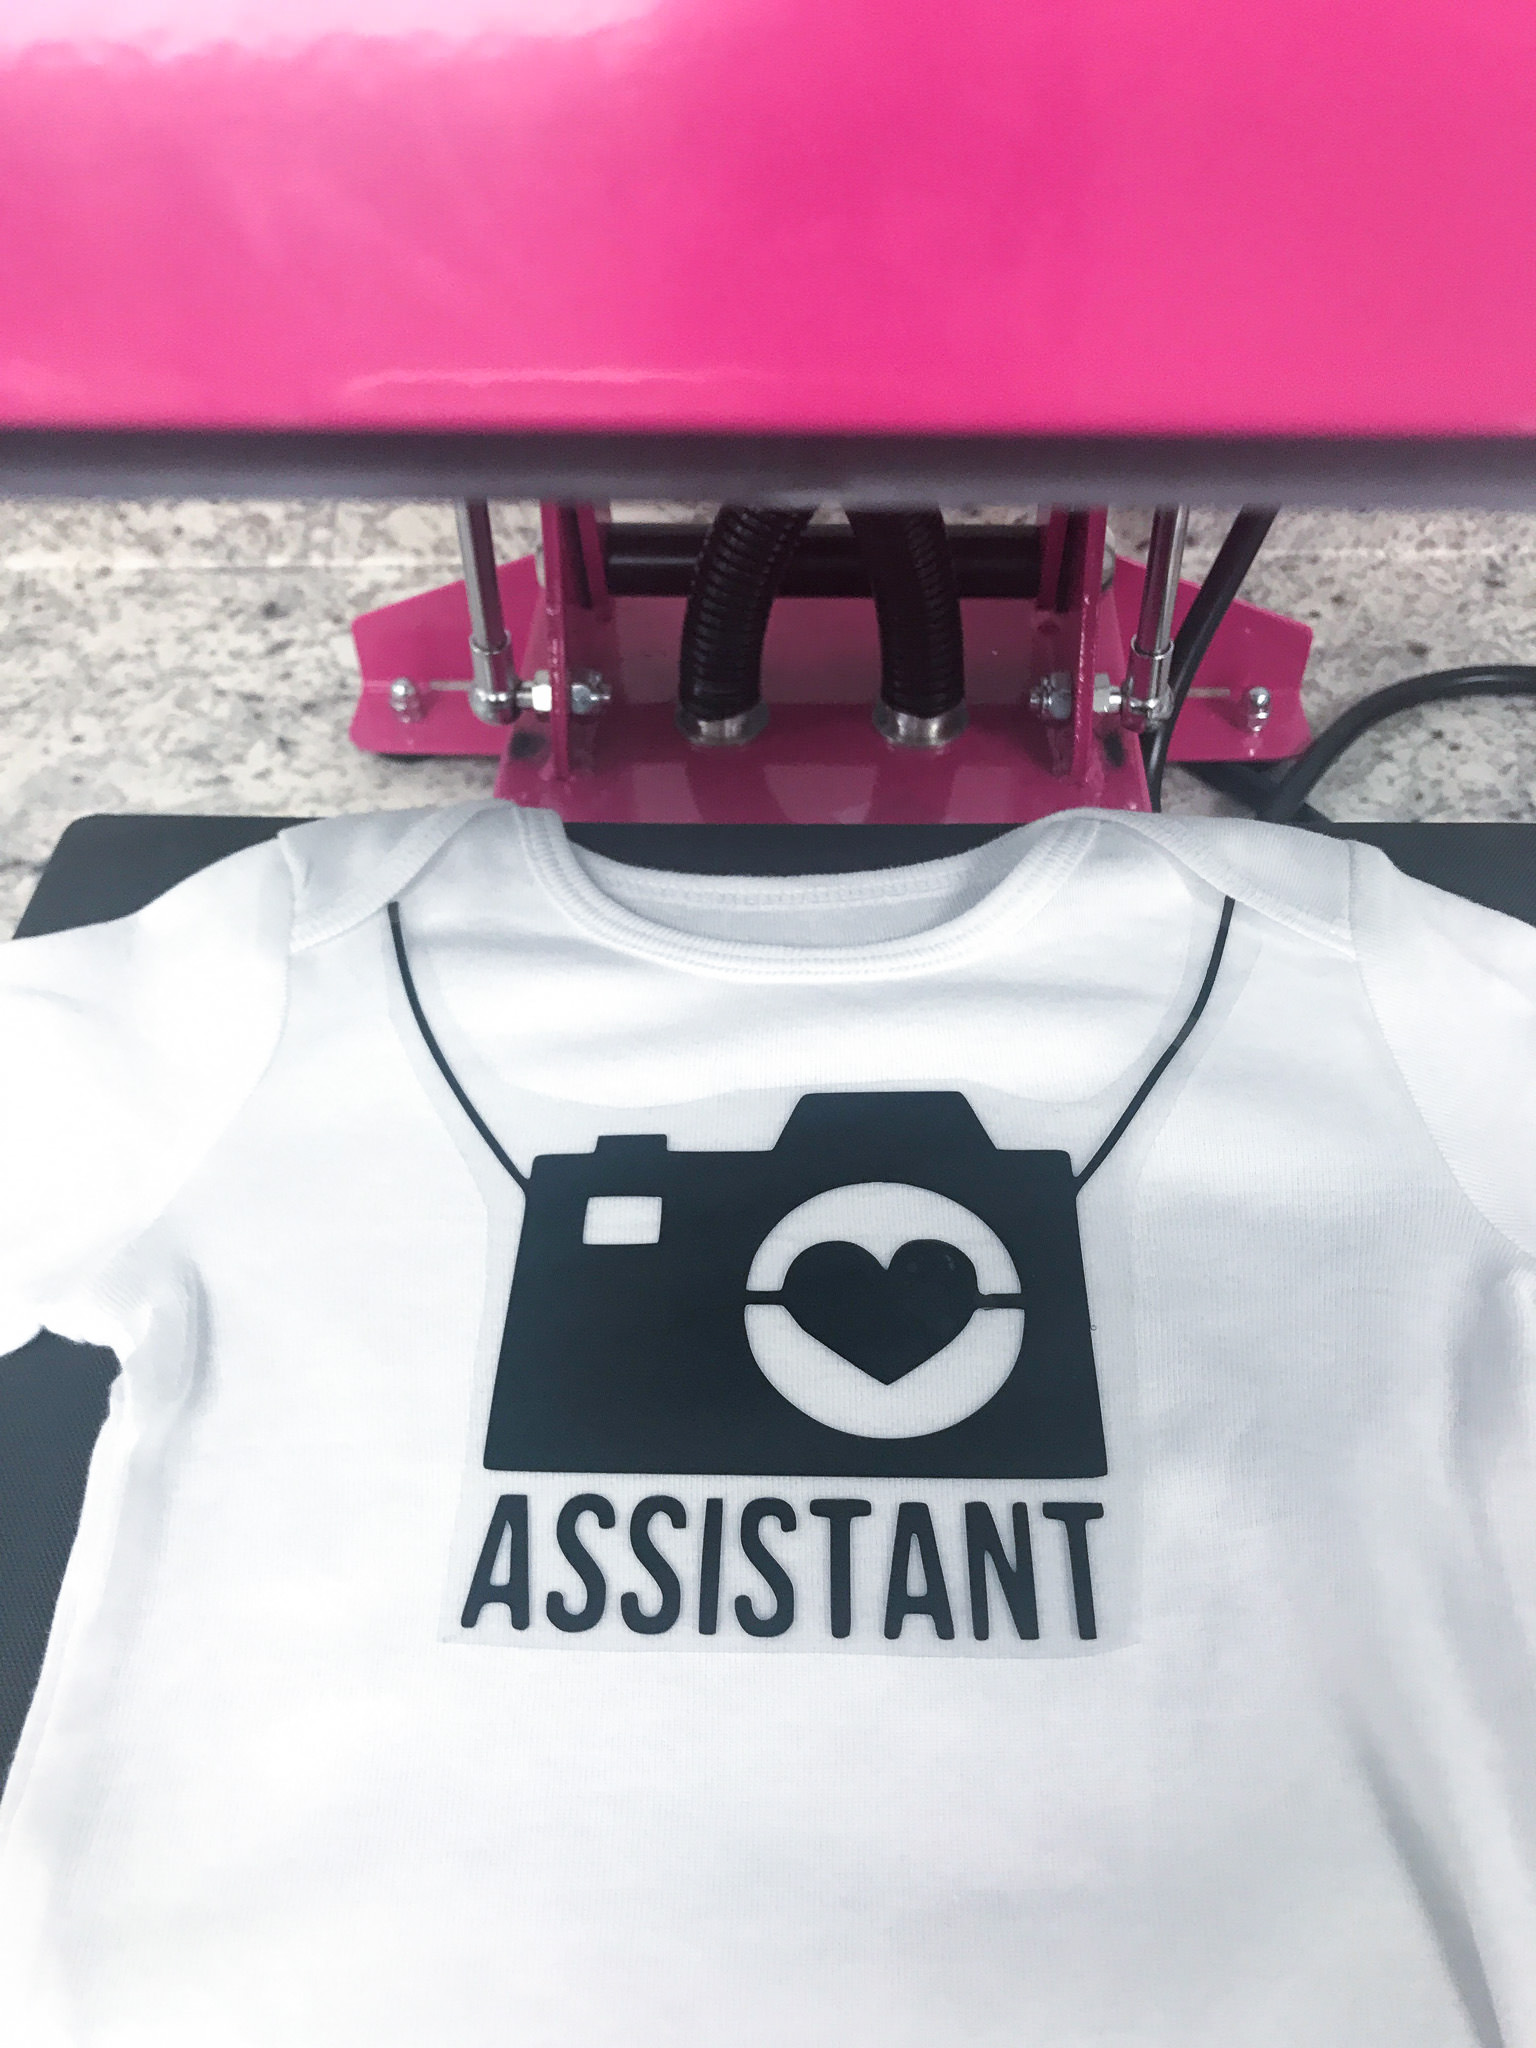
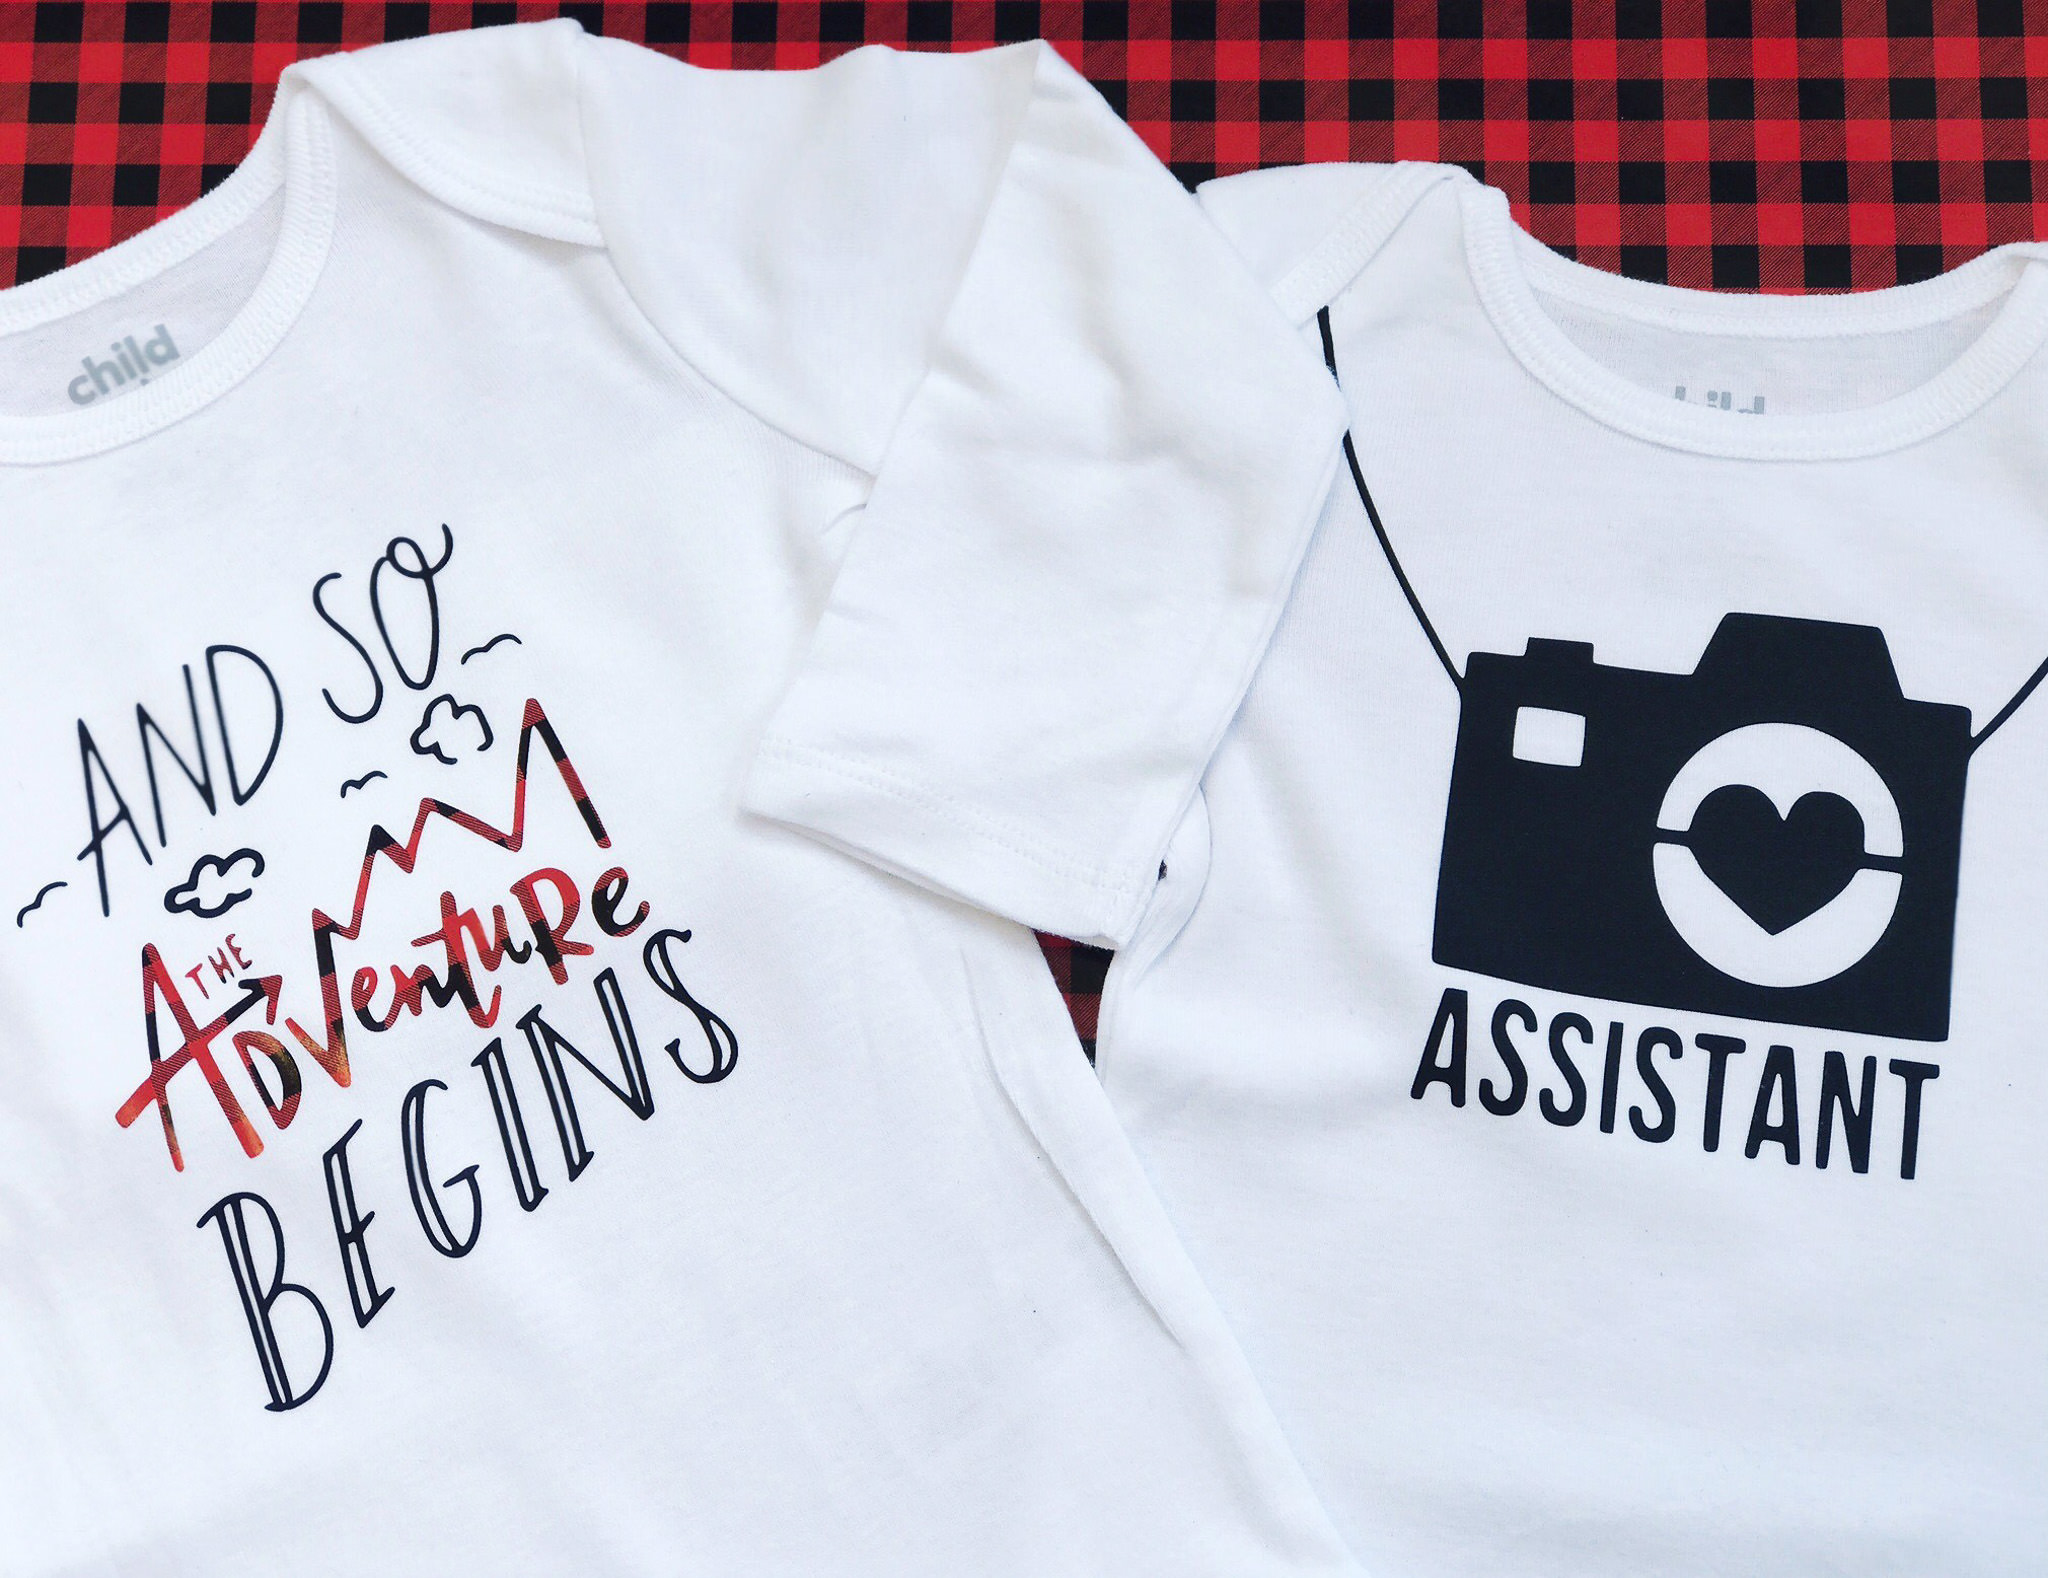
For onesies, I like to use a heat press and a household iron. Using an iron ensures that all my design receives enough pressure since the raised seams on onesies will affect this. My heat press settings were 302 degrees and 10 seconds for press time. Both our Standard and Pattern HTV press at the same settings. I preheated both onesies for about 4 seconds to get the wrinkles and moisture out. I placed my designs and got ready to press. After pressing, I left the carrier sheets on and used my iron just to give the edges of my design that extra pressure they needed! Once I felt confident in my pressing, I peeled back my carrier sheets to reveal my very cute onesies.
While doing this project, I definitely fell in love with making onesies. There are so many cute design possibilities and the project was fairly easy. I hope you guys find this helpful for your future onesie projects. Also, don’t forget to share your crafts with us on our Facebook or Instagram using the hashtags #imahappycrafter and #happycrafter. We love seeing your work!
Have fun and Happy Crafting!
Tab