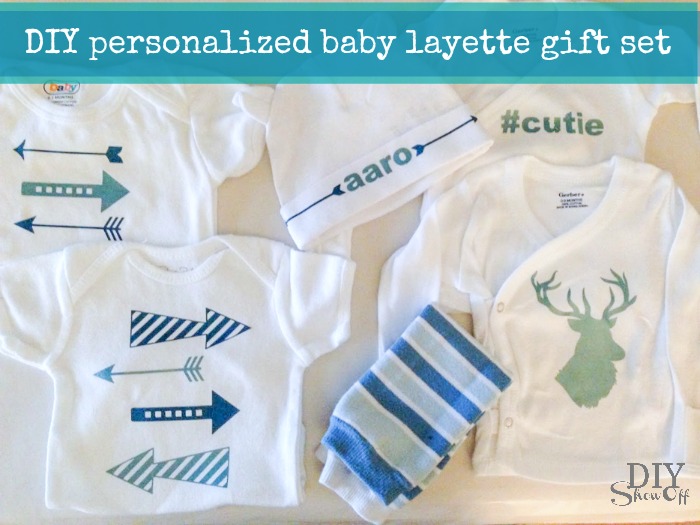
Supplies:
• Happy Crafters iron-on vinyl
• Plain baby onesies, hats, t-shirts, bibs, etc.
What I did:
Using my Silhouette studio designer edition software, I created a few fun decals.

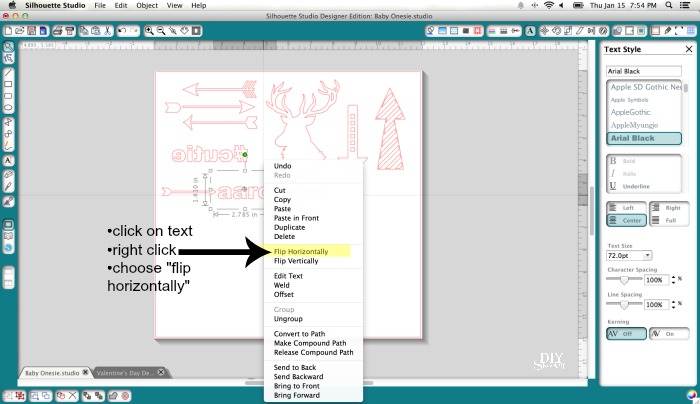
For iron-ons, text (and some images) will need to be mirrored/flipped horizontally. Simply right click and choose "flip horizontally".
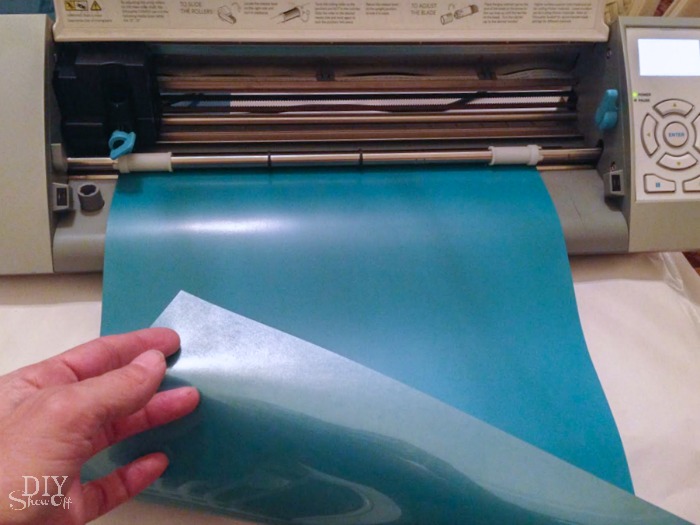
Load the vinyl into the machine shiny side down (the shiny side is the transparency side).
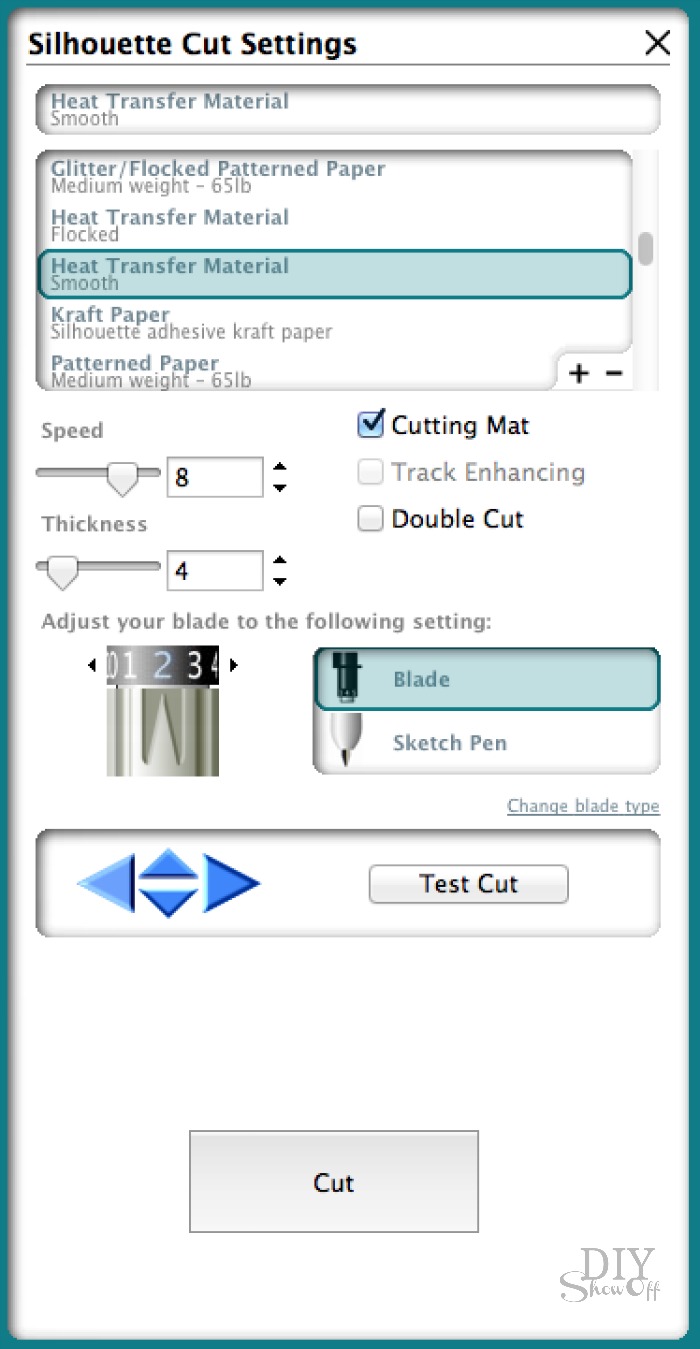
Adjust settings for cutting heat transfer material and send to cut. Unload vinyl from the machine.
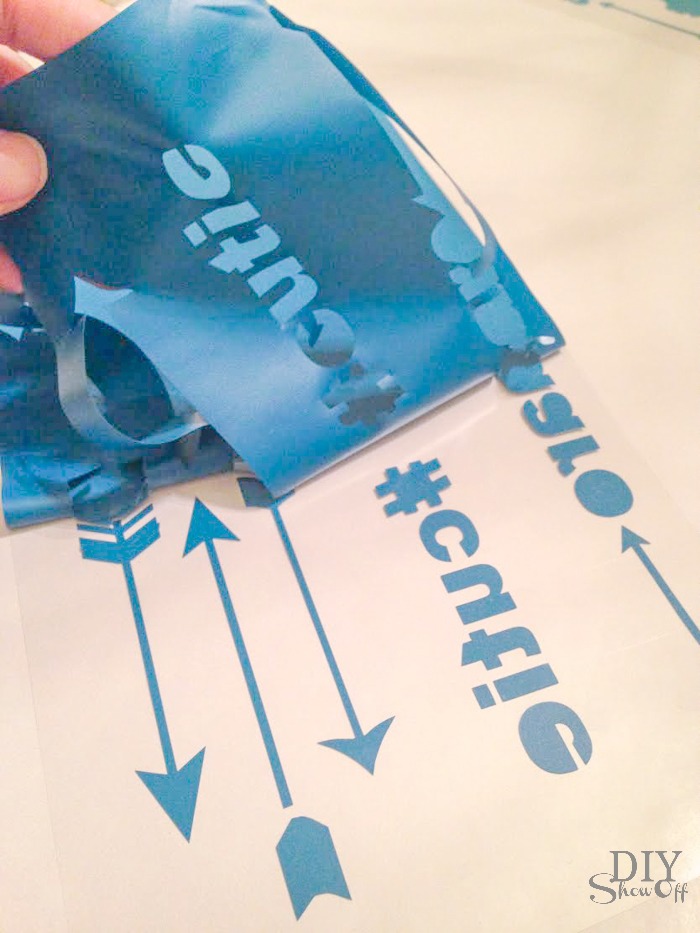
Cut off the excess vinyl/material and weed (remove) the unwanted part of the the vinyl leaving just the decals.
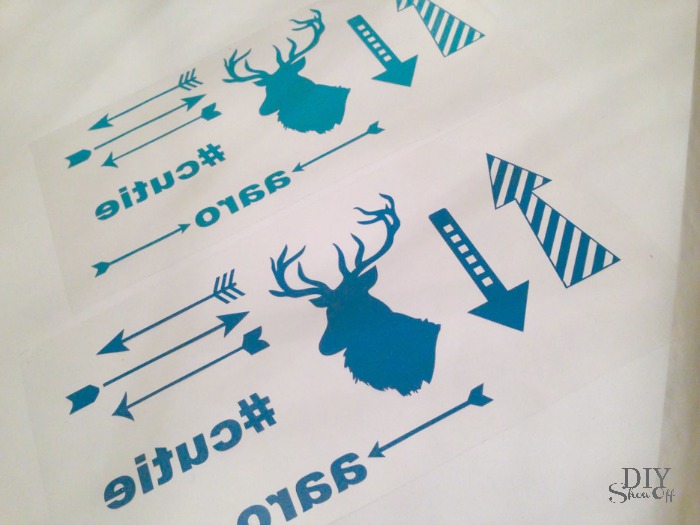
Set iron according to heat instructions provided with vinyl iron on. Place iron on decal, shiny side facing you (iron on isn't sticky but the clear transparency is...sticker side down to help hold iron on in place).
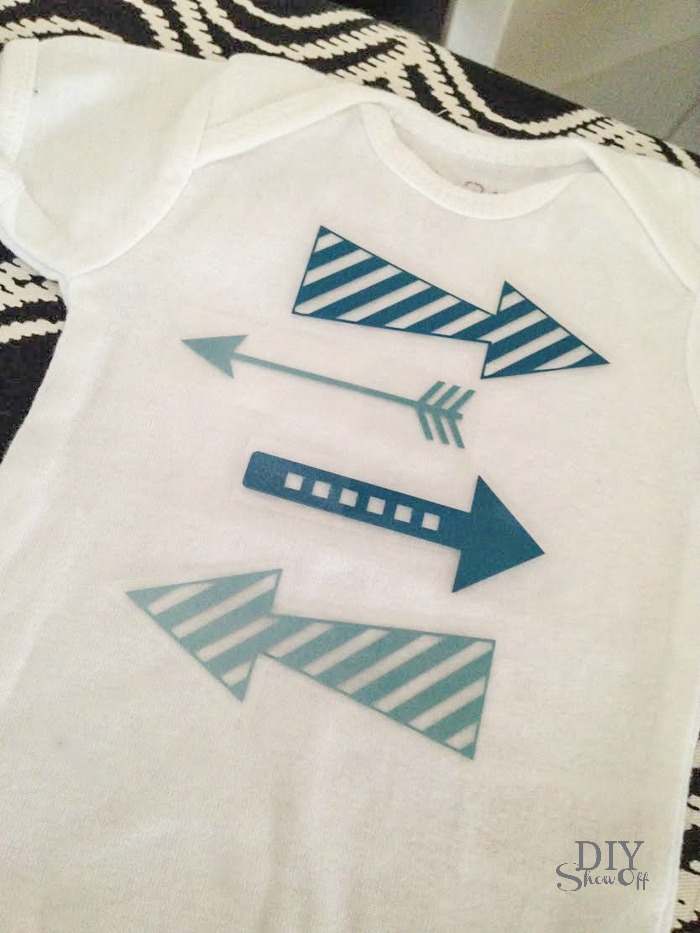
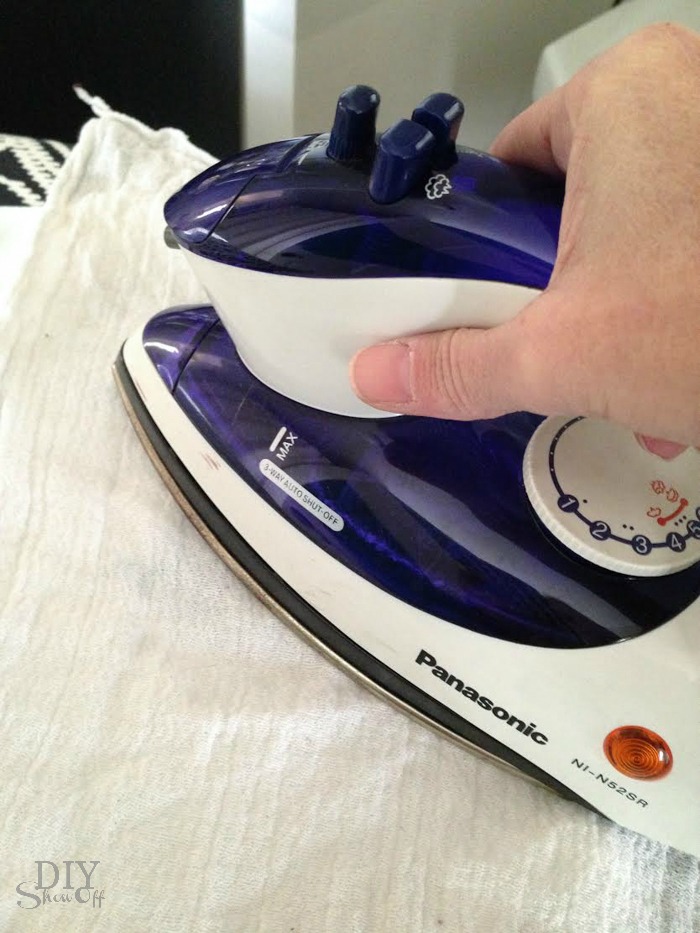
Cover with a cotton diaper cloth, burp cloth or towel and heat iron on according to instructions.
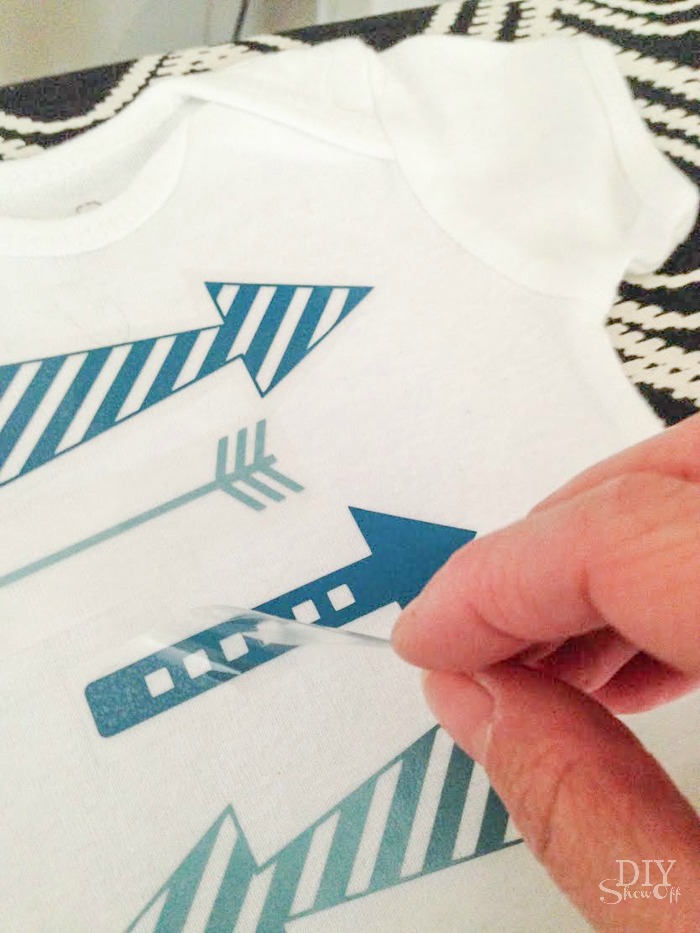
Carefully peel away transparency (if iron on pulls up too, re-place and iron some more).
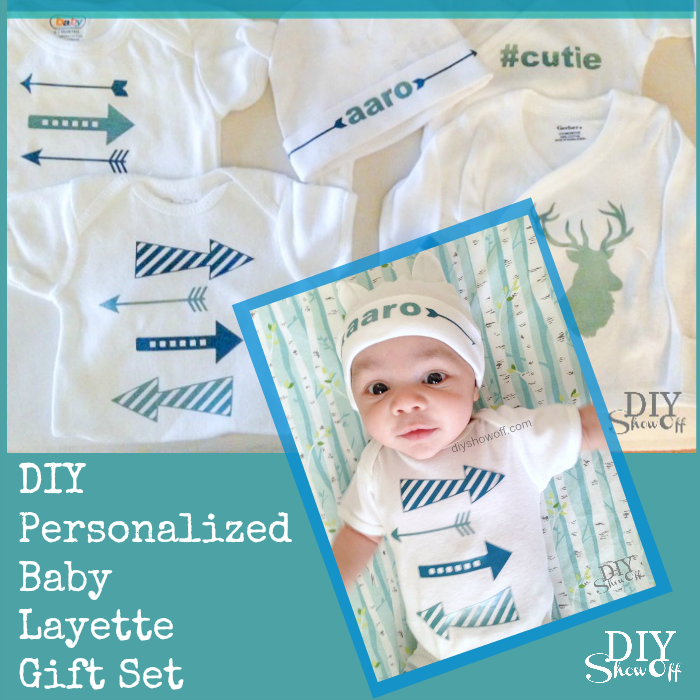
Create an entire personalized baby layette gift set...
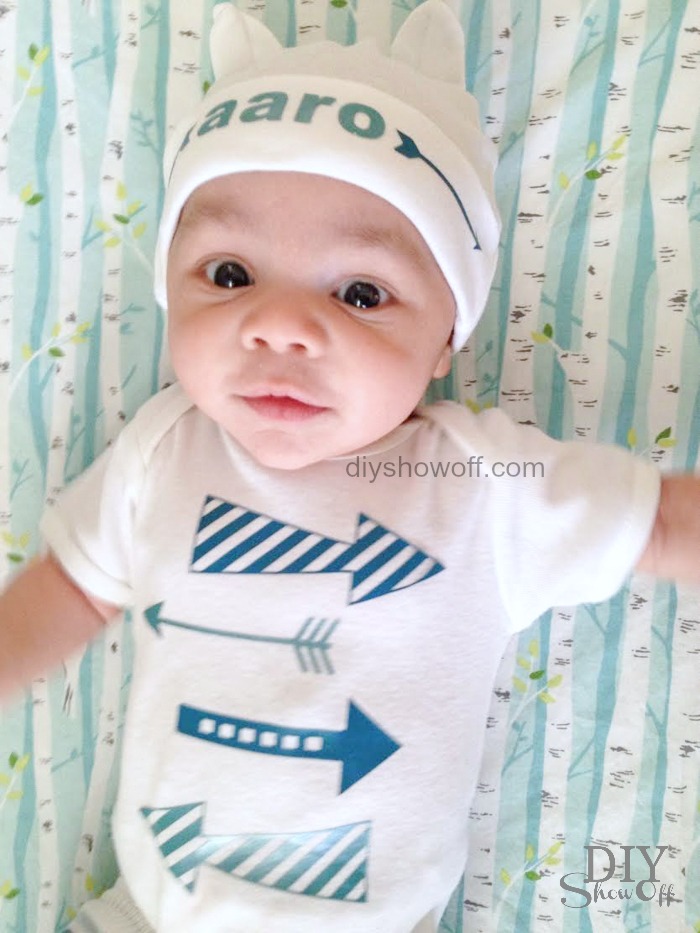
*This post is sponsored by Happy Crafters. Tutorial, experience and opinion is my own. Check out all the supplies at Happy Crafters for inspiration for your next project.

