


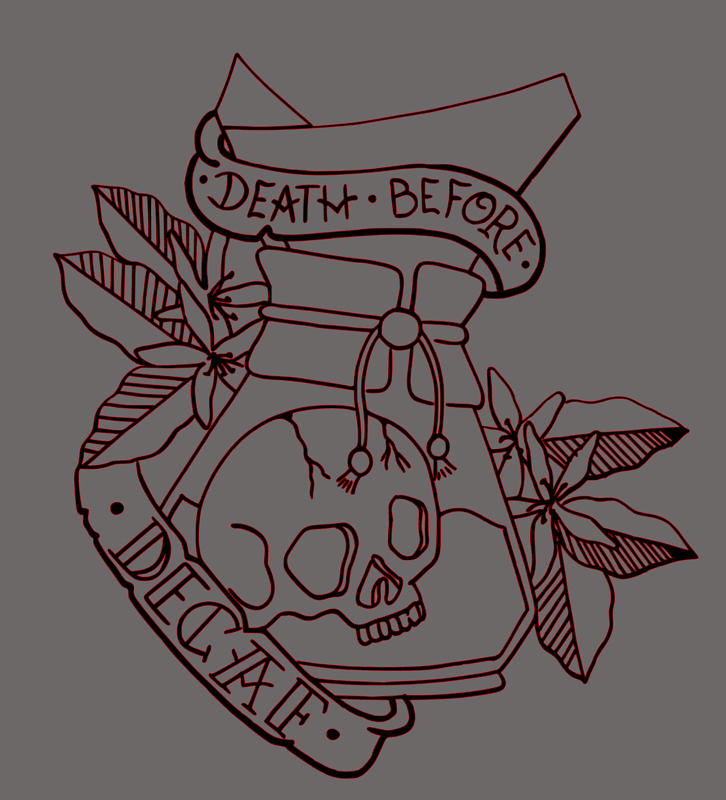
Sometimes I decide what to make by starting with the cut file and sometimes I decide by starting with the blank apparel garment. In the case of this jacket, I had been holding on to this design that was drawn by hand for a long time. I had been waiting and waiting for the perfect jacket to put this on. I already knew exactly what I wanted, but hadn’t found the right jacket yet.Sometimes I decide what to make by starting with the cut file and sometimes I decide by starting with the blank apparel garment. In the case of this jacket, I had been holding on to this design that was drawn by hand for a long time. I had been waiting and waiting for the perfect jacket to put this on. I already knew exactly what I wanted, but hadn’t found the right jacket yet.
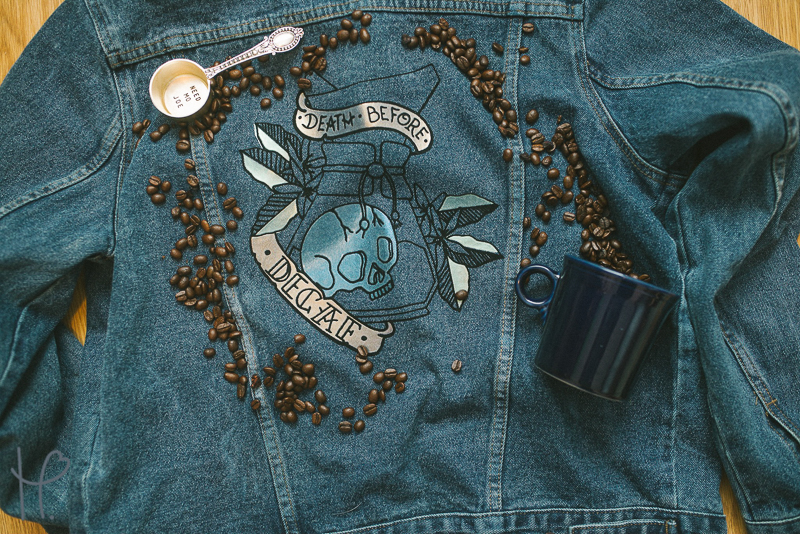
I wanted to make an edgy jean jacket using Happy Crafters Flock HTV and Shimmer Iridescent Heat Transfer Vinyl to create a faux embroidered look. Not only did I know exactly what HTV and style I wanted, I knew I wanted to distress the jacket a bit to make it look really worn. This jacket was one of those things I knew I needed but because it’s such a niche market of coffee addicts, I knew I’d never find something like this, so why not make exactly what I pictured in my mind.
What I Used:
- Jean Jacket
- Happy Crafters Flock HTV
- Shimmer HTV
- Palm Sander
- Sand Paper
- Razor Blade
- Silhouette Cameo 3
- Pink Heat Press
- Weeder Tool
- Scissors
This jean jacket is exactly what I had in mind. It fit perfectly, it was well made, it has a great price, but it looked almost too perfect. I knew I had to distress this jean jacket to get the perfect rugged, coffee jacket of my dreams. I won’t lie, the distressing part took more time than I expected, but mostly because I was scared I would go too distressed too fast. I started by taking scissors to the hems. Once I trimmed off some of the hems, I took my razor blade and frayed the edges.
After tackling all the hems, I took sandpaper and sanded some of the frays as well as the pockets by hand. I also added some random tears with the razor blade. I tried to focus on areas that may naturally get snagged or caught after wearing to make the distressing seem less fake. After this came the scary part. I wasn’t getting a ton of distressing on the larger panels by sanding by hand. After scouring the internet, I saw some suggestions on using a palm sander.
I was a little worried about this part so I started with sandpaper that had already been used. It was 120 grit but worn down a bit so it wasn’t as abrasive. I quickly realized that this denim jacket could handle a lot more than I gave it credit for. I took the palm sander to any area that I wanted to distress a bit further.
Now that the hardest part was done, I scanned my hand drawing provided by a super talented friend into Silhouette Studio. I was able to easily trace the design. Since this was a line drawing, I did create an offset path in some areas to thicken the lines. I wanted to keep the lines thing, but visible in my Flock HTV. Once my design was traced and sized correctly, I created a duplicate.
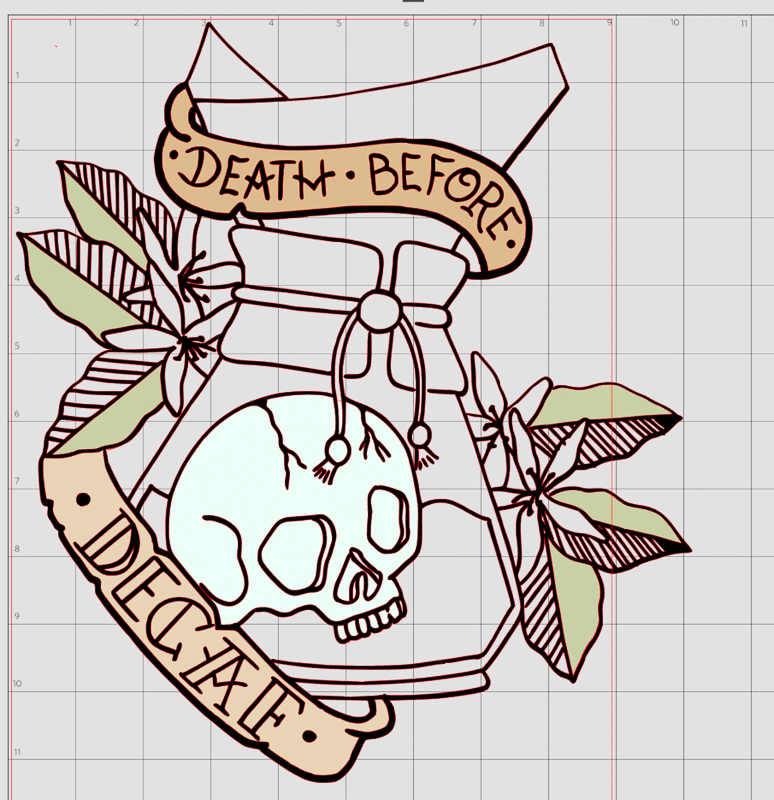
Duplicating this layer allowed me to pick and choose which pieces I wanted to cut in Shimmer for the accent pieces. After I chose my Shimmer heat transfer vinyl pieces, I grouped them by color. Then to make my life a little easier during pressing, I created a very small offset path on these pieces. Have you ever layered something and it just didn’t line up perfectly? You may not realize it, but HTV shrinks a little bit when you press it. Typically, this doesn’t matter if you’re using a material that you can tack down for 2 seconds first, but when you’re really layering and want everything to be absolutely perfect, it can make it difficult. I knew that this layering was already a lot to ask for as far as perfection, so I gave myself some wiggle room. This way, those pieces laid under the Flock HTV, and not just in the gaps.
Once I finalized my layers, I was ready to cut! I started by mirroring the design and cutting the Flock using the settings blade 3, speed 8, and thickness 12 or Heat Transfer Flocked. Then I cut the Shimmer pieces at blade 1, speed 8, and thickness 5. Even though the design for the Flock HTV section was intricate, it was still really easy to weed. One thing to remember when weeding the Shimmer is that it is easier to weed if you pull away from the design and allow the weed lines to “snap” instead of weeding towards the designs.
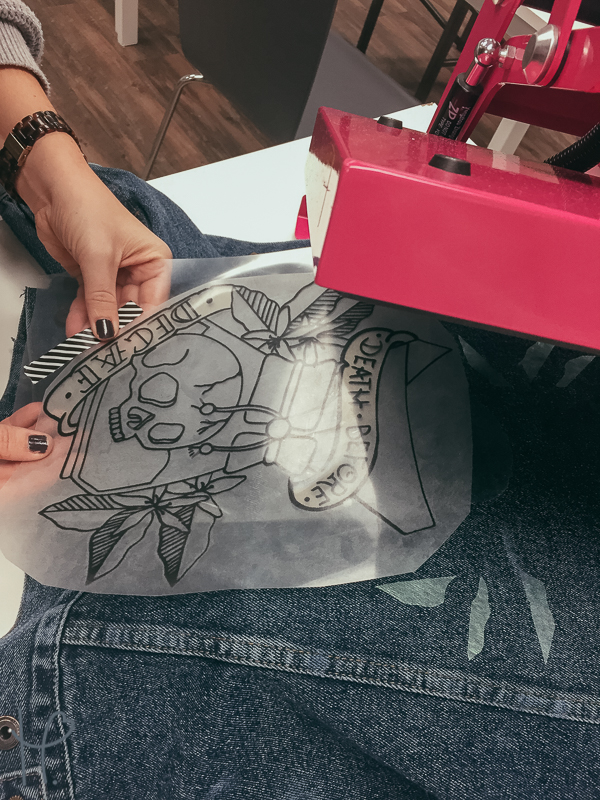
In order to get all of my alignment lined up correctly, I stacked my weeded designs, aligned them, then aligned them on the jacket. I did have help during this so that it would be easier to deal with, plus I just wanted a second set of eyes on this design. Caitlin helped me line up the stacked design on the back of the jacket on the press. Then, we removed each individual layer of htv until we got to the bottom. Then it was time to press!
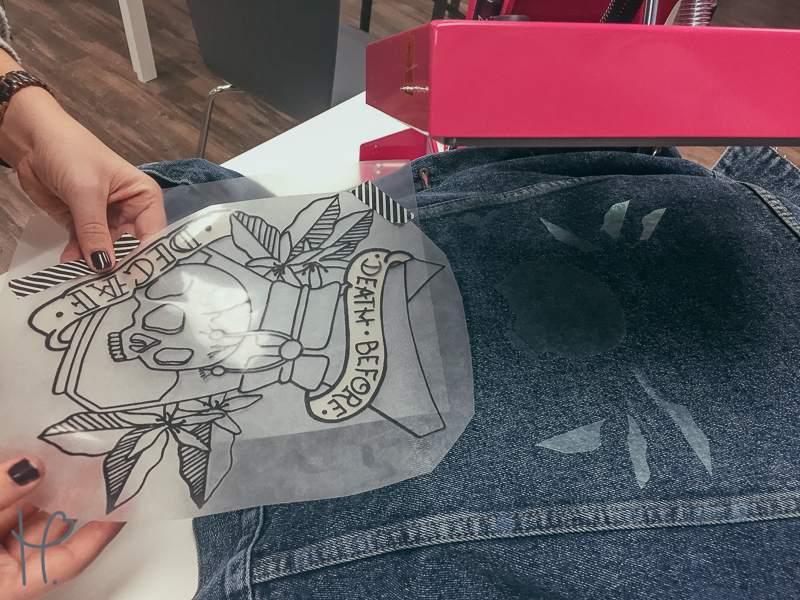
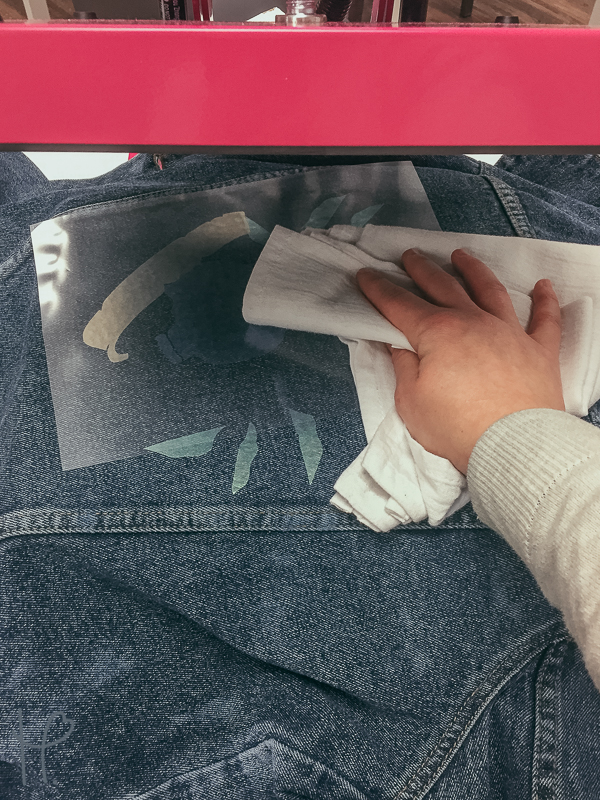
I pressed each individual Shimmer color at the recommended settings which are 285º for 8 seconds. Shimmer is a cold peel so to speed up the process, I rubbed a tea towel on the design in between presses to take some of the heat off the design. Once all three colors were pressed and peeled, it was time to line the StripFlock up on top of the Shimmer. Flock applies at 320º at medium pressure for 10 seconds. Flock is also a cold peel.
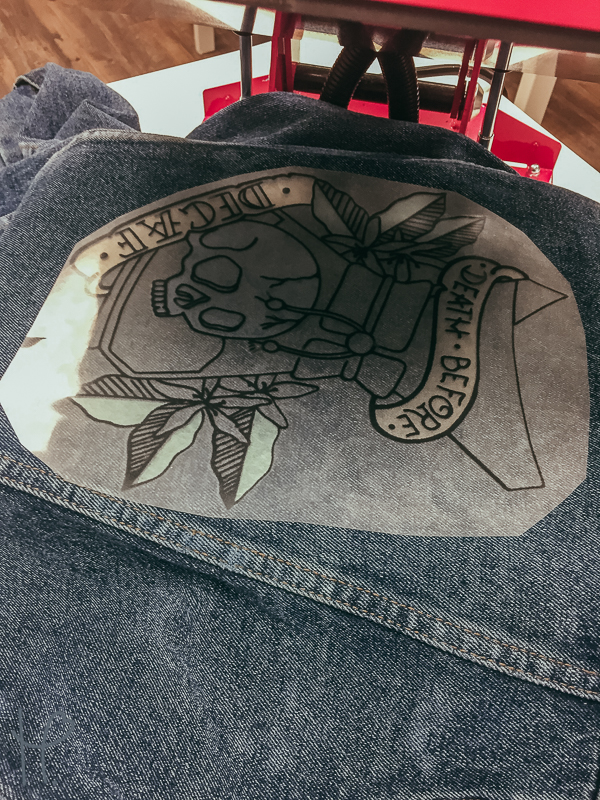
This finished design is so much more than I expected. The Shimmer heat transfer vinyl is the perfect subtle accent to this design. The combination of the StripFlock and Shimmer HTV gave this jean jacket a faux embroidered look. Want to download this design for yourself? Click here!