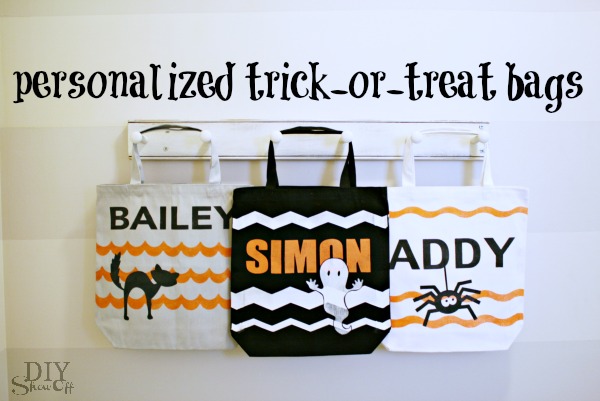
If you haven't had a good reason yet to revamp your kids' trick-or-treat bags, check this project out! Roeshel of DIY Show Off shows us how to create these fun, personalized bags for trick-or-treating! Keep them around for the whole month as a school tote or sleep over bag!
• Fabric Paints
• FrogTape® Shape Tape (I used all 3 patterns: chevron, wave and scallop)
• Stencils (I created my own stencils using glossy black vinyl and transfer paper from Happy Crafters)
Tutorial: Part 1 - Shape Tape
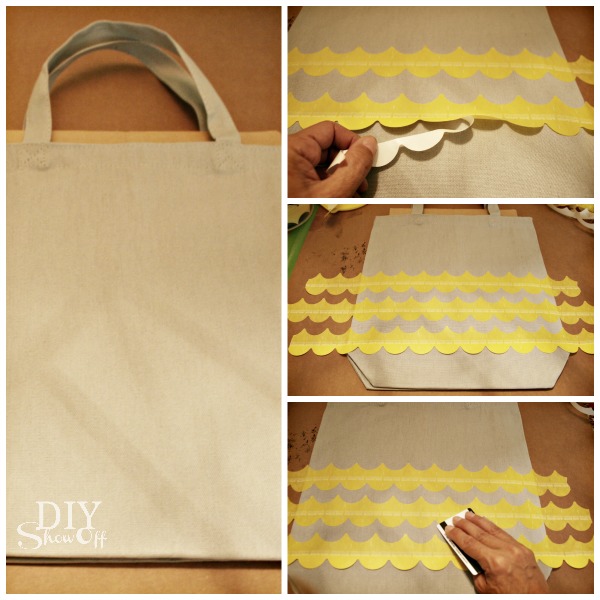
Iron the tote bags to remove wrinkles. Insert cardboard into the tote bag (to block bleed-through to the other side). Cut a piece of FrogTape Shape tape a little wider than the bag. Decide placement. Remove half of the strip of wax paper backing from the Shape Tape. Position and press into place. Remove the other half of the wax paper backing and smooth into place. I found that securing the edges of the tape to the table underneath on the sides, kept my tote bag from sliding around, holding it in place for painting. Repeat step 3 to create a 'stencil' border/line for the design. Using a credit card, I rubbed the Shape Tape to make sure it was nice and secure, sticking to the canvas...check closely to be sure the Shape Tape is complete adhered to the canvas.

Part 2 - Vinyl Stencils
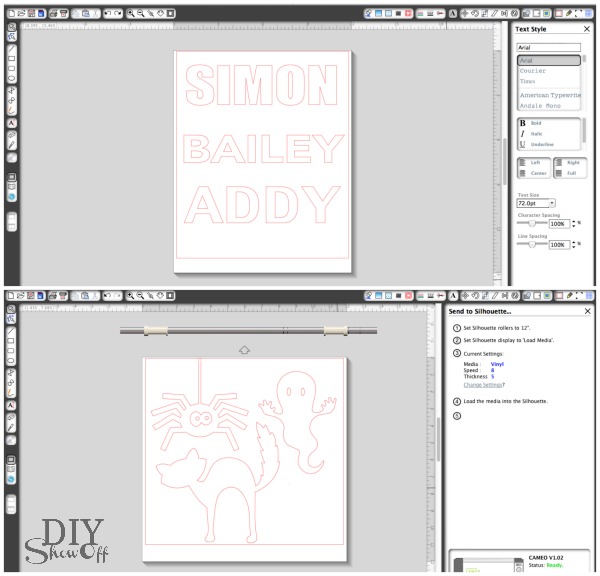
Using my Silhouette designer studio software, I created name stencils as well as purchased a few Halloween shapes from the Silhouette American online store. Then sent it to cut to create vinyl stencils.


 • Canvas/Linen Tote Bags