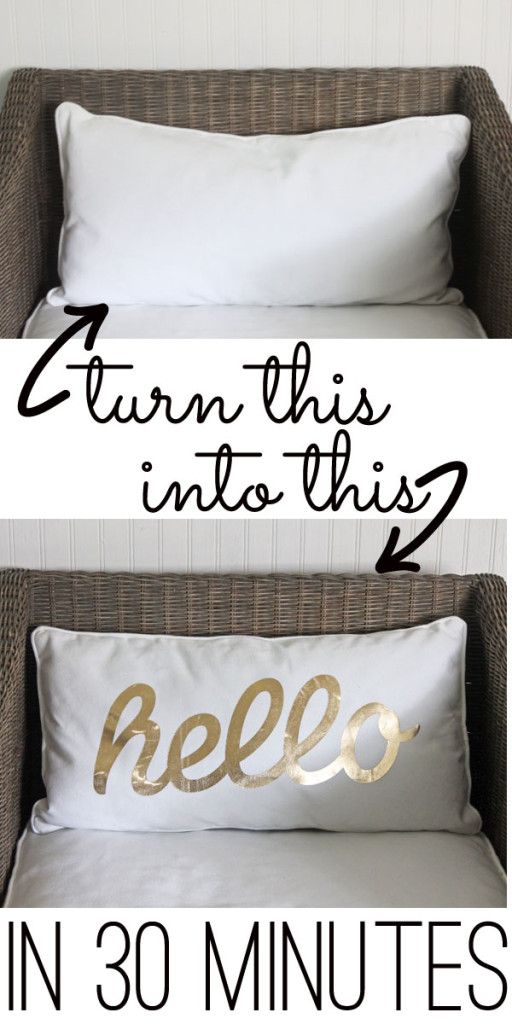
Word pillows are so fun and easy to make - especially when you start with a pre-made pillow. Add a little metallic vinyl, and you've got an easy project that is totally customizable to be completely you.
First you'll only need two things: a plain pillow cover (if you don't have one, I have an easy zippered pillow cover tutorial for that, too!) and some Happy Crafters Iron on Vinyl (I used gold.)*
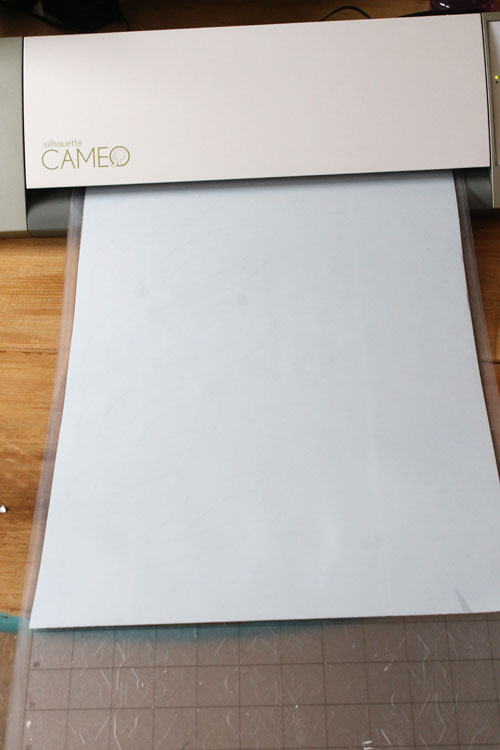
Start with your Silhouette Software and place the words where you want them to be. I used a premade HELLO I found in the Silhouette store. After you have the size correct, INVERT the image. Place the vinyl on the mat shiny side down, because you want to cut a negative. 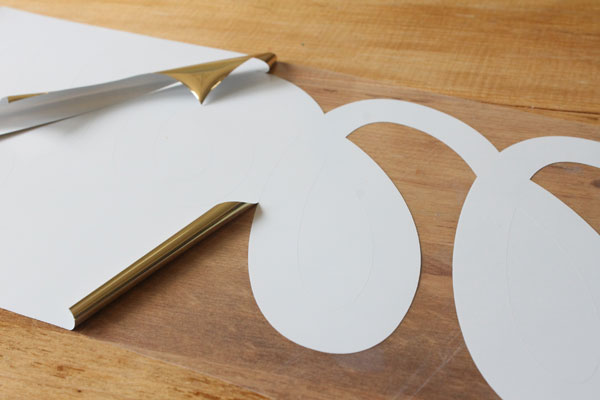
With a hook tool, pull away all of the negative from the cut graphic, so when you hold it right side up you'll only see your image.
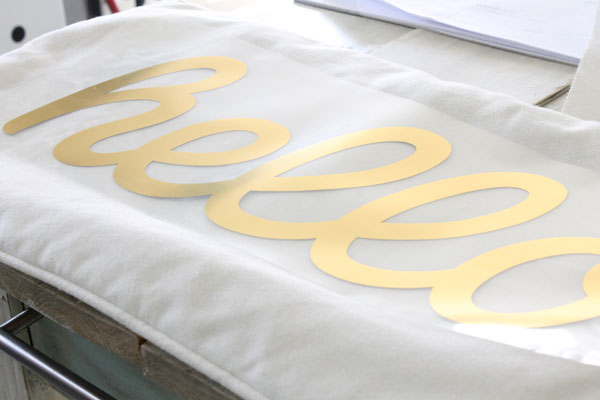
Place the image, film side up onto your pillow, so it is where you'd like the graphic to be.
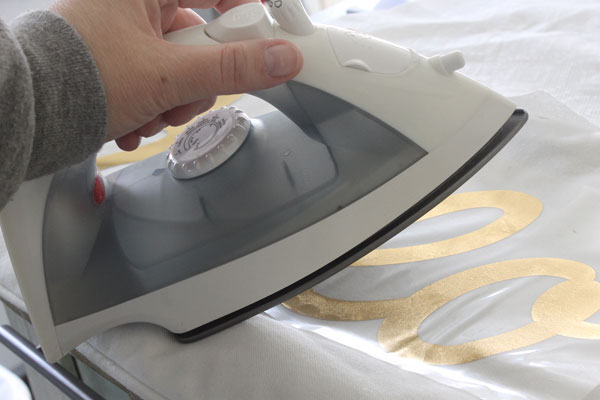
Then, iron directly on top of the film, on a hard surface, to adhere the vinyl to your pillow cover. Iron it all really well - you'll begin to see the slick surface grab the fabric and it will change slightly (but still be pretty and shiny.) 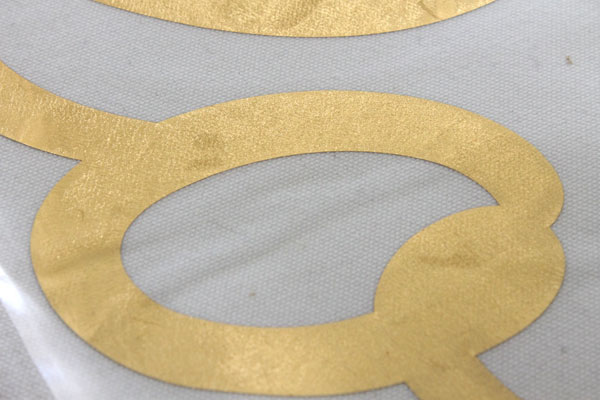
See the tiny texture? That's when you know you're on the right track!
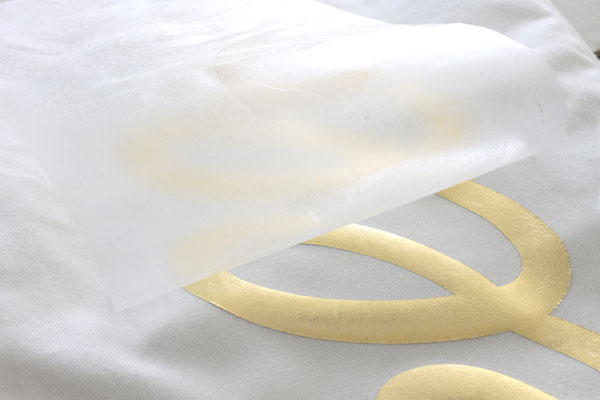
Once the graphic is completely adhered, let it cool for a few minutes, then peel off the backing paper. Stuff your pillow and you're done!
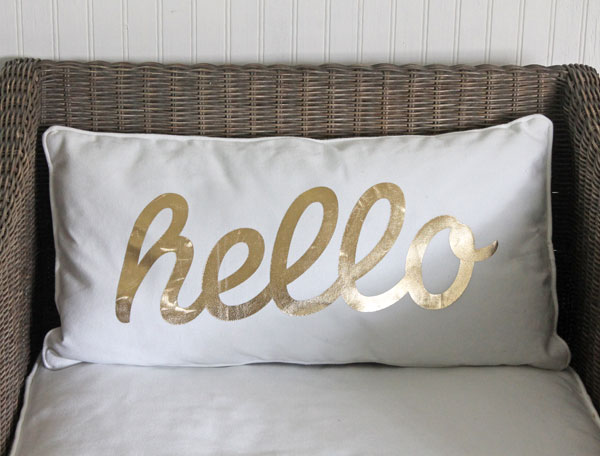
Trendy and budget friendly, all at the same time. I've gotta admit, I'm LOVING the gold metallic iron on transfer and I'm looking for a million other ways to use it, so the hello pillow won't be lonely for long! *Thanks to Happy Crafters for partnering with me on this post. All ideas, words, images and opinions are 100% my own, yo.*
