


@happycraftersvinyl Bleached shirt with vinyl! ##bleachedshirt ##tiedyebleach ##shirtdesign ##htv ##heattransfervinyl ##heattransfer ##cricutmade ##silhouettecameo
♬ Summer Days - Martin Garrix / Macklemore / Patrick Stump
Tie-dye seems to make an appearance year after year. This year however, I feel like it proved to be one of the strongest trends of 2020. To be honest, I tried to rebel against it for a little while, but I eventually caved. I definitely gravitated towards the bleached tie-dye shirts, so I decided to give it a try!
After a little trial and error and some research from some amazing crafters, I came up with a process that worked best for me. Here are the steps I took:
Gather your materials:
- Spray bottle
- Bleach
- Trash bag
- Gloves
- Cotton shirt that is darker in color
- Rubber bands
- HTV (I used Siser® Electric)
Find a safe place to create: I got lucky and had beautiful weather, so I was able to prep my workspace outside. If that’s not an option for you, just make sure you have a window open or turn on a fan! I prepared by putting on my rubber gloves and laid down a trash bag.
Prepare bleach: I found an empty spray bottle I had lying around the house. It was an old household cleaner, so I made sure to thoroughly clean it before adding another chemical. I chose to use only bleach and not dilute it with water, but of course you have that option to do so!
Select your shirt: I selected a darker teal cotton shirt for this application. It was a dark enough color that I knew would have a contrast when the bleach was added. Black is also another popular color for tie dying because it has such a strong effect.
*Avoid using polyester as it won’t affect the material
Assemble shirt: You can get extremely creative with your designs by using different rubber band techniques. I wanted to go for a more abstract look, so I bunched up my shirt and secured it with the bands several inches apart.

Apply bleach: Spray the desired amount of bleach onto your garment. The heavier you go with the bleach, the more the fabric will lighten. You can also apply to only a certain area to make it more concentrated.
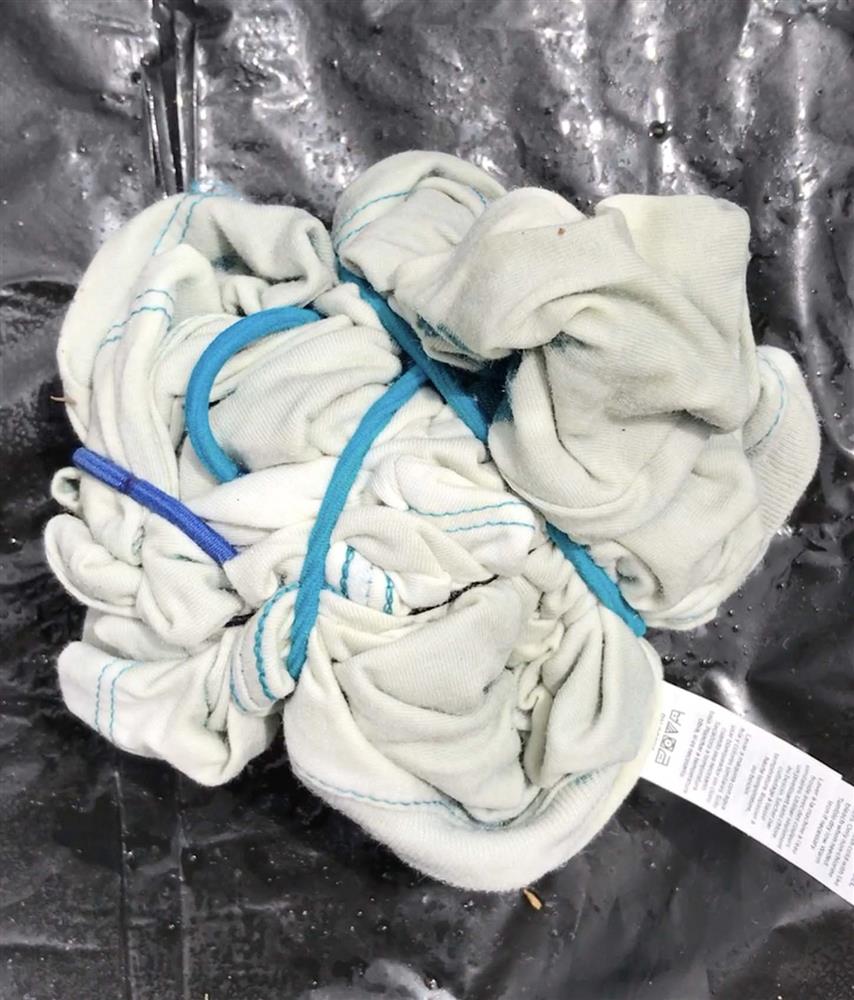

Let it cure: Pretty soon after you spray your garment, you will start to see the color change. Even though you can see these changes, you will want to be sure it seeps into the fabric so wait around 10 minutes.
Remove rubber bands: Take off the bands gently and be sure to give them a good wash! This way you can re-use them for another tie dye project ;)
*After I removed the rubber bands, I could see the full design. I decided I wanted to add more bleach, so I bunched up my shirt again and repeated the process again.
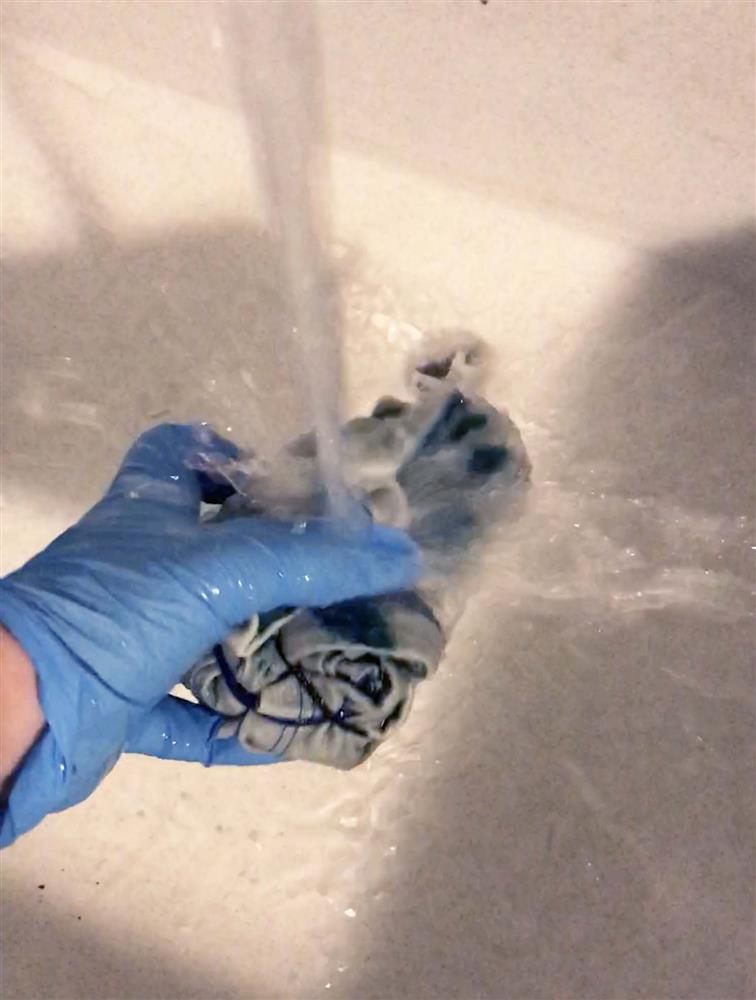


Wash/Dry: I used my sink first to rinse out the shirt, then I threw it in the washer with my normal detergent. You can air dry or put it in the dryer depending on your preference. I chose the faster approach, because I don’t have a high dose of patience when crafting.

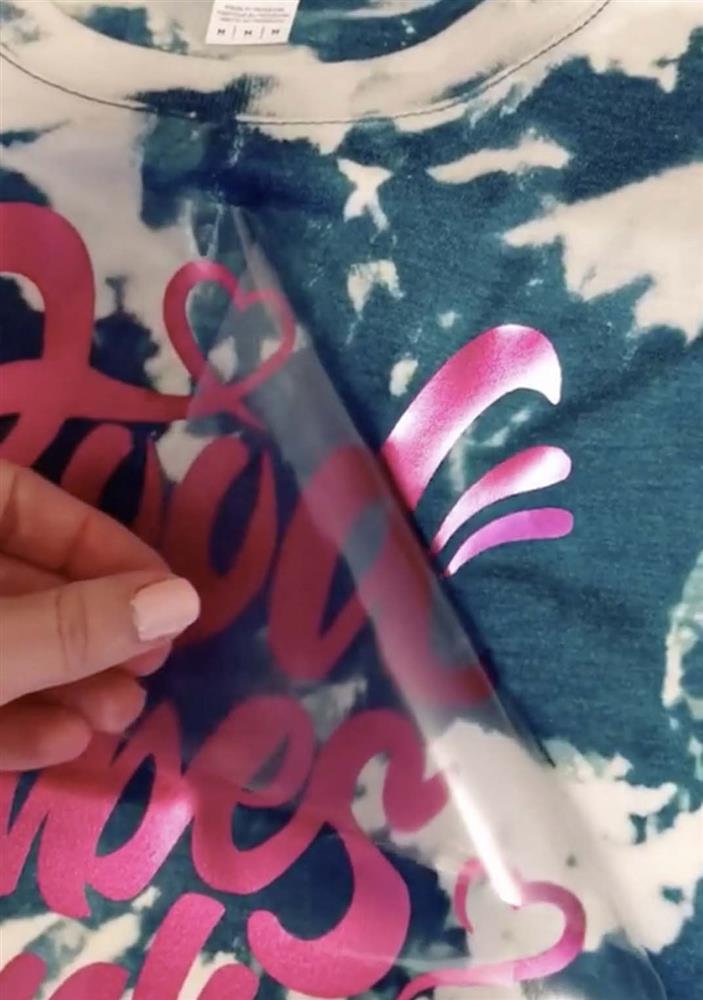
Add vinyl: Don’t forget your HTV yall! I went pretty bold and applied Siser™ Electric Cherry. I got this FREE cut file from: https://shopcraftables.com/products/Free-good-vibes-SVG-Cut-File/?utm_source=Pinterest&utm_medium=Social
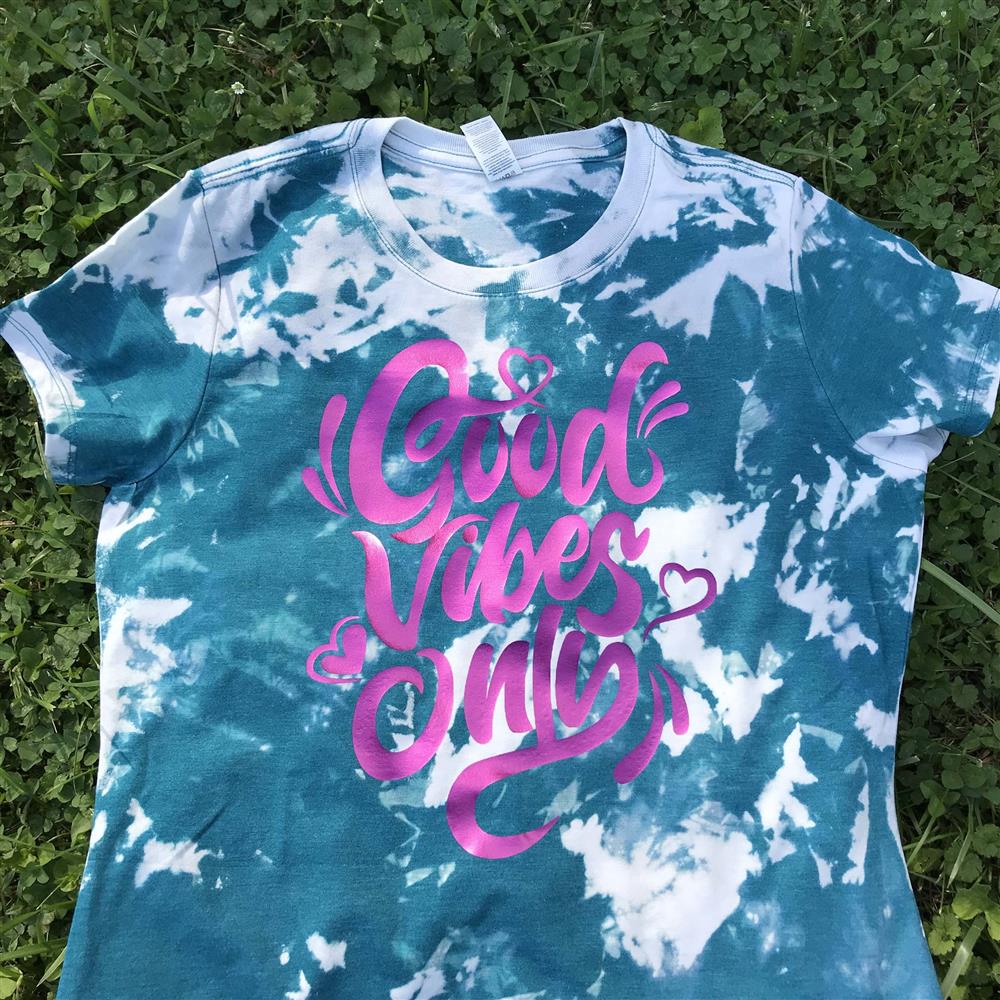

I hope you find some of these tips useful for your next tie-dye adventure! Be sure to share your finished look with us.
Xoxo
Caitlin