


It is now a running joke in the office that I do not know how old I am. I mean really though after you get past a certain age don’t you just forget? Well enough is enough and I’ve decided to fix this by creating a shirt for all to see! Why not put my Silhouette Cameo and Siser® EasyWeed HTV to work?
This design was super simple to make, but what I really want to show you is how important sizing and placement can be! Sizing is completely based on preference but there are a few things to keep in mind when making a bold statement.
Here are some guidelines that I always start with:
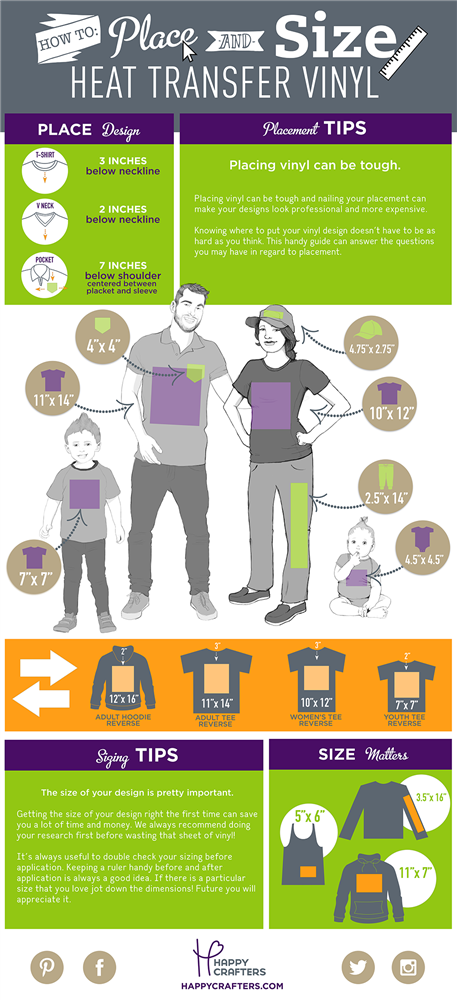
Remember these are just guidelines, so if you find that you prefer something larger GO FOR IT!
Pro Tip: If you are having trouble visualizing the size of something by just measuring, create your own stencil.
There’s no need to have the detailed design laid out, all it will take is the overall shape. You can use paper or poster board so that you are not wasting any vinyl! This should allow you to see exactly how your design will turn out before actually cutting it.
If you are getting ready to sell this product in bulk, it’s always nice to take the extra time to really nail down all the details.
Before you press your design, here are some things you should consider:
1. Create a center line: This is probably the step that can take crafters the most time, but with this tip, you won’t need to bring out the ruler! Simply fold your item in half, in this case, it was our t-shirt and make sure the side seams are even. Press the garment folded either with your heat press or your iron. This will create a center mark for you align your design on!
To find the center of the vinyl decal, fold the weeded design in half making sure it’s the non-sticky side. Only crease the carrier sheet, not the vinyl. Match the lines up from the shirt with the lines from the carrier sheet and press, you’ll have a perfectly centered design in seconds!
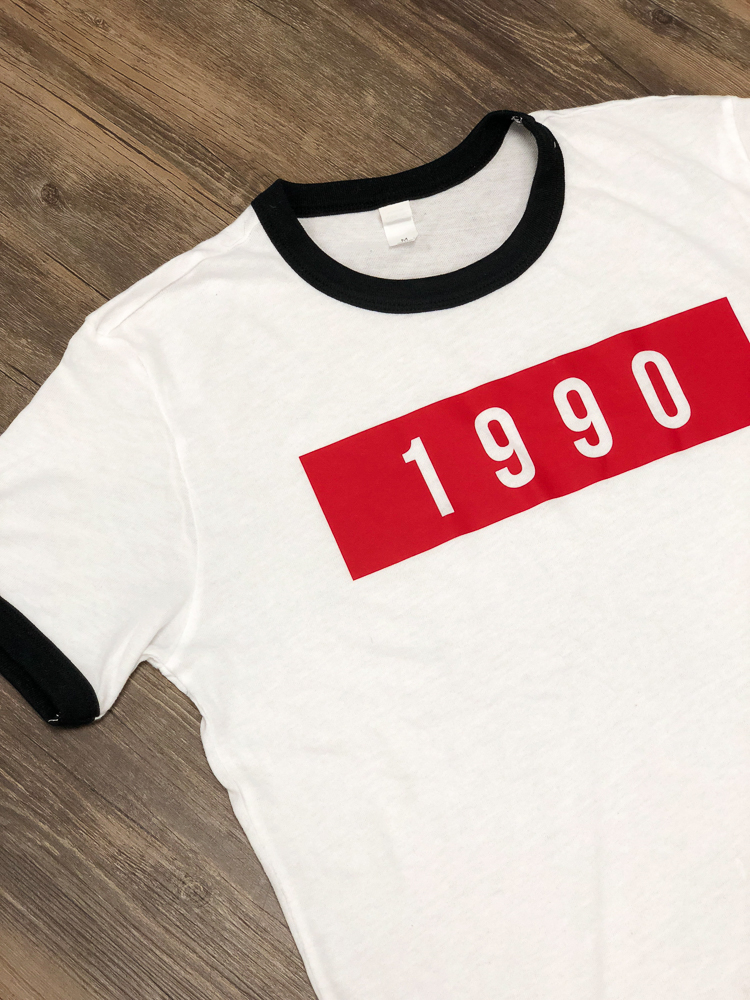
2. Create Negative Space: I am a sucker for designs that are large, sometimes so big that they cover most of the shirt. While this does make for a great statement piece, you need to make sure that there is enough negative space throughout your design as well.
When I was making this 1990 shirt at first, I had the text very small inside of the rectangle. This size would leave a lot of vinyl on the shirt which has potential to wrinkle. By making the text just a little larger I was still able to get the same effect I was going for with just a little less vinyl used. Not only is this more practical for selling to customers but it also made the shirt look more professional and expensive!
3. Don’t second guess yourself: I am horrible at listening to this advice, but I promise to work on it! For most of my designs, once I place it where I want it I generally know immediately if it should be lower or higher. Instead of listening to my gut instinct I tend to move it around 10 times to ensure that’s where I want it.

This can be such a waste of time, especially when I always tend to go with my first placement anyway. So, don’t be scared crafters, we know you have a good eye so just go for it! If you find this to be challenging at first, tape the design with some scotch tape and put it on. Photograph yourself in it and look at the photos, this usually helps make the decision a lot easier and a lot faster.
I hope you find these tips to be helpful and encouraging. I know it’s easier said than done but we are here for you if you have any questions. Sizing and placement can really change the way your finished piece looks, so be sure to ask us any questions you may have!