Have you bought one of our HTV patterns lately but not quite sure how to cut and apply it? Not to worry! Cutting and applying HTV patterns with heat transfer mask is super easy and we’re happy to help guide you through the process with these 3 steps. Using Heat Transfer Vinyl Patterns is a great way to set your design apart as well as add value to your design. Patterned htv gives you a full-color design without all the work. With the new patterned htv, you can make even more profit!
1. Cut Face Up, DO NOT MIRROR
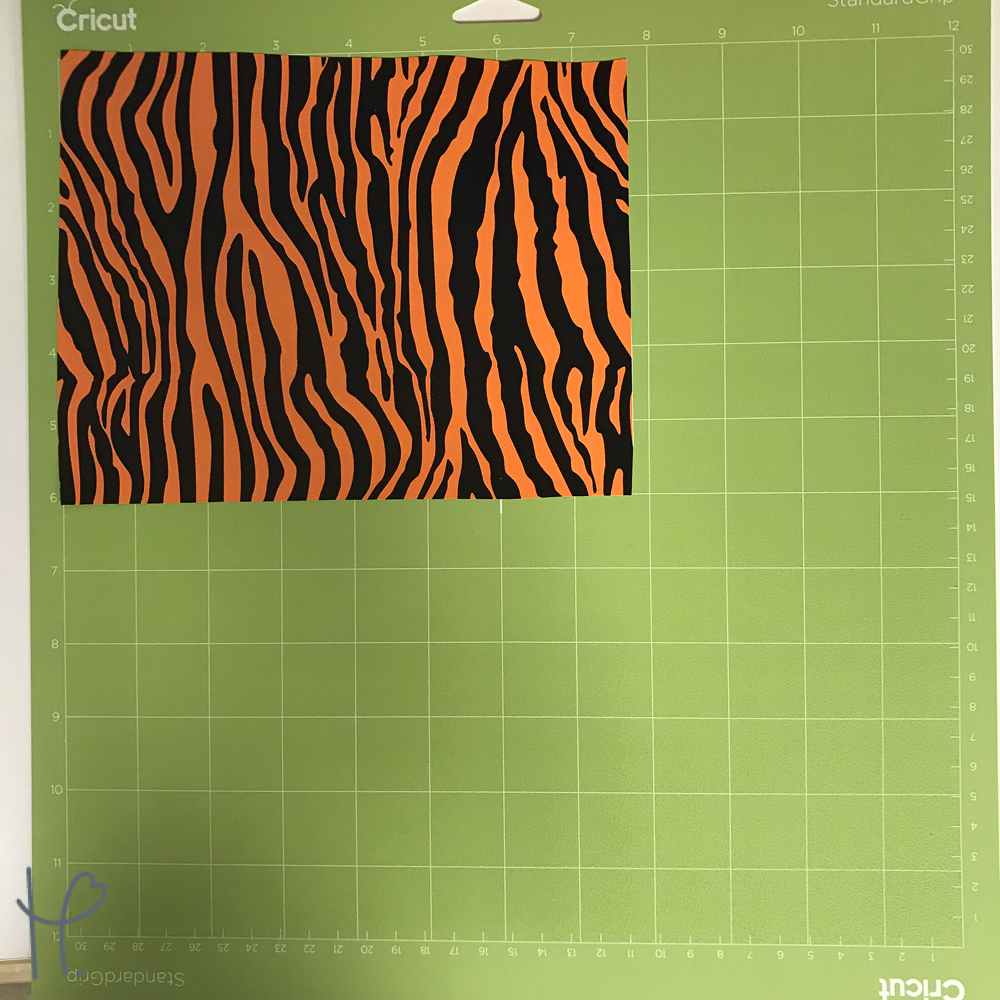
You heard me right, you no longer have to mirror your image to cut into our pattern vinyl! Cut this vinyl at the same setting as you would for our Standard HTV (I used the iron-on setting for Cricut), making sure to cut your vinyl face up as shown below. This means you'll always want to be able to see the printed area of the patterned htv while cutting. You will no longer place the pattern down on your mat.
2. Weed and Apply Mask
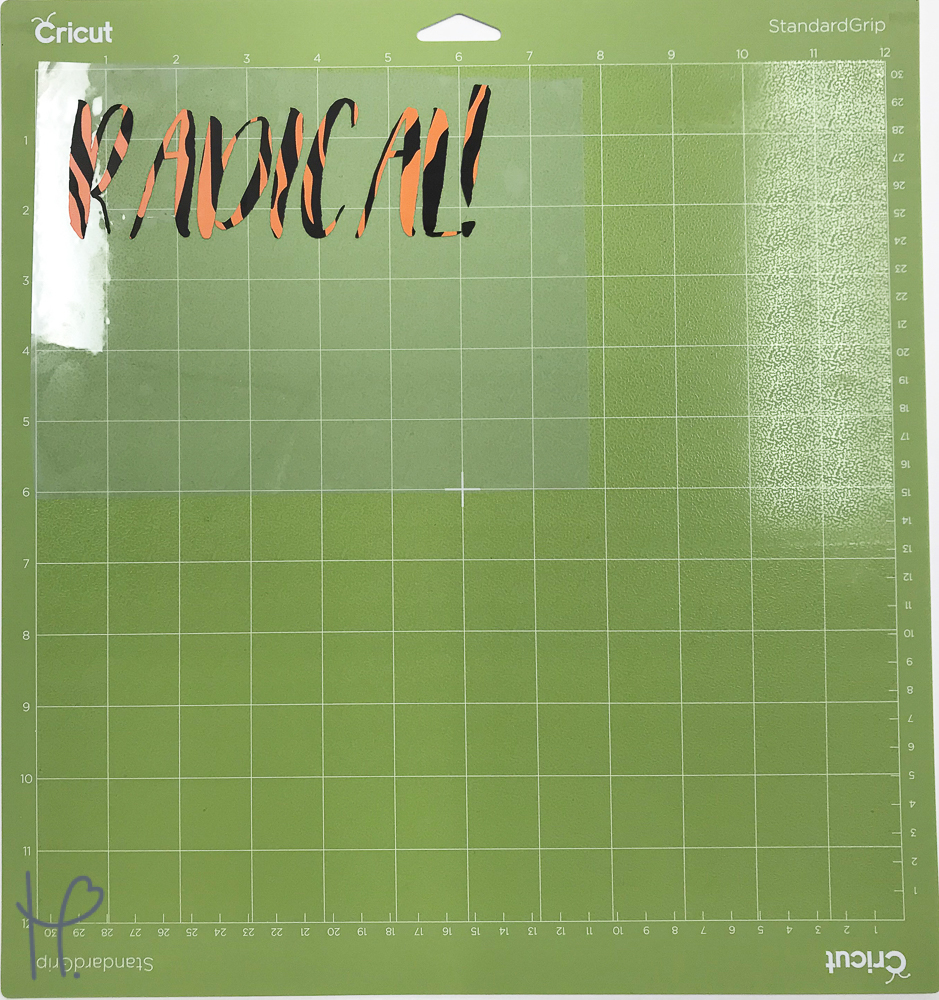
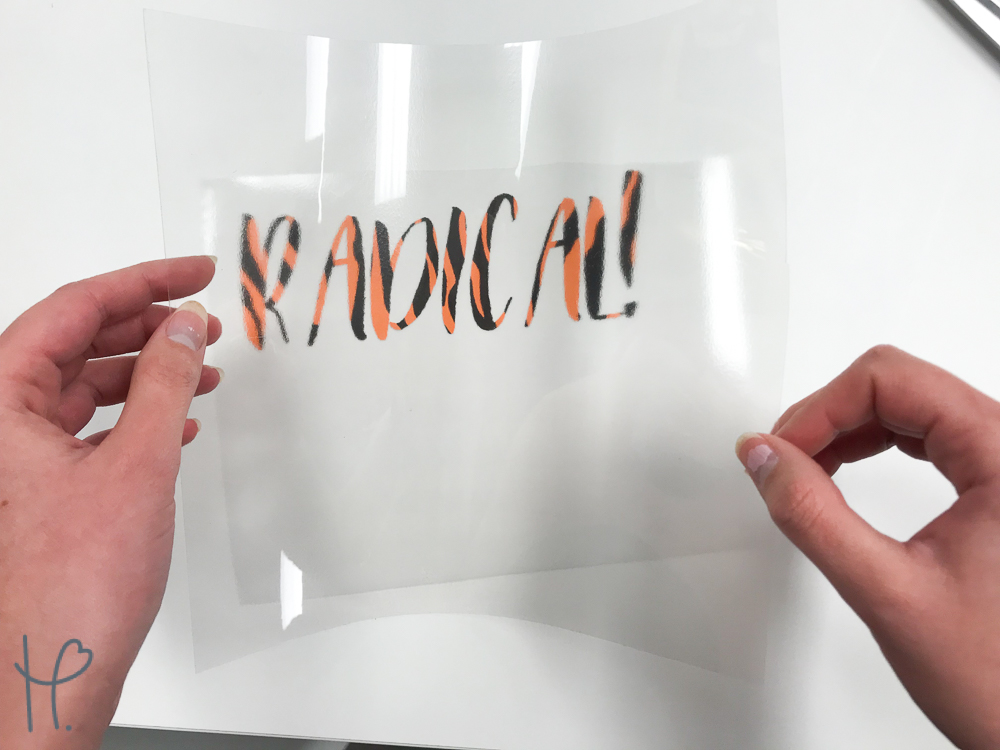
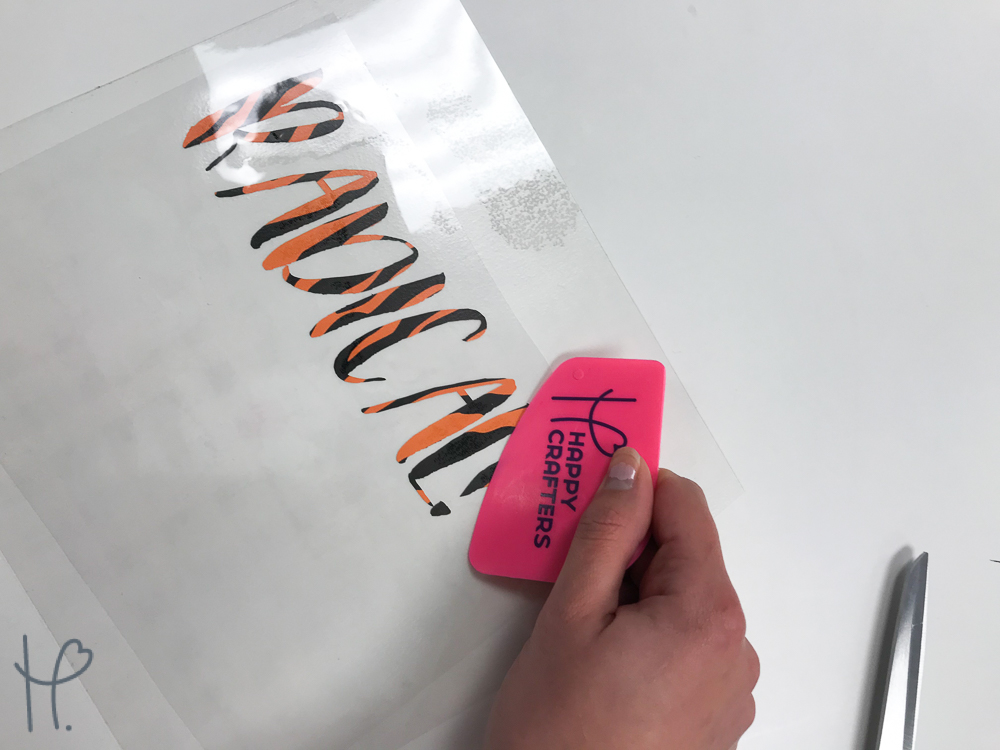
Weed away the excess heat transfer vinyl using a weeder tool and cut a piece of heat transfer mask slightly larger than your design. Carefully place the mask on your design center-first. Now you will apply the mask much like you would adhesive mask by firmly pressing it onto your design with a squeegee. Working from the inside of your design outward will help with this.
Pro Tip: If you're careful with your heat transfer mask, you may be able to reuse it if you are working with multiple designs are one time! This is also a great thing to hold on to in case you cut through your other htv or just to help to pick up weeded scraps in your craft area
3. Apply Heat with Heat Press or Household Iron
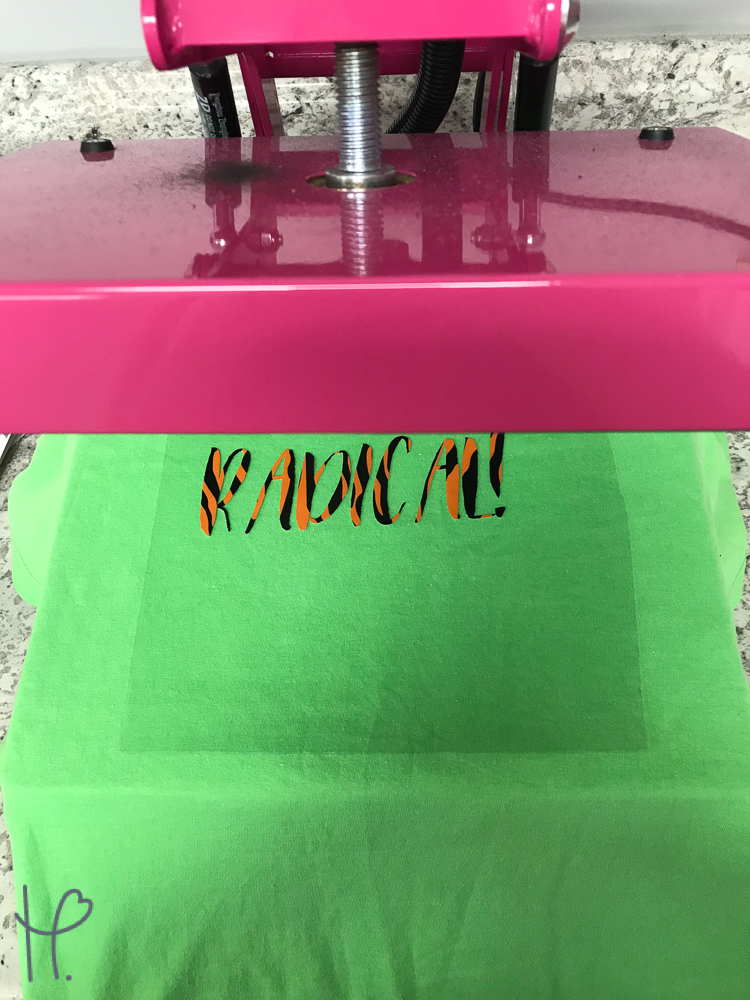
If you are using an iron, set it to Linen and press firmly for 30 seconds. If you are using a heat press apply at 300º for 10 seconds, medium pressure. We know that it can be tough to wait for your designs to cool down before peeling because you're just too excited to see your final vinyl project. The good news is, with the new HTV patterns, you can peel the carrier sheet hot or cold.
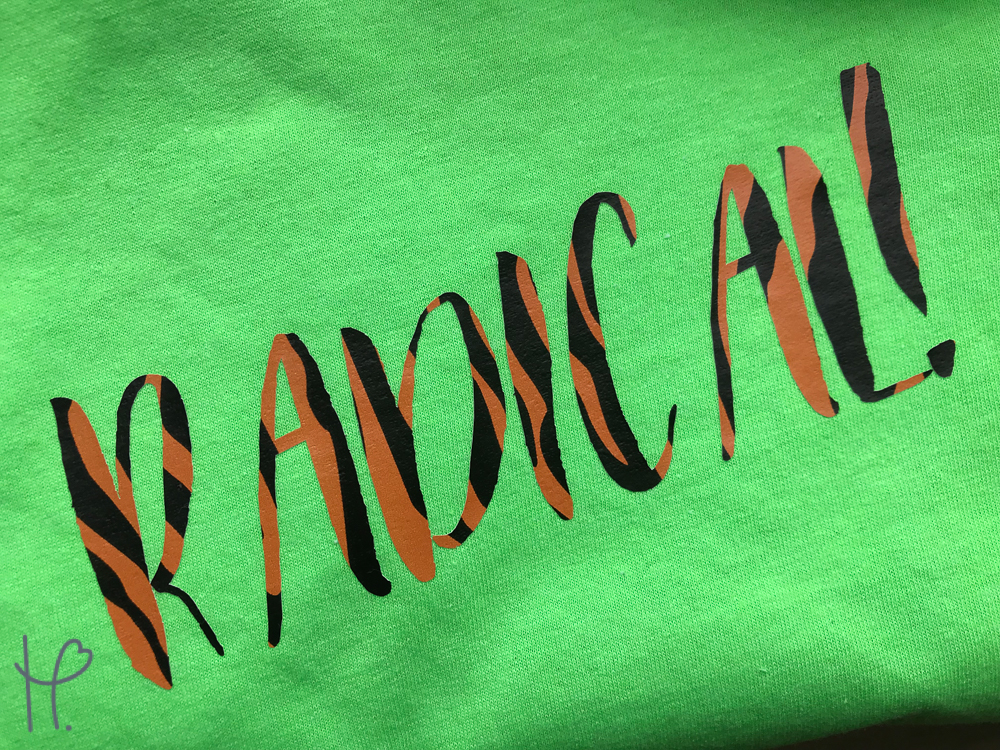
And there you have it, one radical pattern design ready to go on t-shirts, tote bags and more! Happy Crafters carries over 100 patterns in our Pattern HTV line. This means we have all your top sports, animal prints, floral designs, and even Buffalo Plaid! Don't see a pattern you need? Feel free to email us with your pattern needs.
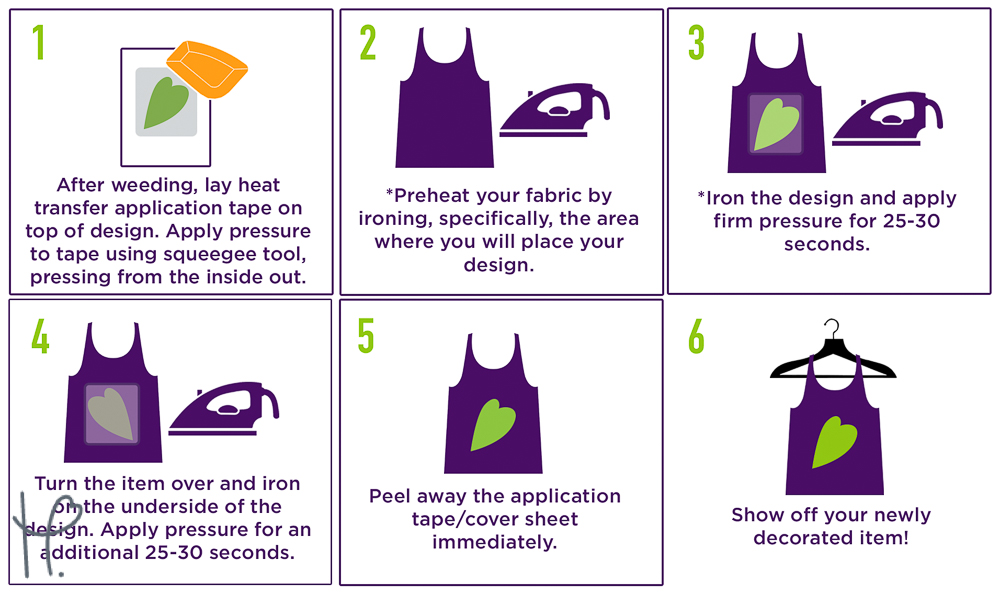
Below you will find detailed instructions on how to apply our pattern HTV with an iron. If you have any further questions or just want to show off some of your favorite patterned projects, send us an e-mail at sales@happycrafters.ca!
