


Have you ever wanted to create a large wall decal with your Silhouette Cameo but weren’t sure where to start? One of my favorite things about adhesive vinyl is its ability to transform your living space without breaking the bank. Whether it be customizing objects within your home or applying it directly to the walls, adhesive vinyl can create a super cute custom look for any room.
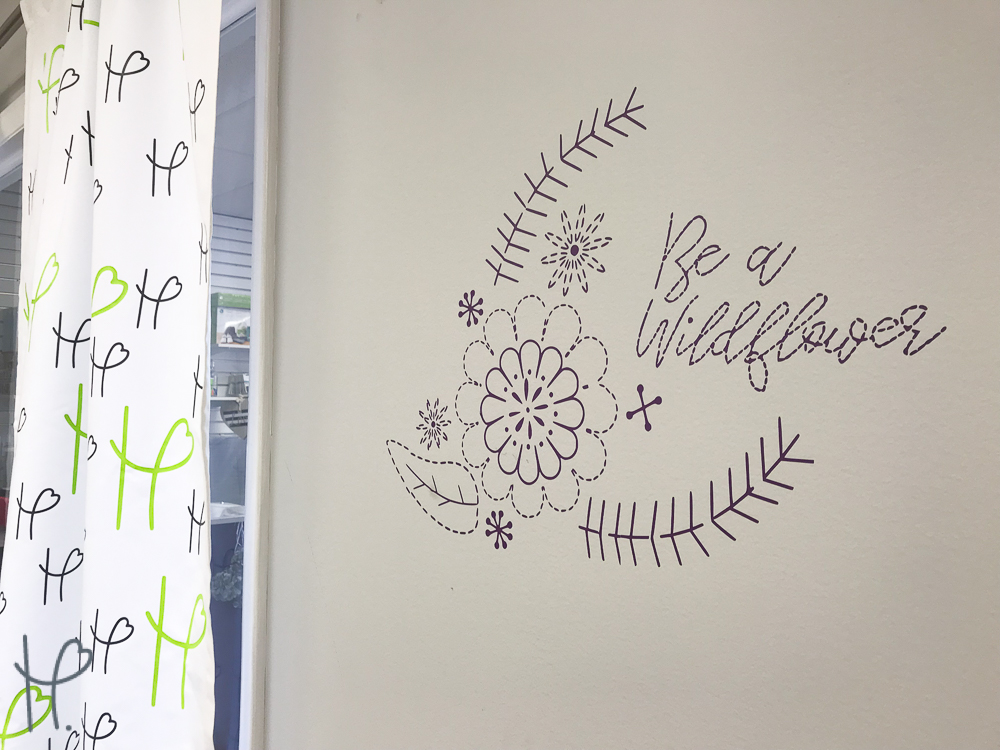
For this project, I used two sheets of 12x24” removable vinyl (which only cost about $3.50), but the challenge that many people find when cutting large decals is how to cut a large decal when their cutter is only 12” wide. I’ll show you the best way to use your silhouette cameo to cut a large design using this super cute embroidery design that I made, while also giving you some tips for the best ways to apply a large decal to your wall!
Materials Used:
- Silhouette Cameo Craft Vinyl Cutter
- 2 sheets of 12x24” Purple OraCal 631 Removable Wall Vinyl
- 24” Silhouette Cutting Mat
- Clear Application Tape
- Lil’ Chizler Squeegee Tool
- Scissors
- Painters/Masking tape
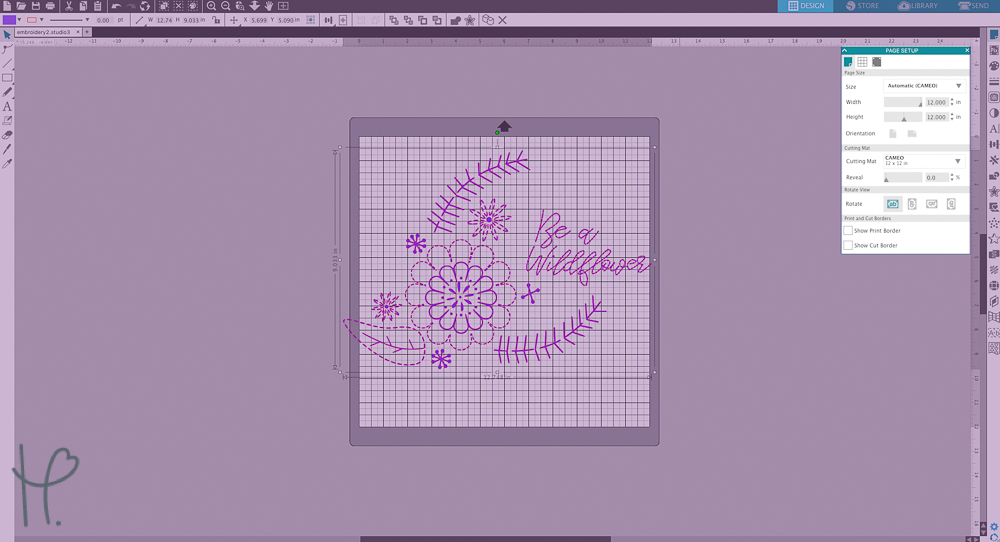
Step 1: Prepare Your Mat in Silhouette Studio
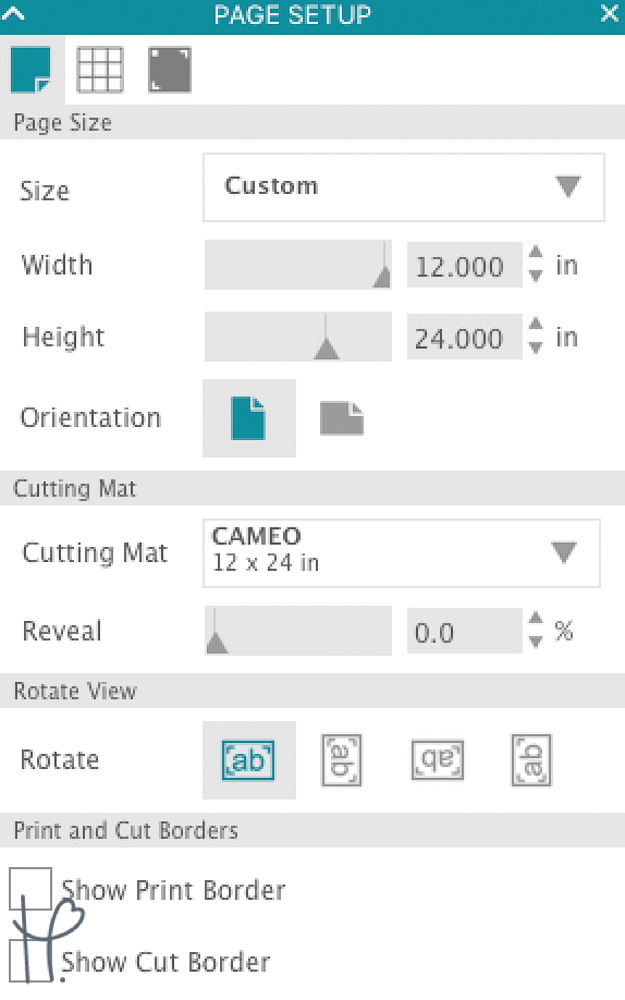
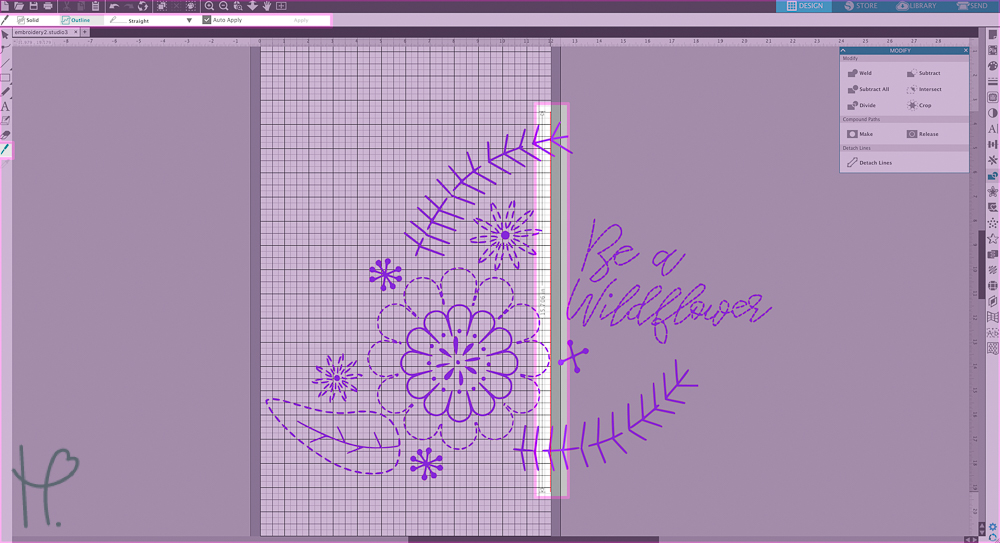
Even though it is possible to cut a large design with a 12”x12” mat, using a 12”x24” cuts your time and effort in half. To use a 12”x24” mat in Silhouette Studio you will want to open your “Page Setup” panel on the left side of your screen after loading your design.
Your mat size will be set to the default 12x12” size, simply go into the height section and type in 24 inches. This will reset your size to “Custom”. Then in the “Cutting Mat” section scroll down and select the “CAMEO 12 x 24 in” option. You are now set up to cut on a 24-inch cut mat!
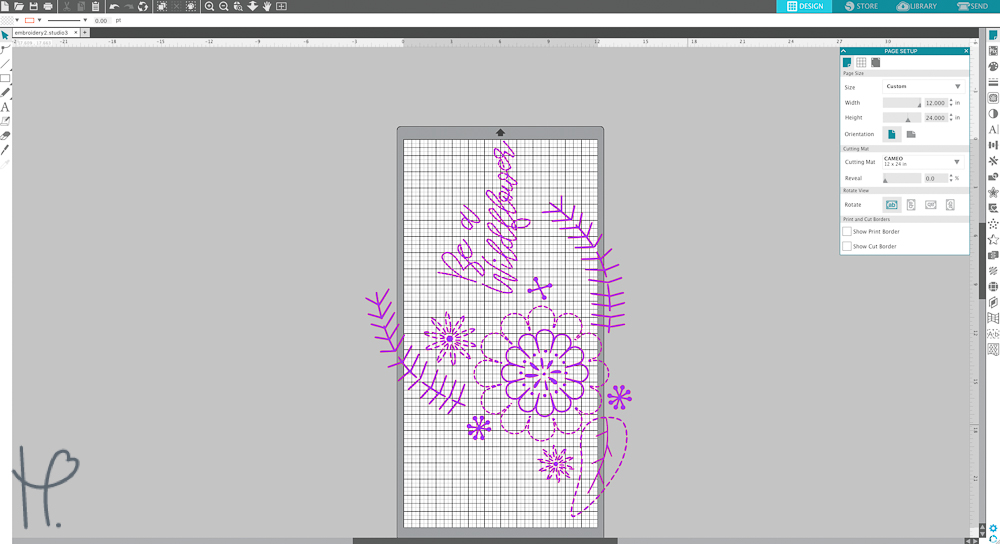
Step 2: Size & Separate your Design
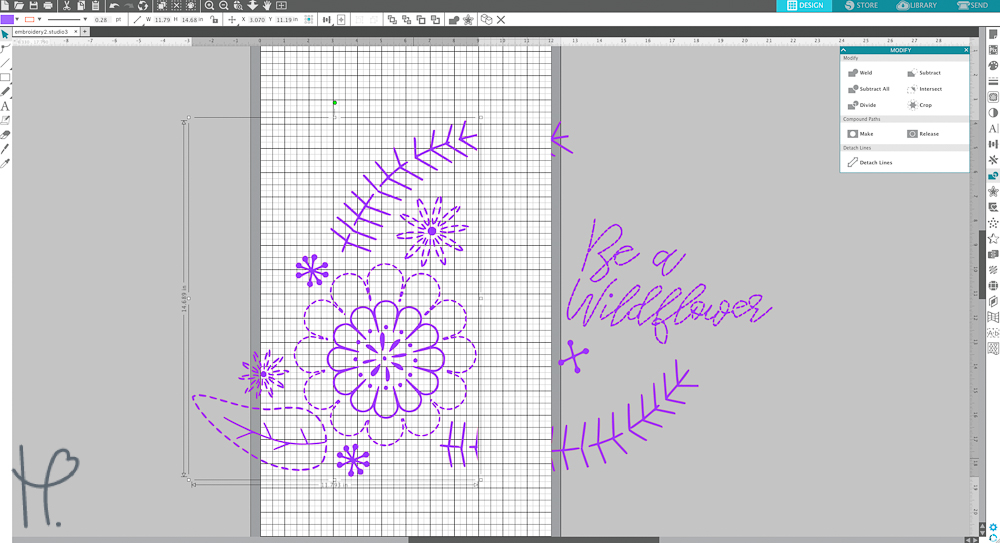
Size your wall graphic design for however large you want it to be (don’t worry about it being larger than the mat size). For this design, I decided that I wanted it to be just under 24 inches long. I then rotated my design so that half of it would fit onto my cut mat.
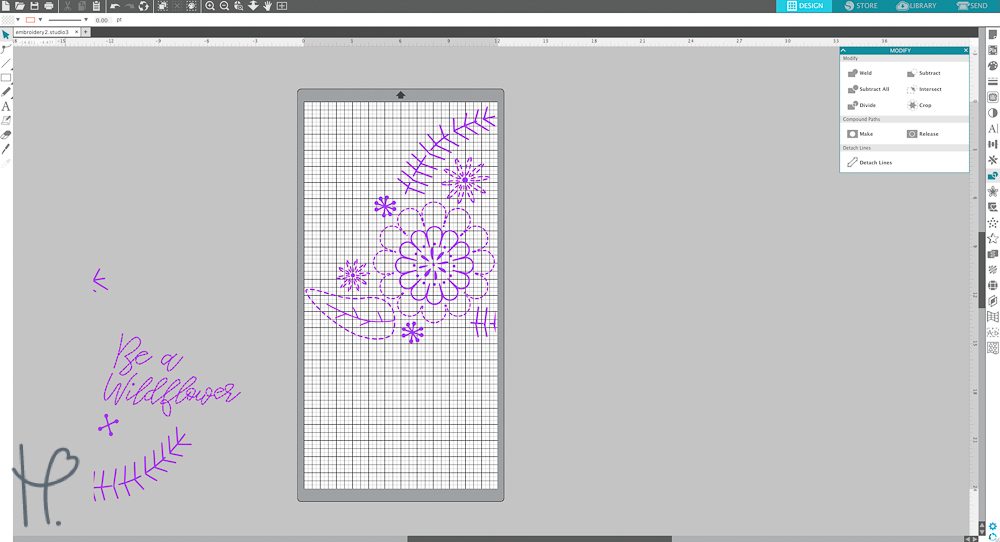
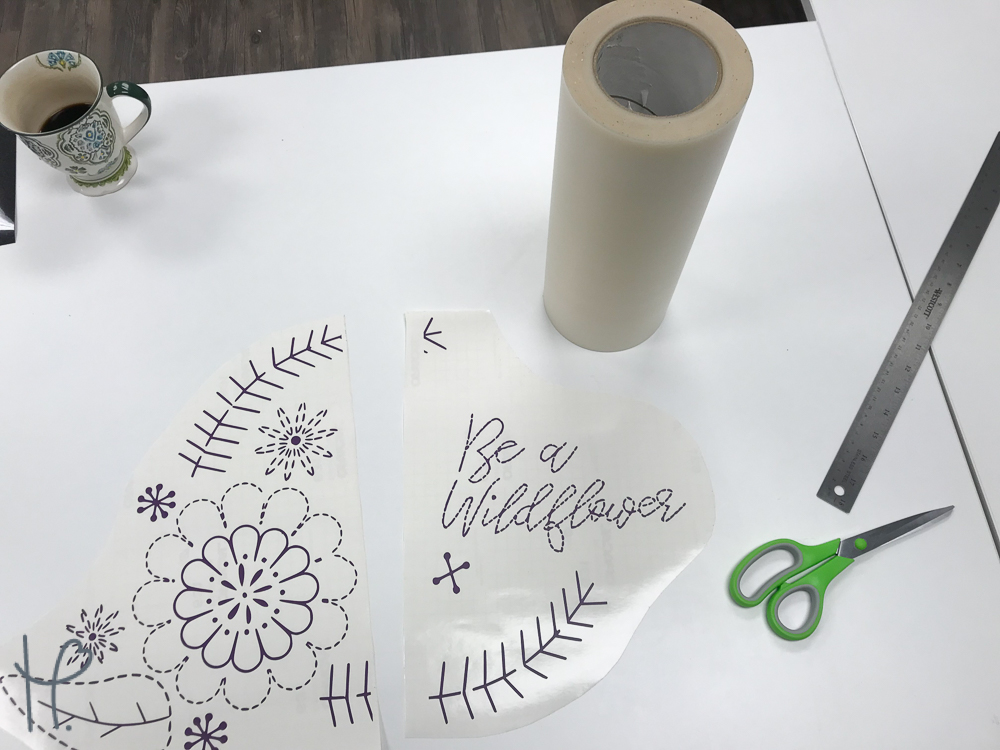
My design took two mats worth of material to cut, so I had to cut it in half to properly divide it between the two cut mats. To do this I used the Knife Tool, located on the bottom right of your screen. I used the edge of my mat as a center line and drew a straight line with the knife tool to cut the design in half.
Then I selected and grouped each half of the design separately, moving one half off of the mat to cut later.
Step 3: Cut & Weed Your Vinyl
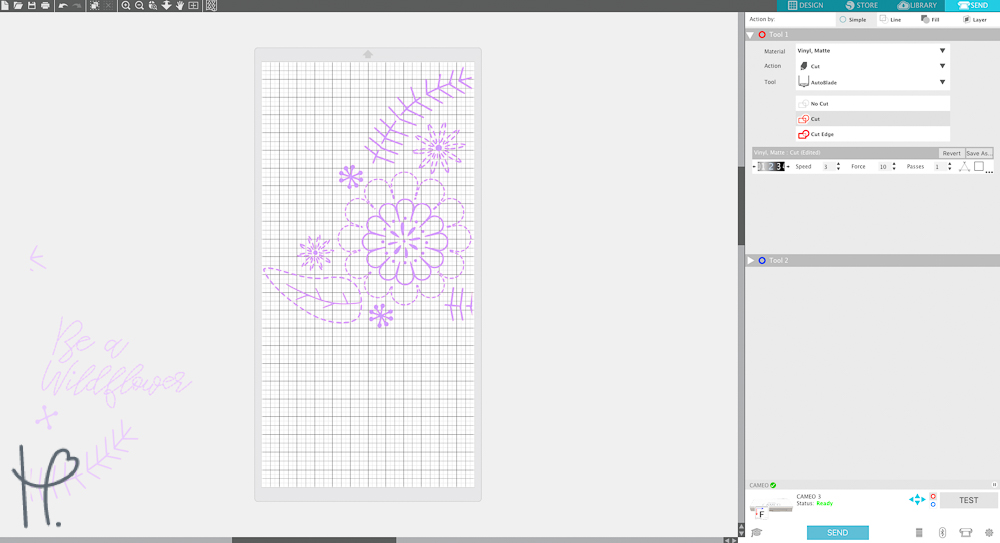
To cut this design I started on the Vinyl Matte setting, but after doing a test cut realized that the blade setting needed to be adjusted slightly due to my blade being a little dull. I always recommend doing a test cut before any project, but I find it particularly important for a big project like this one.
Since this design was so intricate I slowed down my speed settings to guarantee a clean cut. I cut my vinyl face up and DID NOT mirror it. Once my first sheet of vinyl was cut I moved the design off of the cut mat and replaced it with the second half.
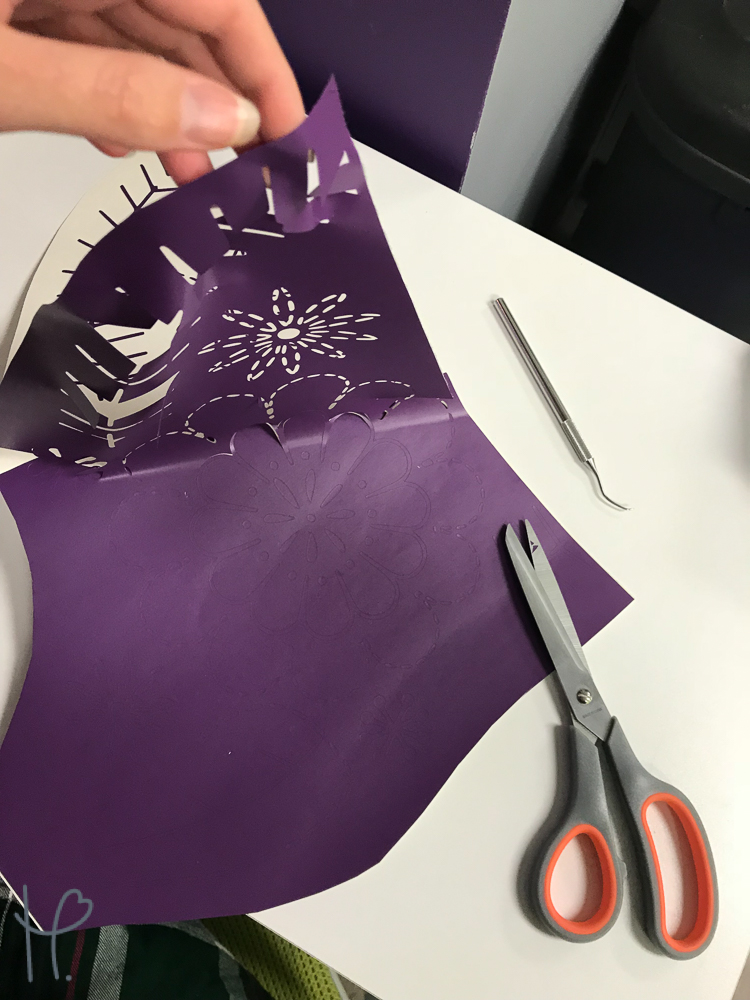
Before weeding my design, I trimmed away any excess vinyl to put in my scrap drawer. I made sure to go slow and easy while weeding this complicated design so that I didn’t accidentally pick up any leftover pieces.
Step 4: Mask & Apply
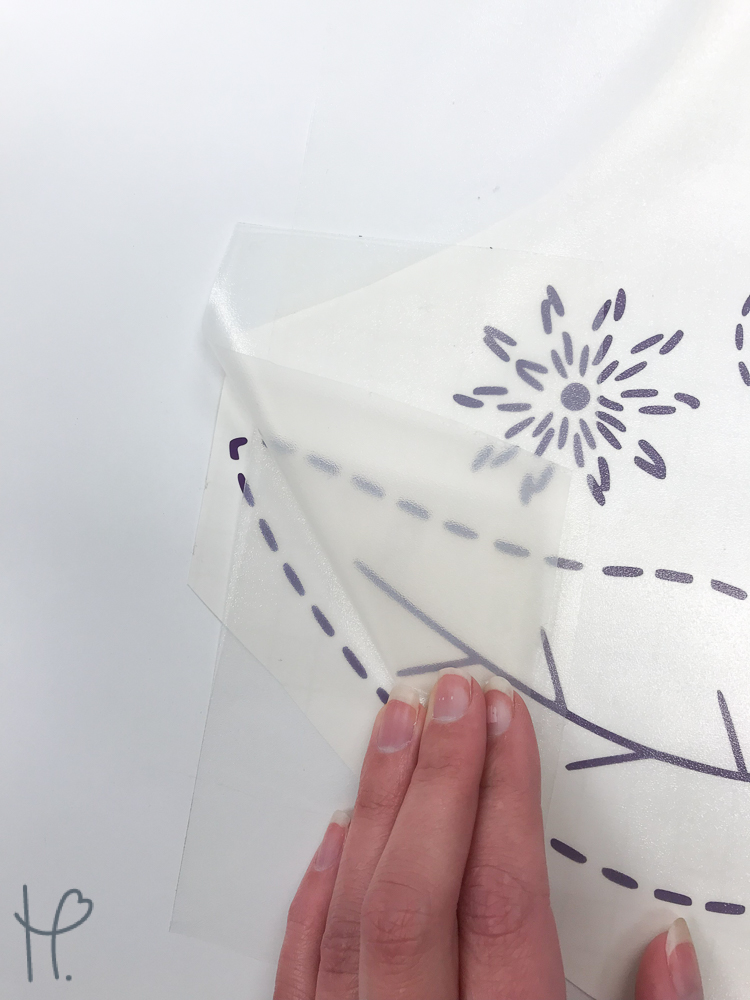
For this project, I used our 12” roll of clear application tape. Luckily it was able to cover most of my design except for a small corner, however, don’t worry if your tape doesn’t cover your entire design! You can easily layer it like shown here. Make sure to firmly apply the tape with your squeegee, pressing from the inside outward.
Once the tape was applied, I left the backing in place and made sure that a little application tape was hanging over the edge. I then lined up my design on the wall, adhering it with the excess tape.
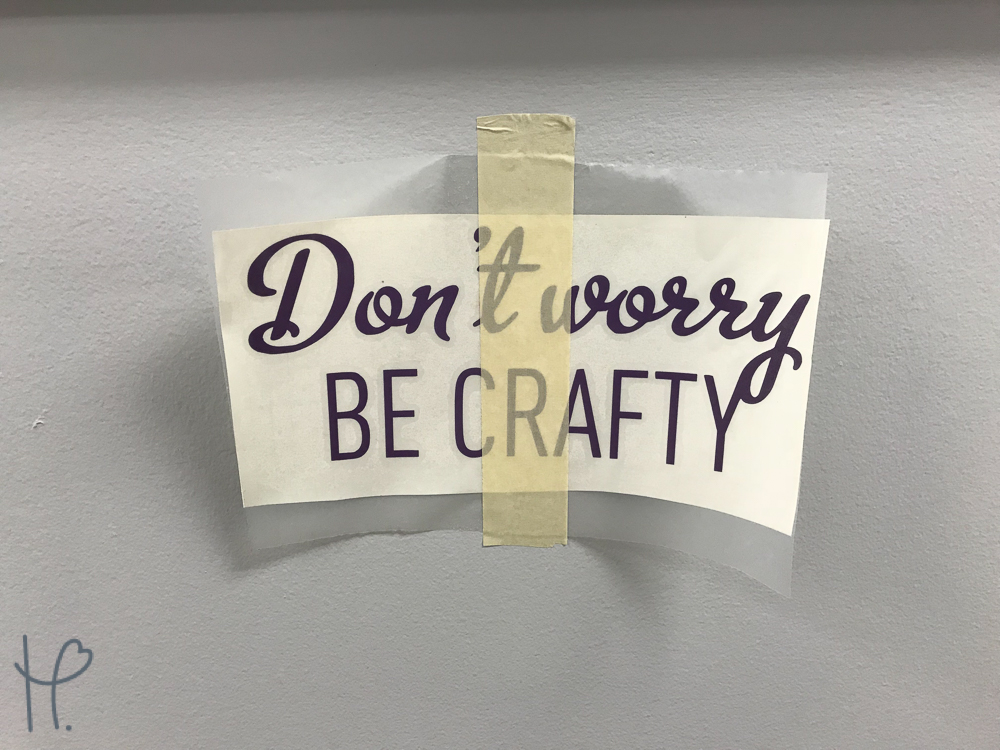
Once my design was lined up to where I wanted, I used the “hinge method” to apply it. To accomplish this method, you will place a piece of tape in the middle of each piece, cutting it long enough to stick to the wall.
Then, gently peel back your application tape and cut away the paper backing underneath. Lay your application tape back onto the wall and rub with your squeegee to apply the vinyl. Working from your hinge outward will have the smoothest results.

Then, remove your hinge and the rest of your paper backing. Set the rest of your design back onto the wall and apply with your squeegee. Make sure to give your whole design one final rub down before fully removing your application tape.
And there you have it- one fully adhered, bubble-free wall decal!
Things to Remember:
- Design your wall decal at full size
- Use the knife tool to split your design
- If you are applying the decal alone, use the hinge method to apply large wall graphics
Here is the free cut file that I used! Try using this super cute and crafty embroidery design on your own walls, pillowcases, and more! And as always if you’d like to share your projects with us or just have questions about anything at all, feel free to contact us on Facebook or Instagram or send an e-mail to sales@happycrafters.com.
Until next time!
Elisha