


MAKE YOUR PRODUCTS STAND OUT
When you're looking to sell your crafts online, whether they be vinyl crafts, wooden crafts, or something else, there are a few things that can help your products stand out and perform better. Having quality product photos can be the difference between making or losing a sale. Think about what types or product photos you're more drawn to. Take a look at the product photos below. Which listing would you want to purchase?
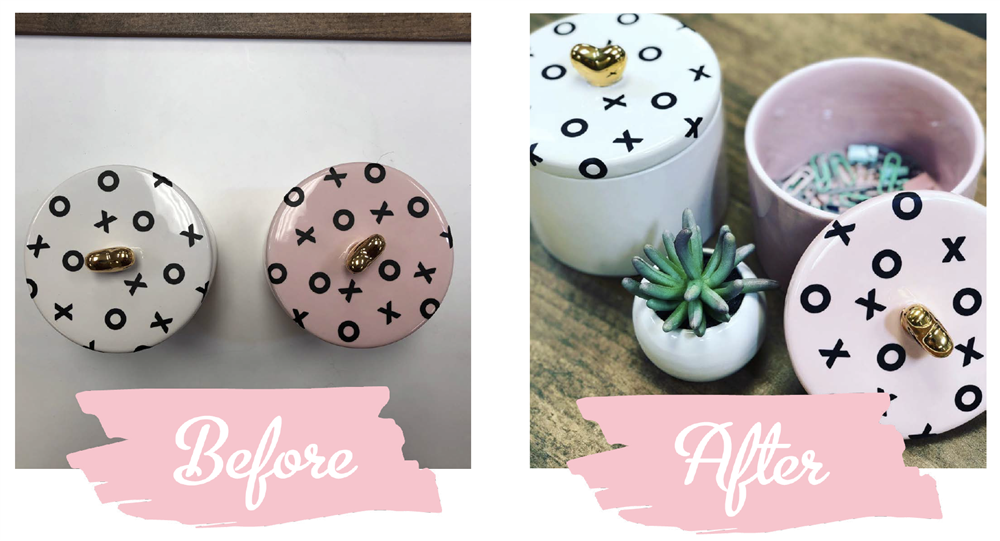
Without even realizing it, we tend to be more attracted to the product photos like the one on the right. These photos catch our eye, they're nice and bright, and they make the product itself look more appealing. Not sure how to get your product photos to look great? We have five tips that will help you take better product photos.
5 TIPS FOR BETTER PHOTOS
1. LIGHTING
The number one thing that can make or break a great product photo is the lighting. It can be really tough to come by natural light in your office, craft room, or just somewhere in your house that you think is right for photos, but if you can find natural light, your photos will thank you!
There are a few reasons to search for natural light when you're capturing your product photos. The first is that the color of your products will photograph more accurately in natural light. Have you ever taken a photo in a dark room and it looks orange? This is due to the temperature of the light source. Every light source has it's own hue, or color, that it casts. For example, your average tungsten light bulb will have a warmer hue than a fluorescent light. Warm light makes your subject orange while cold light has a tendency to turn it blue. IF you take photos near a window with natural light, most likely your colors will be correct.
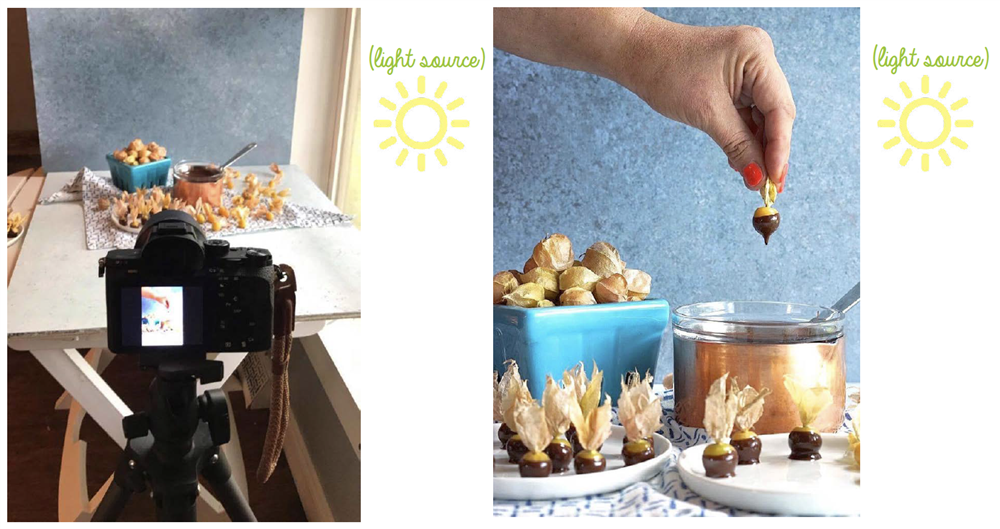
Take a look at the photos below that Hayley of Health Starts in the Kitchen used in her cookbook. Hayley positioned her items near a window and used a white table that allowed the light to reflect up and fill in some of the shadows in her food.
Want to step your product photos up even more? Grab a sheet of poster board or whiteboard. If you place these boards around your products, the light will bounce off the whiteboard and back to the product. This will give you a gorgeous soft light. Using a window and a whiteboard will create a makeshift lightbox.
2. CHOOSING A BETTER BACKGROUND
There are so many things you can use for backgrounds. You don't have to just use a white wall or a white table. Think outside the box! A hardwood floor creates a great backdrop. you can also use a blank wall, wrapping paper, tablecloths- the only limit is your imagination! Don't stop at just plain backgrounds either. If your product is a plain color or pattern, spruce up your background.
One thing to avoid is a background that your product will blend into. If your product is white or very light in color, you won't want to place that product on a white or light-colored background. Make sure your product and your background are contrasting colors. Otherwise, your product could get lost in the background, and this won't make a good image.
If you're selling shirts, consider modeling your products outside in an environment that suits your shirt's design. Remember to think back to the lighting here. If you're shooting in bright sun, put the sun at your model's back and use your camera settings to expose for the model. This will create a catch light which will help separate your model from the background. It will also make for better lighting on the shirt.
If you're not ready to get models for your shirts, consider folding the shirts and placing them on a wooden backdrop, dining room table, a canvas bag, or something else with a unique pattern or texture you have on hand.

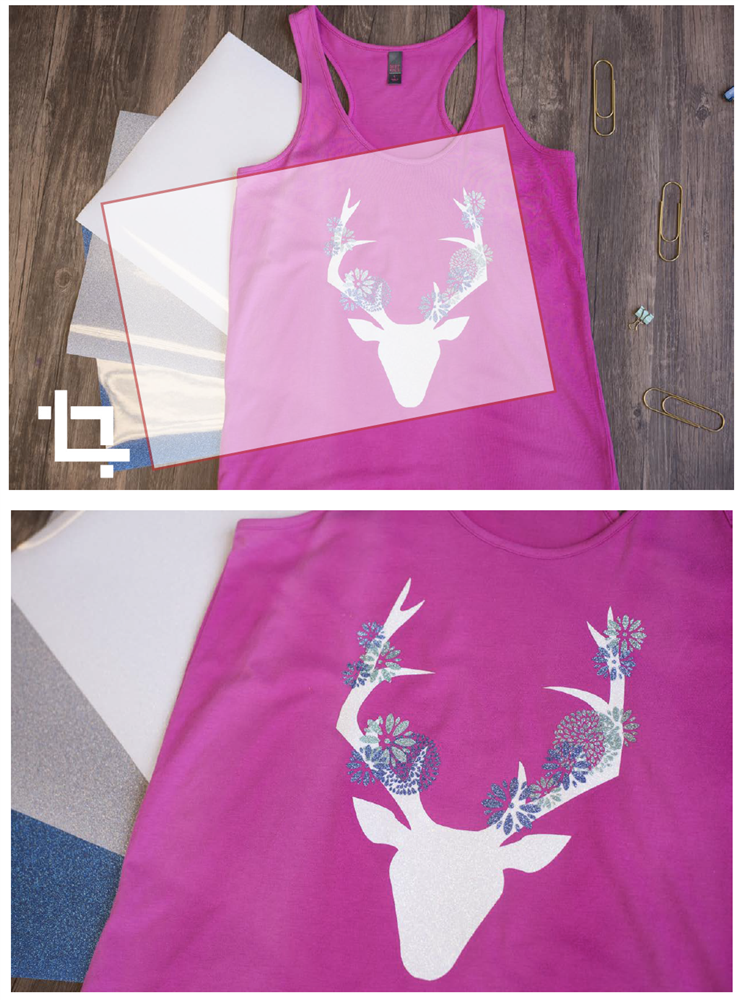
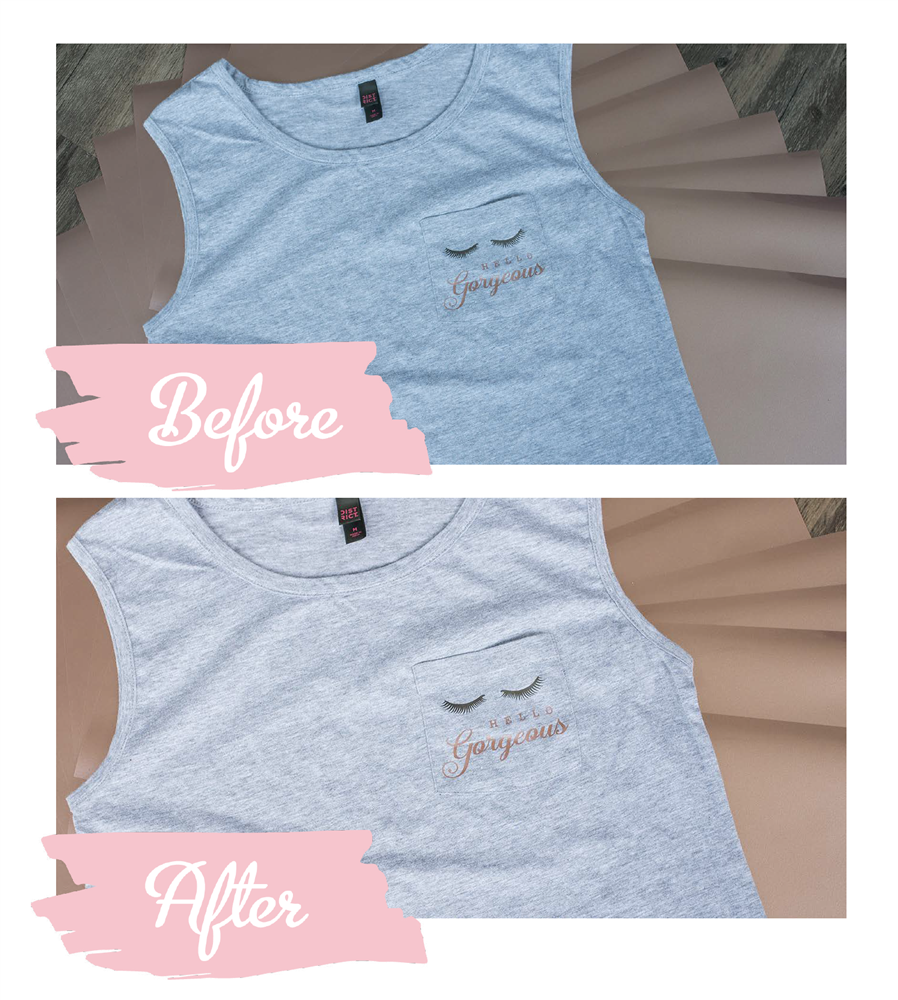
3. CROPPING
Once you have your lighting and background set up, you can improve your photos even more by cropping them. Remember the photo above that Hayley took? Had she not tightly cropped that photo, the focus wouldn't have stayed on the food she was making. Your eyes would have drifted away.
Cropping also allows you to eliminate busy backgrounds that you may not want to be visible. For this reason, make sure to crop your photos so that the focus falls where you want it to be. For instance, in the photos below, the top was the original, but I wanted to focus in on the design a bit more, so the bottom is the final version.
4. COLOR
Have you ever shopped online and couldn't tell the color of the product you were purchasing? Have you ever purchased an item, but when you received it, the color just wasn't what you expected based on the product photos? This is an issue you can avoid with your own product photos.
Ensuring your photos show an actual depiction of the item your customers are receiving will help eliminate complaints and returns. It will also help your sales. If customers can get an accurate idea of the item, they'll be more likely to purchase your products.
Sometimes, even when you're doing everything right, your color can be off. There are multiple reasons for this, but one you may run into the most other than lighting is that something in your photo is tricking the camera. For instance, if there is nothing white in your image, but something beige or cream, your camera could think that is white.
This will cause your photo to be too warm or yellow. You can fix this in multiple ways. Depending on the programs or apps you're using to edit your photos, you can adjust this by tweaking your "color balance". This allows you to manually adjust a photo to have more yellow or blue in the image. You may also see this labeled as temperature.
5. STAGING
Want your product photos to stand out even more? Go the extra mile and stage your products. This is something small that can go a long way. Staging allows your customers to see what this product looks like in the area it will be used. For instance, if you're selling tea towels, why not stage. them with utensils, mixers, or other items found in your kitchen? This will allow your customers to imagine them in their own kitchen. Staging can spark emotions for your customers, and emotions are typically what sells products.

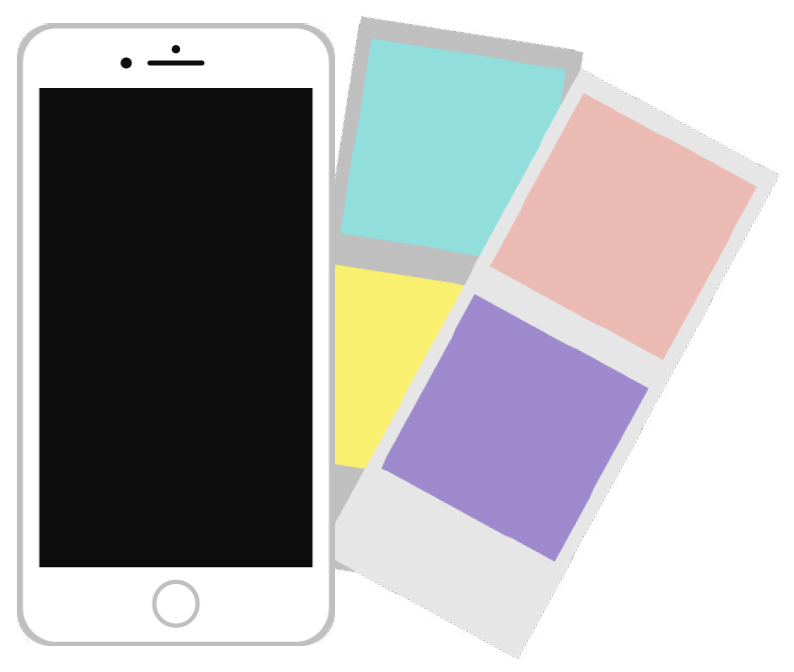
TAKING PHOTOS WITH YOUR SMARTPHONE
Now that you understand what makes a great product photo, it's time to figure out how you're going to take them. If you don't have an expensive camera there are multiple apps for both Android and iOs that allow you to really push your phone's camera to the max and take better photos.
The VSCO app sets the gold standard for smartphone photography. The app itself is free; however, there are in-app purchases that you can make. If you're using this for product photos, you won't need to purchase any presets as you want those photos to be as clear as possible. This app allows you to adjust your brightness & color before taking a photo and gives you more control on focusing. It also includes an editing program so you can make adjustments once you've taken the photo.
If you're looking for other app options, Android's Camera Zoom FX and iPhone's Camera+ are also highly recommended apps. Although these apps require a purchase, they extend your options when using your phone to capture your product photos.
Another free option is Adobe Photoshop Express for Android or iPhone. This app allows you to edit and adjust your photos color, brightness, size, and more! There's also a paid version that has a few more features than the free version.
.jpg)

DOWNLOAD THE FULL EBOOK
Now that you've read this blog, hopefully, you are more confident in taking your product photos. If you'd like more tips on how to sell your crafts and how to grow your craft business, download the free ebook "How to Grow Your Craft Business" by entering your email below!
* indicates required