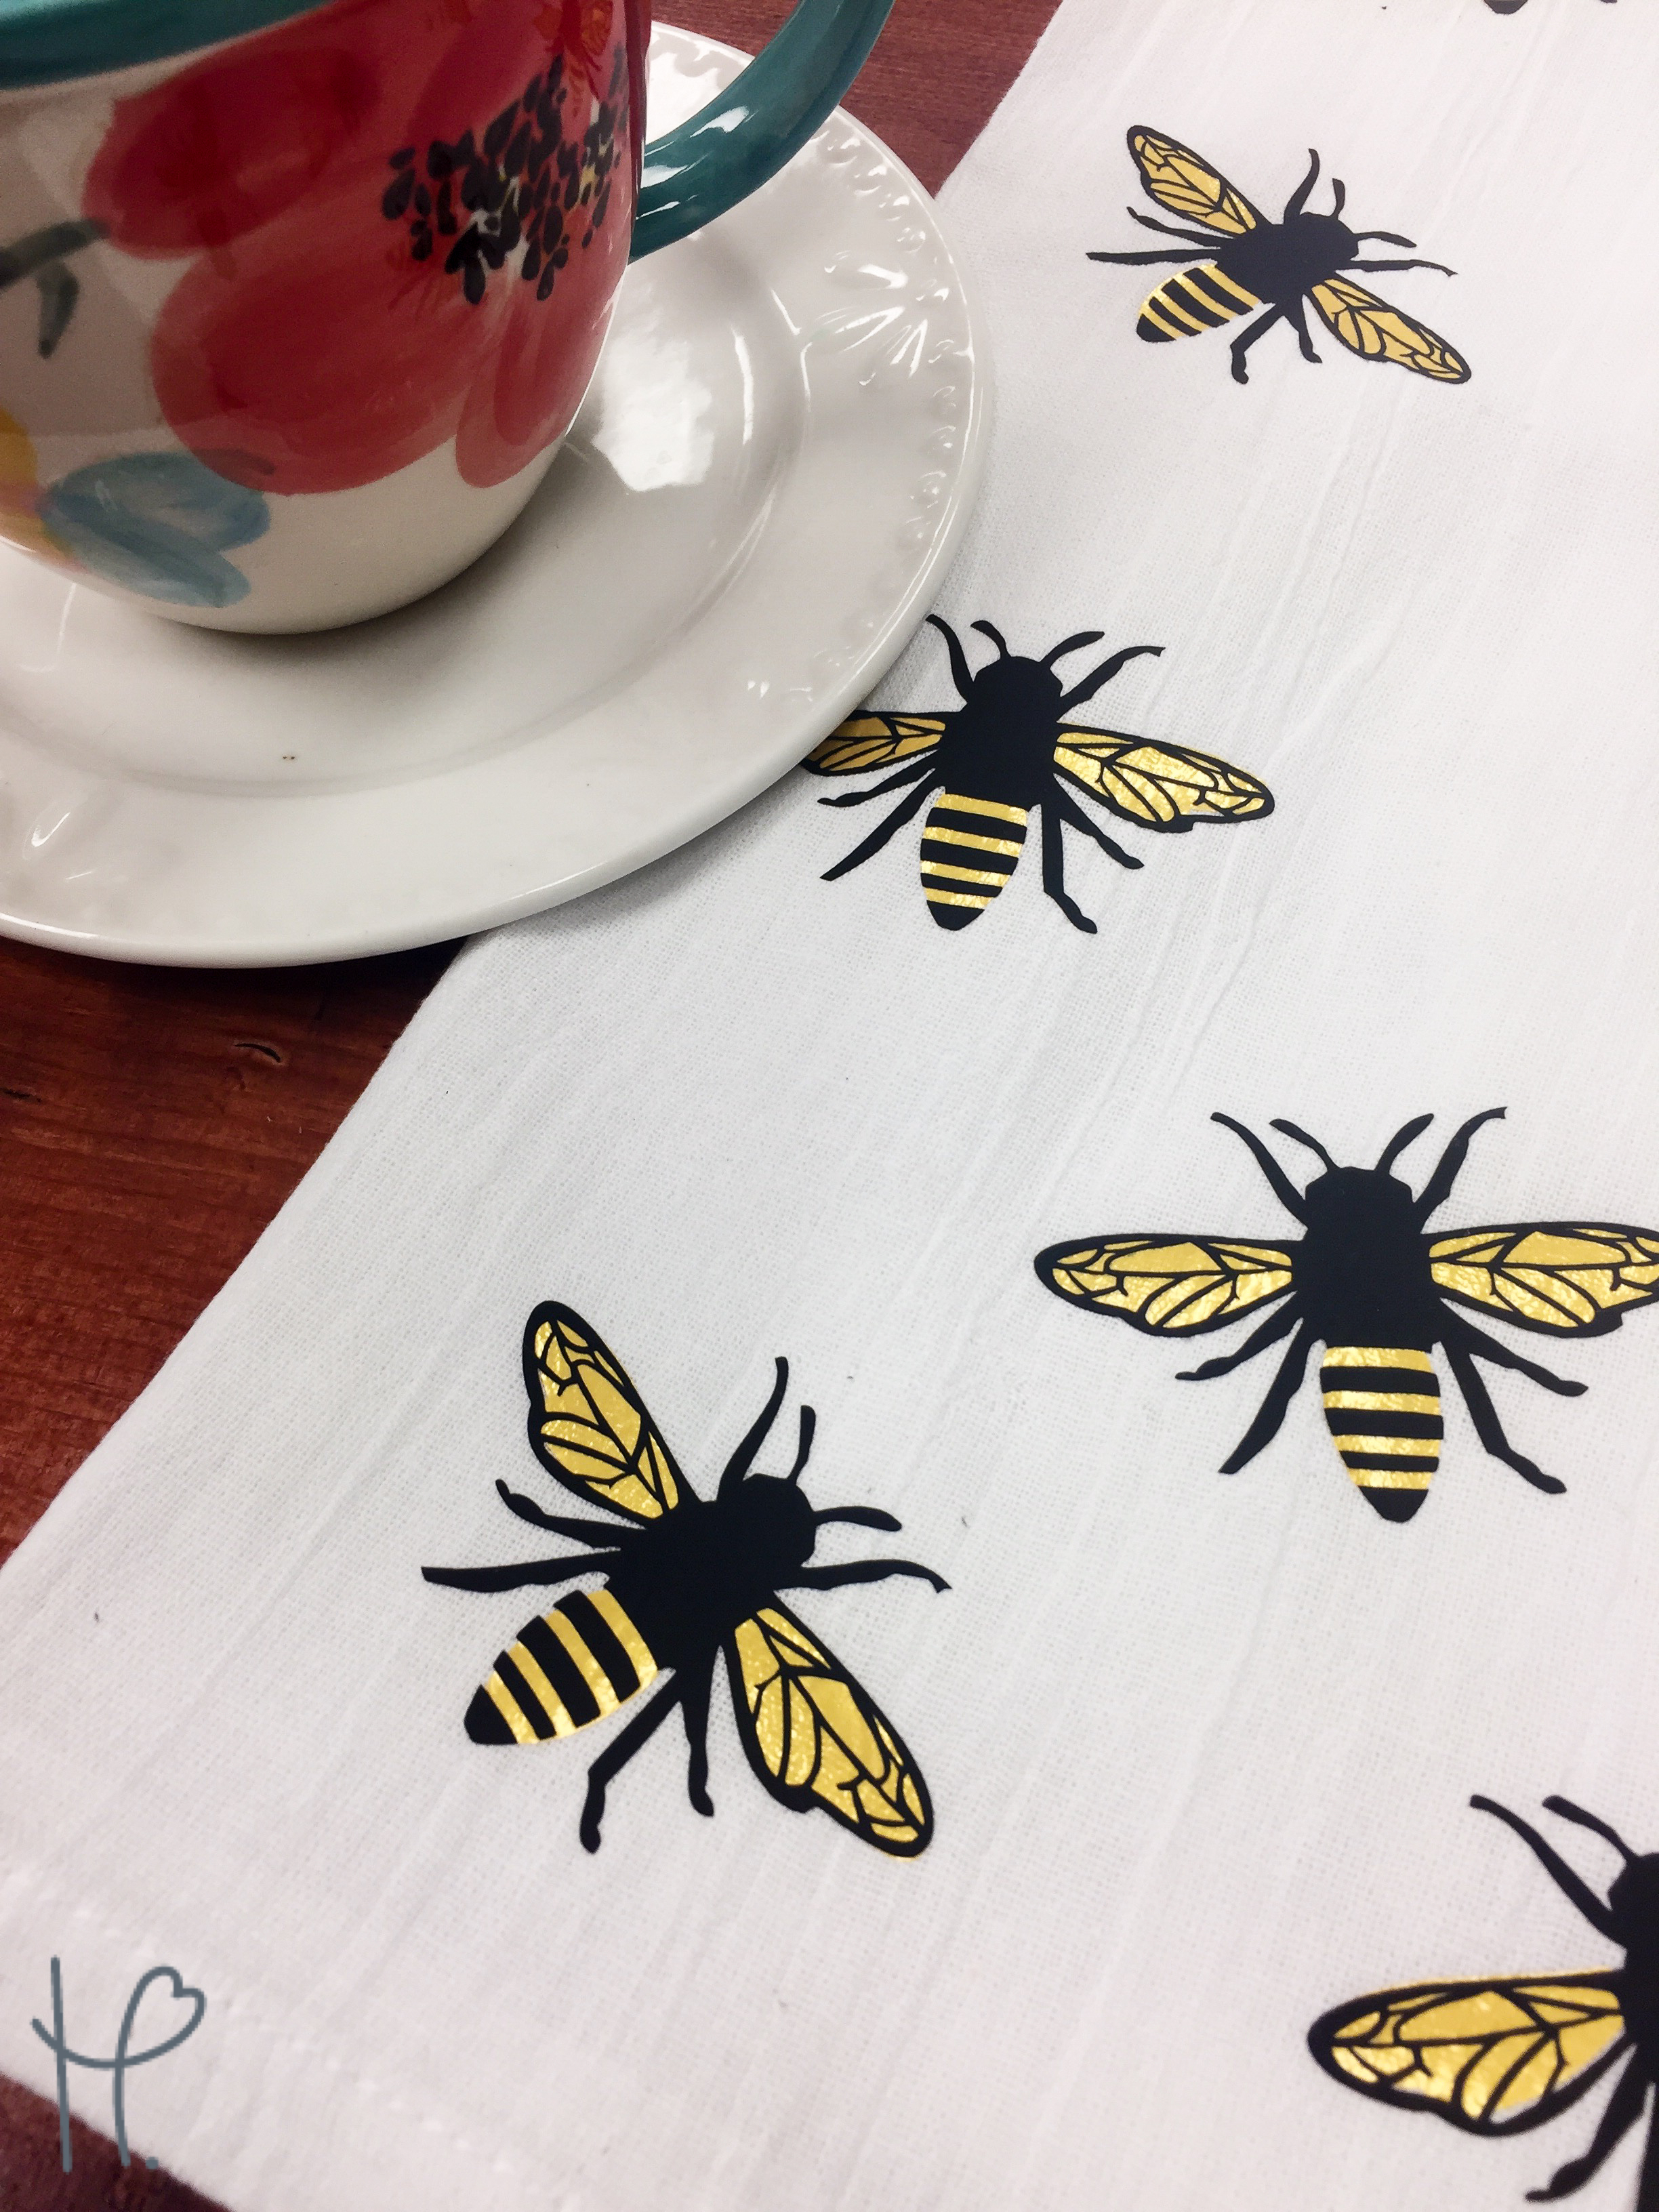
Layering HTV can seem a very difficult task if you've never done it before, but it isn't as hard as you may think! I wanted to create a super cute, bumblebee tea towel using both the Metallic Honey Bee HTV and Standard Jet Black HTV.
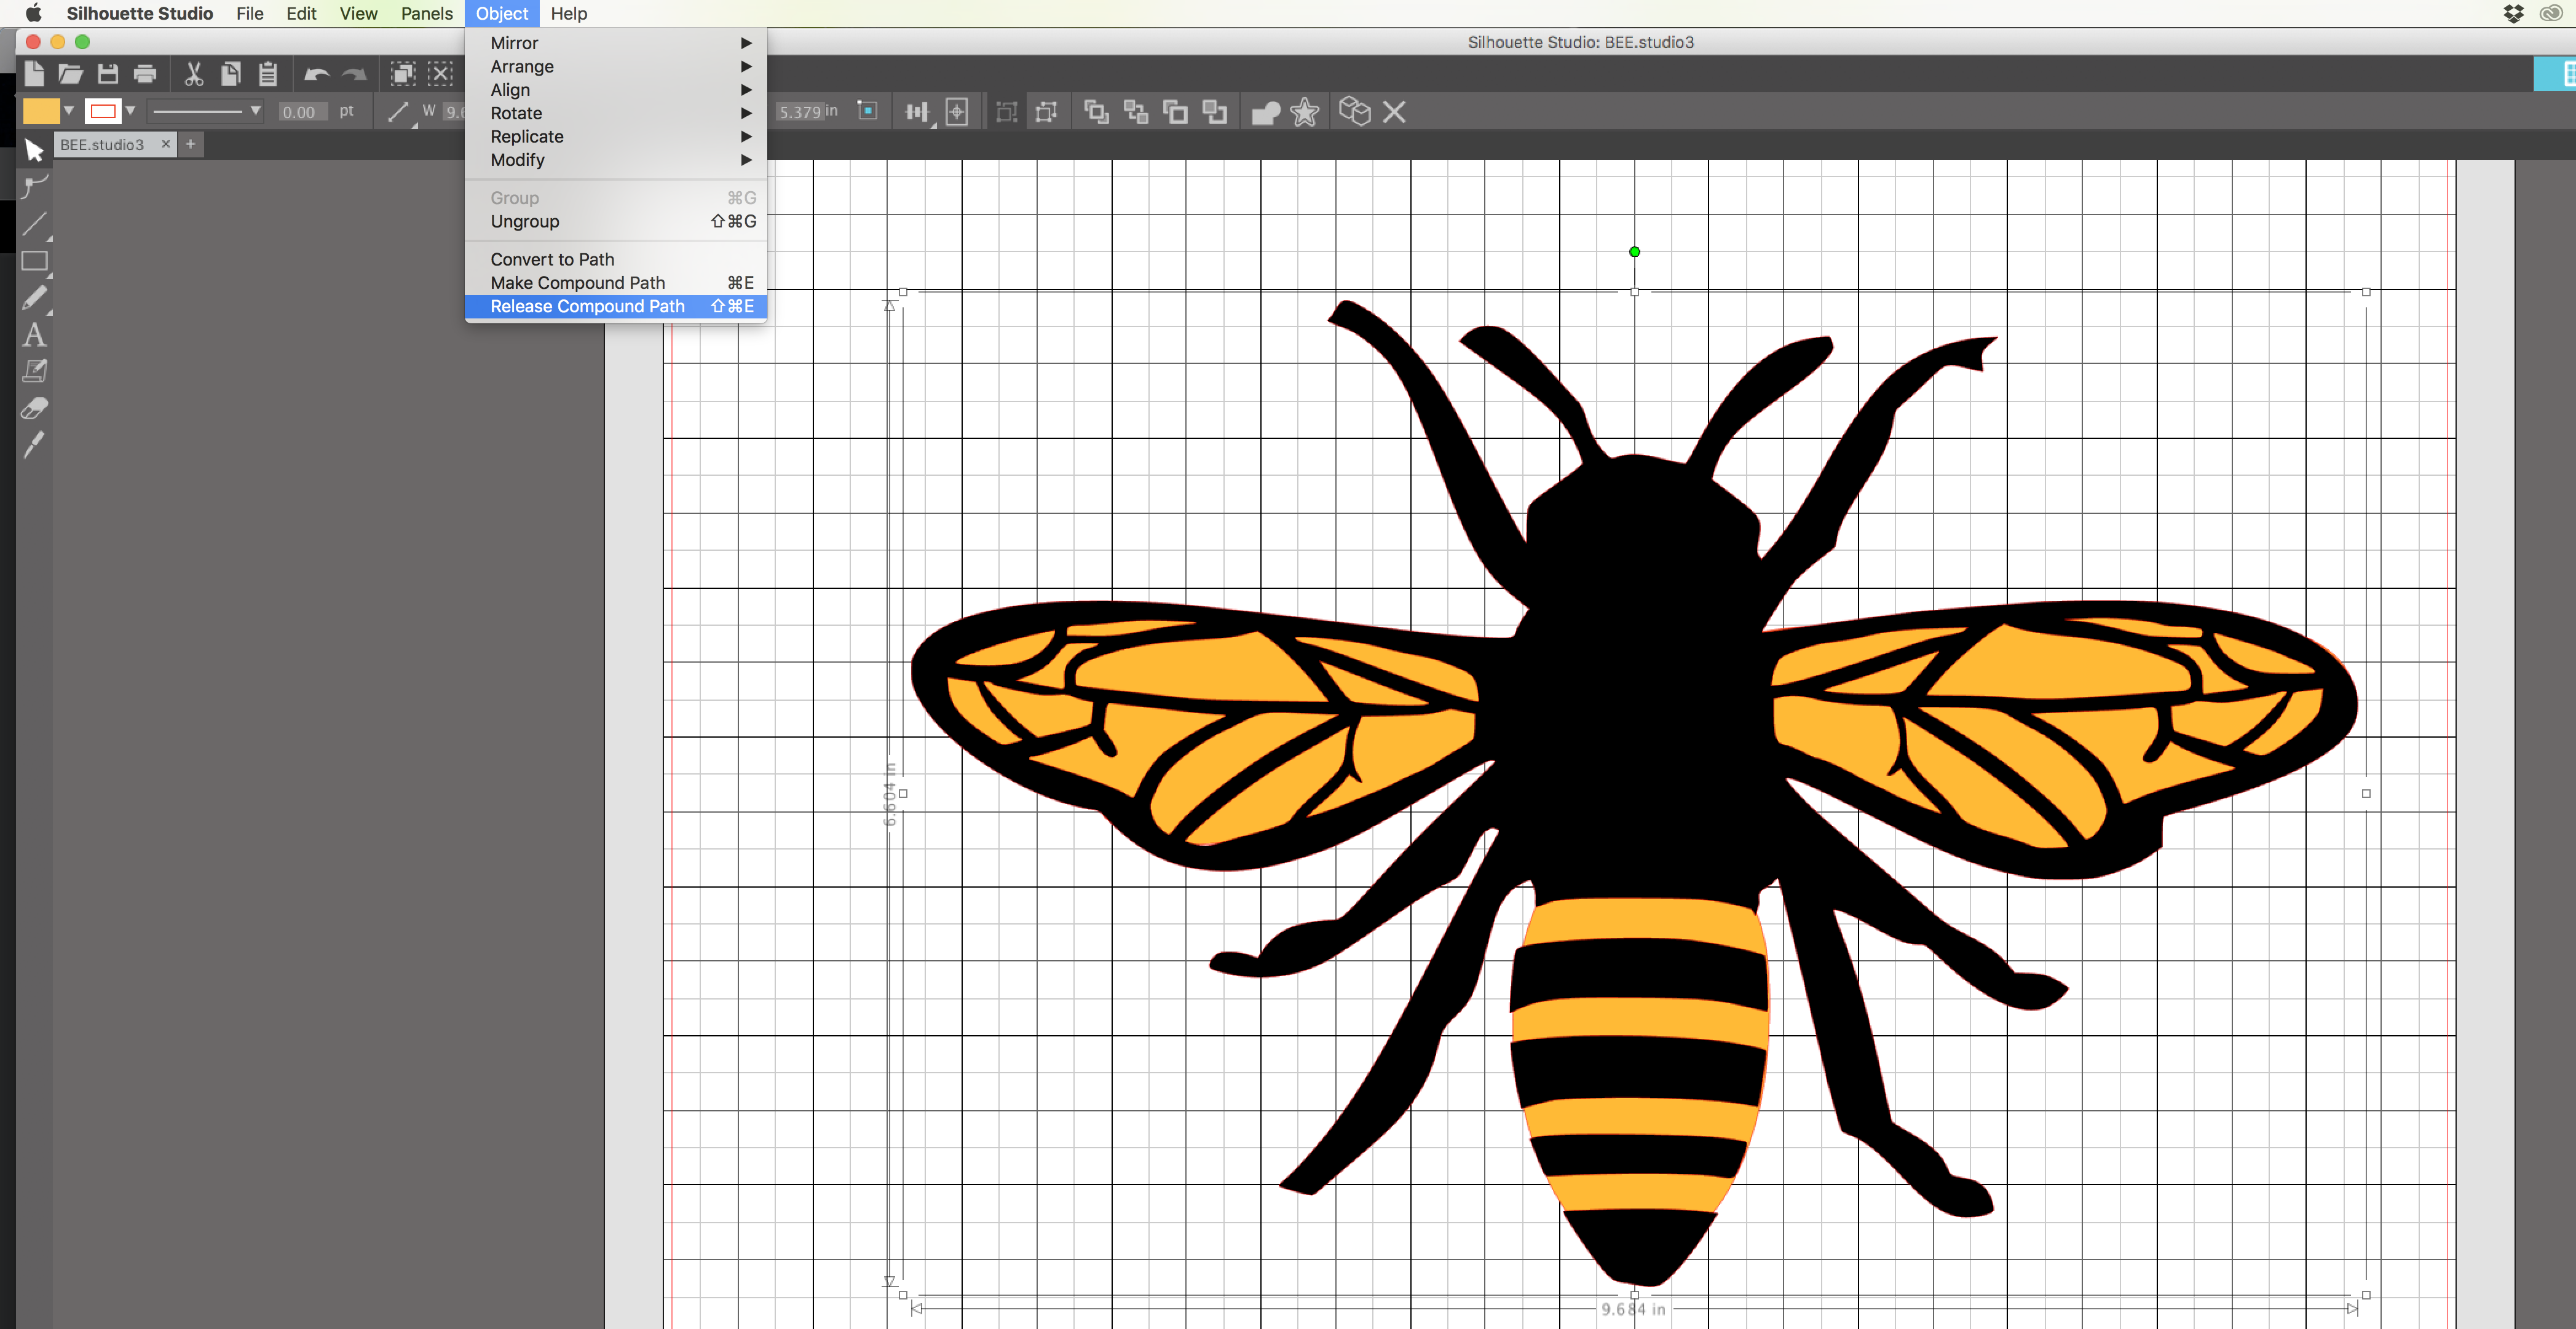
When designing something that you will be layering, it's important to keep your cut file organized. I prefer to organize my cut file by color. Since I was using this bumblebee design, I started by releasing the compound path so that I could select the parts individually. I selected everything that I wanted to be yellow and grouped it. Then I selected everything that would be black and grouped those parts. This way, I could separate them to cut. You could even take it a step further and cut by color at the end if you were cutting different types of vinyl.
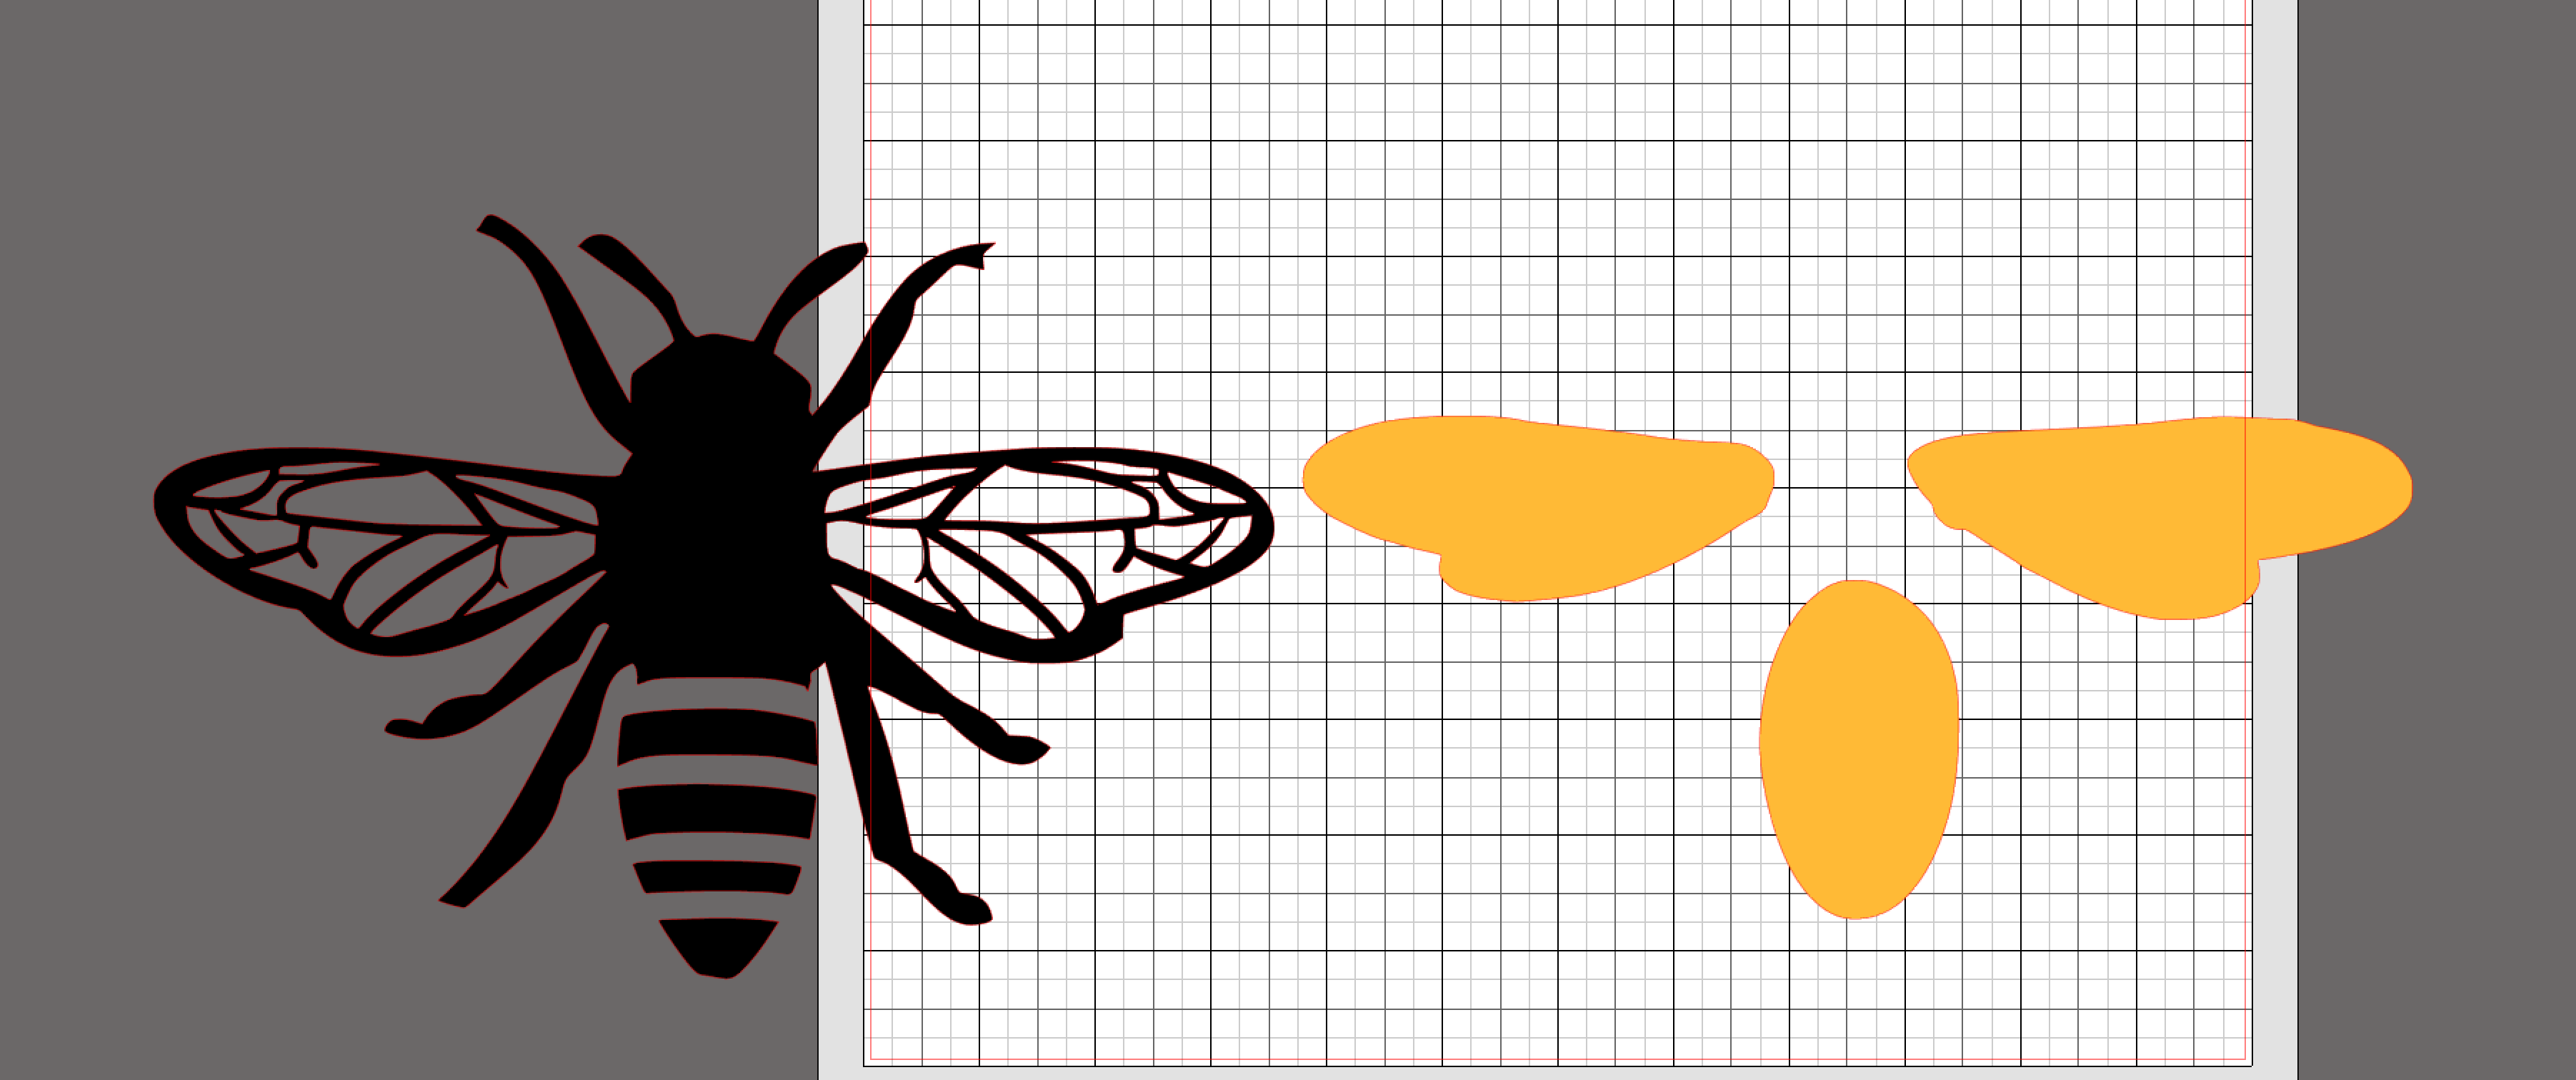
Something to keep in mind during this step is that not all vinyl is made to be layered. Some htv can only be used as the top layer. You'll want to avoid layering on top of Glitter HTV, Foil, Sparkle, Shimmer, Flock, and Shine. What vinyl should you use on the bottom? Anything that has a smooth finish like our Standard HTV, Siser® EasyWeed®, Metallic, or Craft Perfect™. These smooth finish htv can be used on either the top or bottom layer.
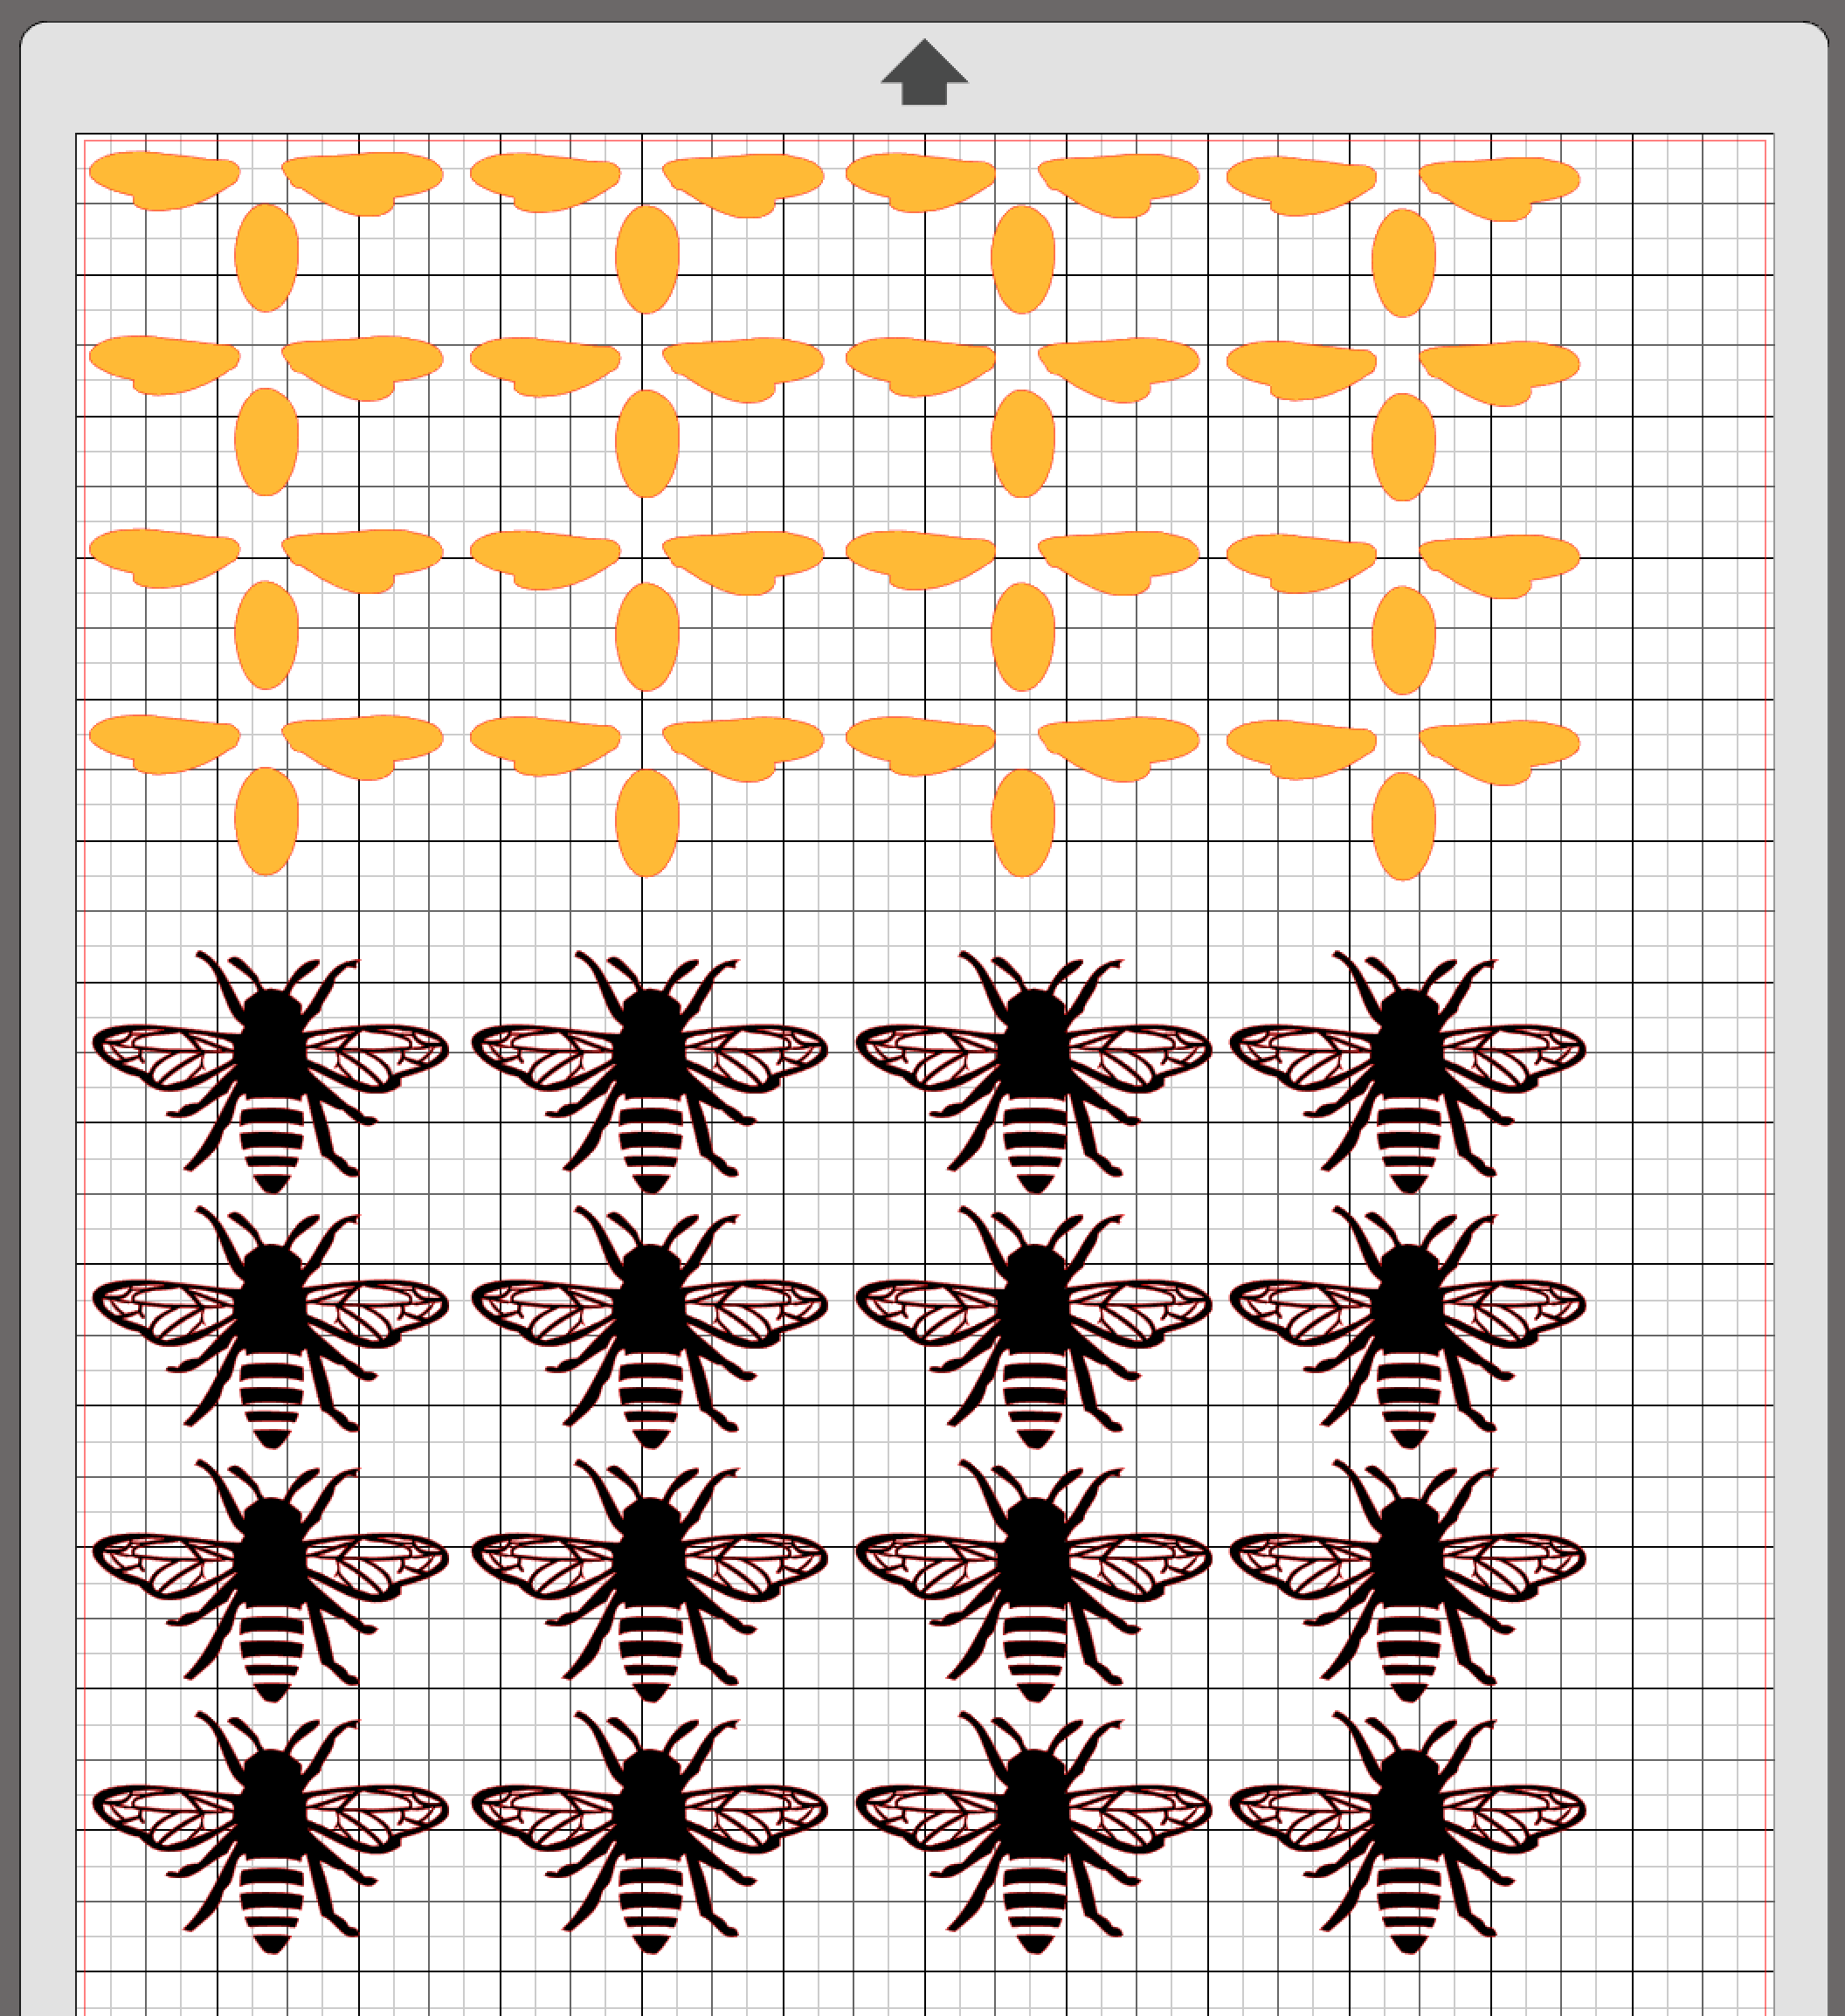
Since I was creating an all-over print, I stacked my design back together so I could resize the bee without losing the proportions. Then I duplicated it to fill the mat. This way, when I cut all of my vinyl, my pieces were still the correct size.
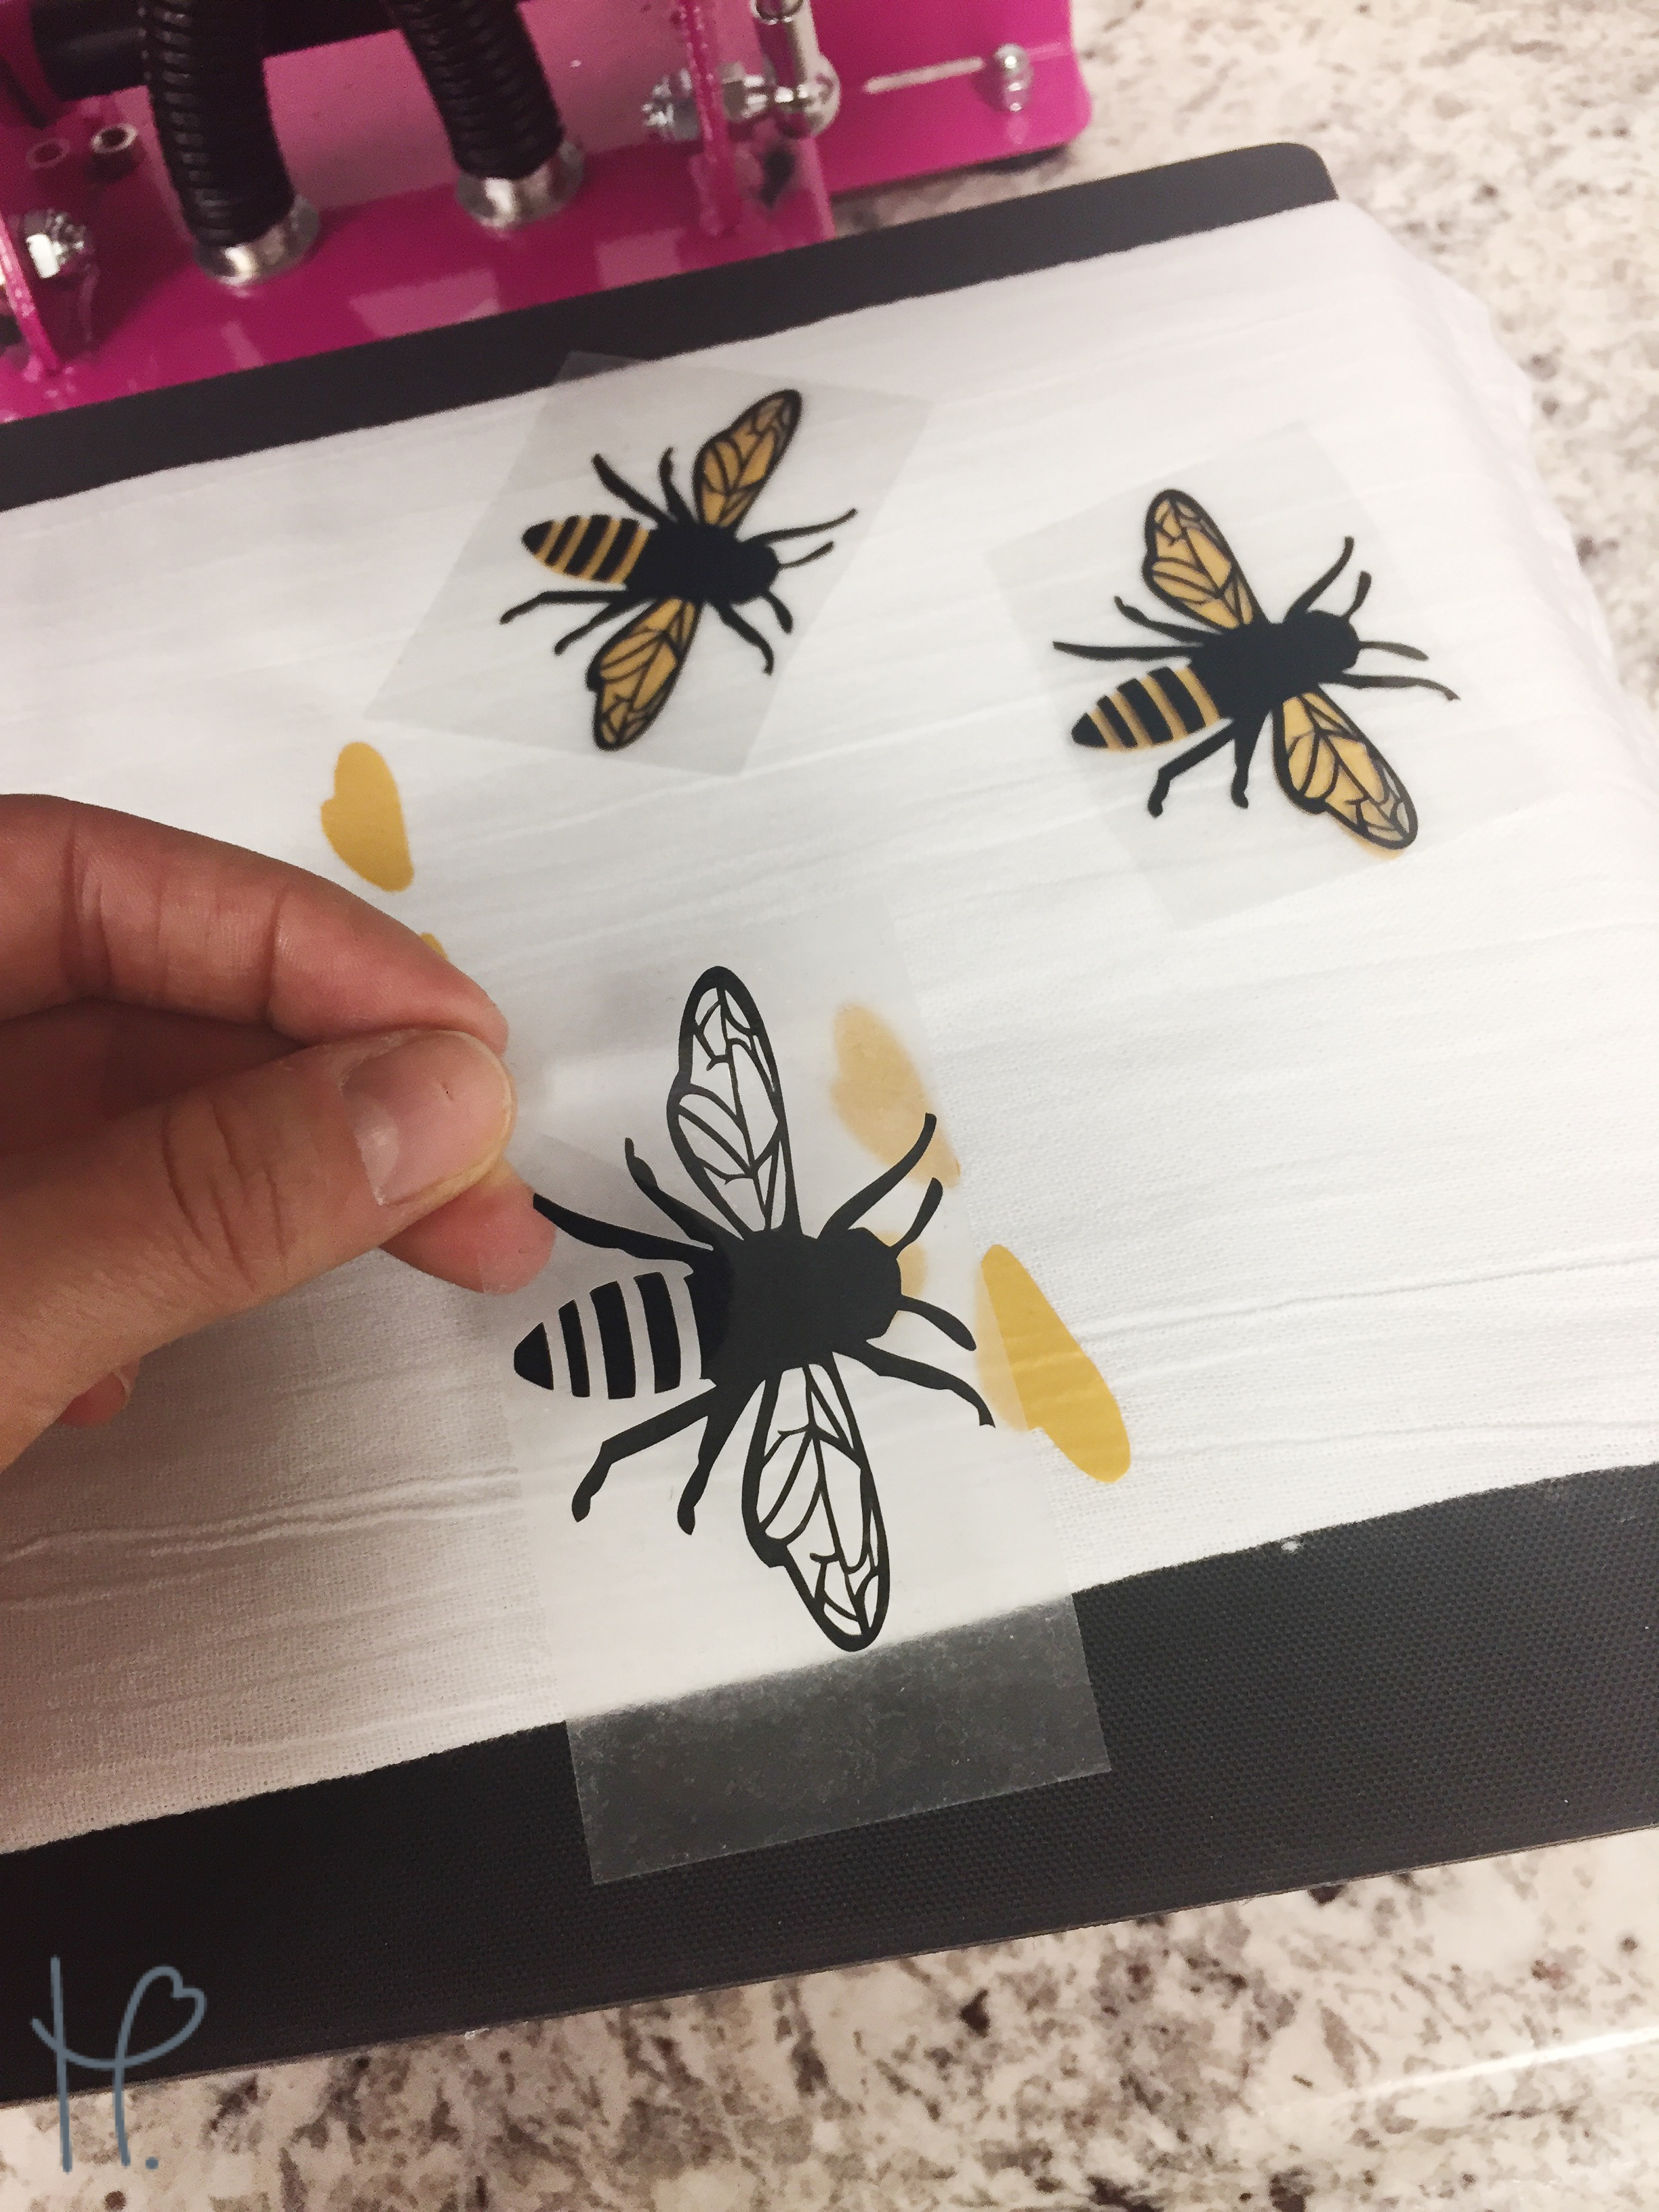
Once all of my pieces were cut out and weeded, it was time to apply! If I were using two different materials, I would have made sure that the higher temperature vinyl was on the bottom. Now, I know that sometimes you can't avoid pressing the higher vinyl last because you may be using Glitter HTV or something similar. Using a "two-second tack" will save you! Since I was using Happy Crafters Standard, I was able to apply the Metallic Honey Bee for 2 seconds and peel it hot.
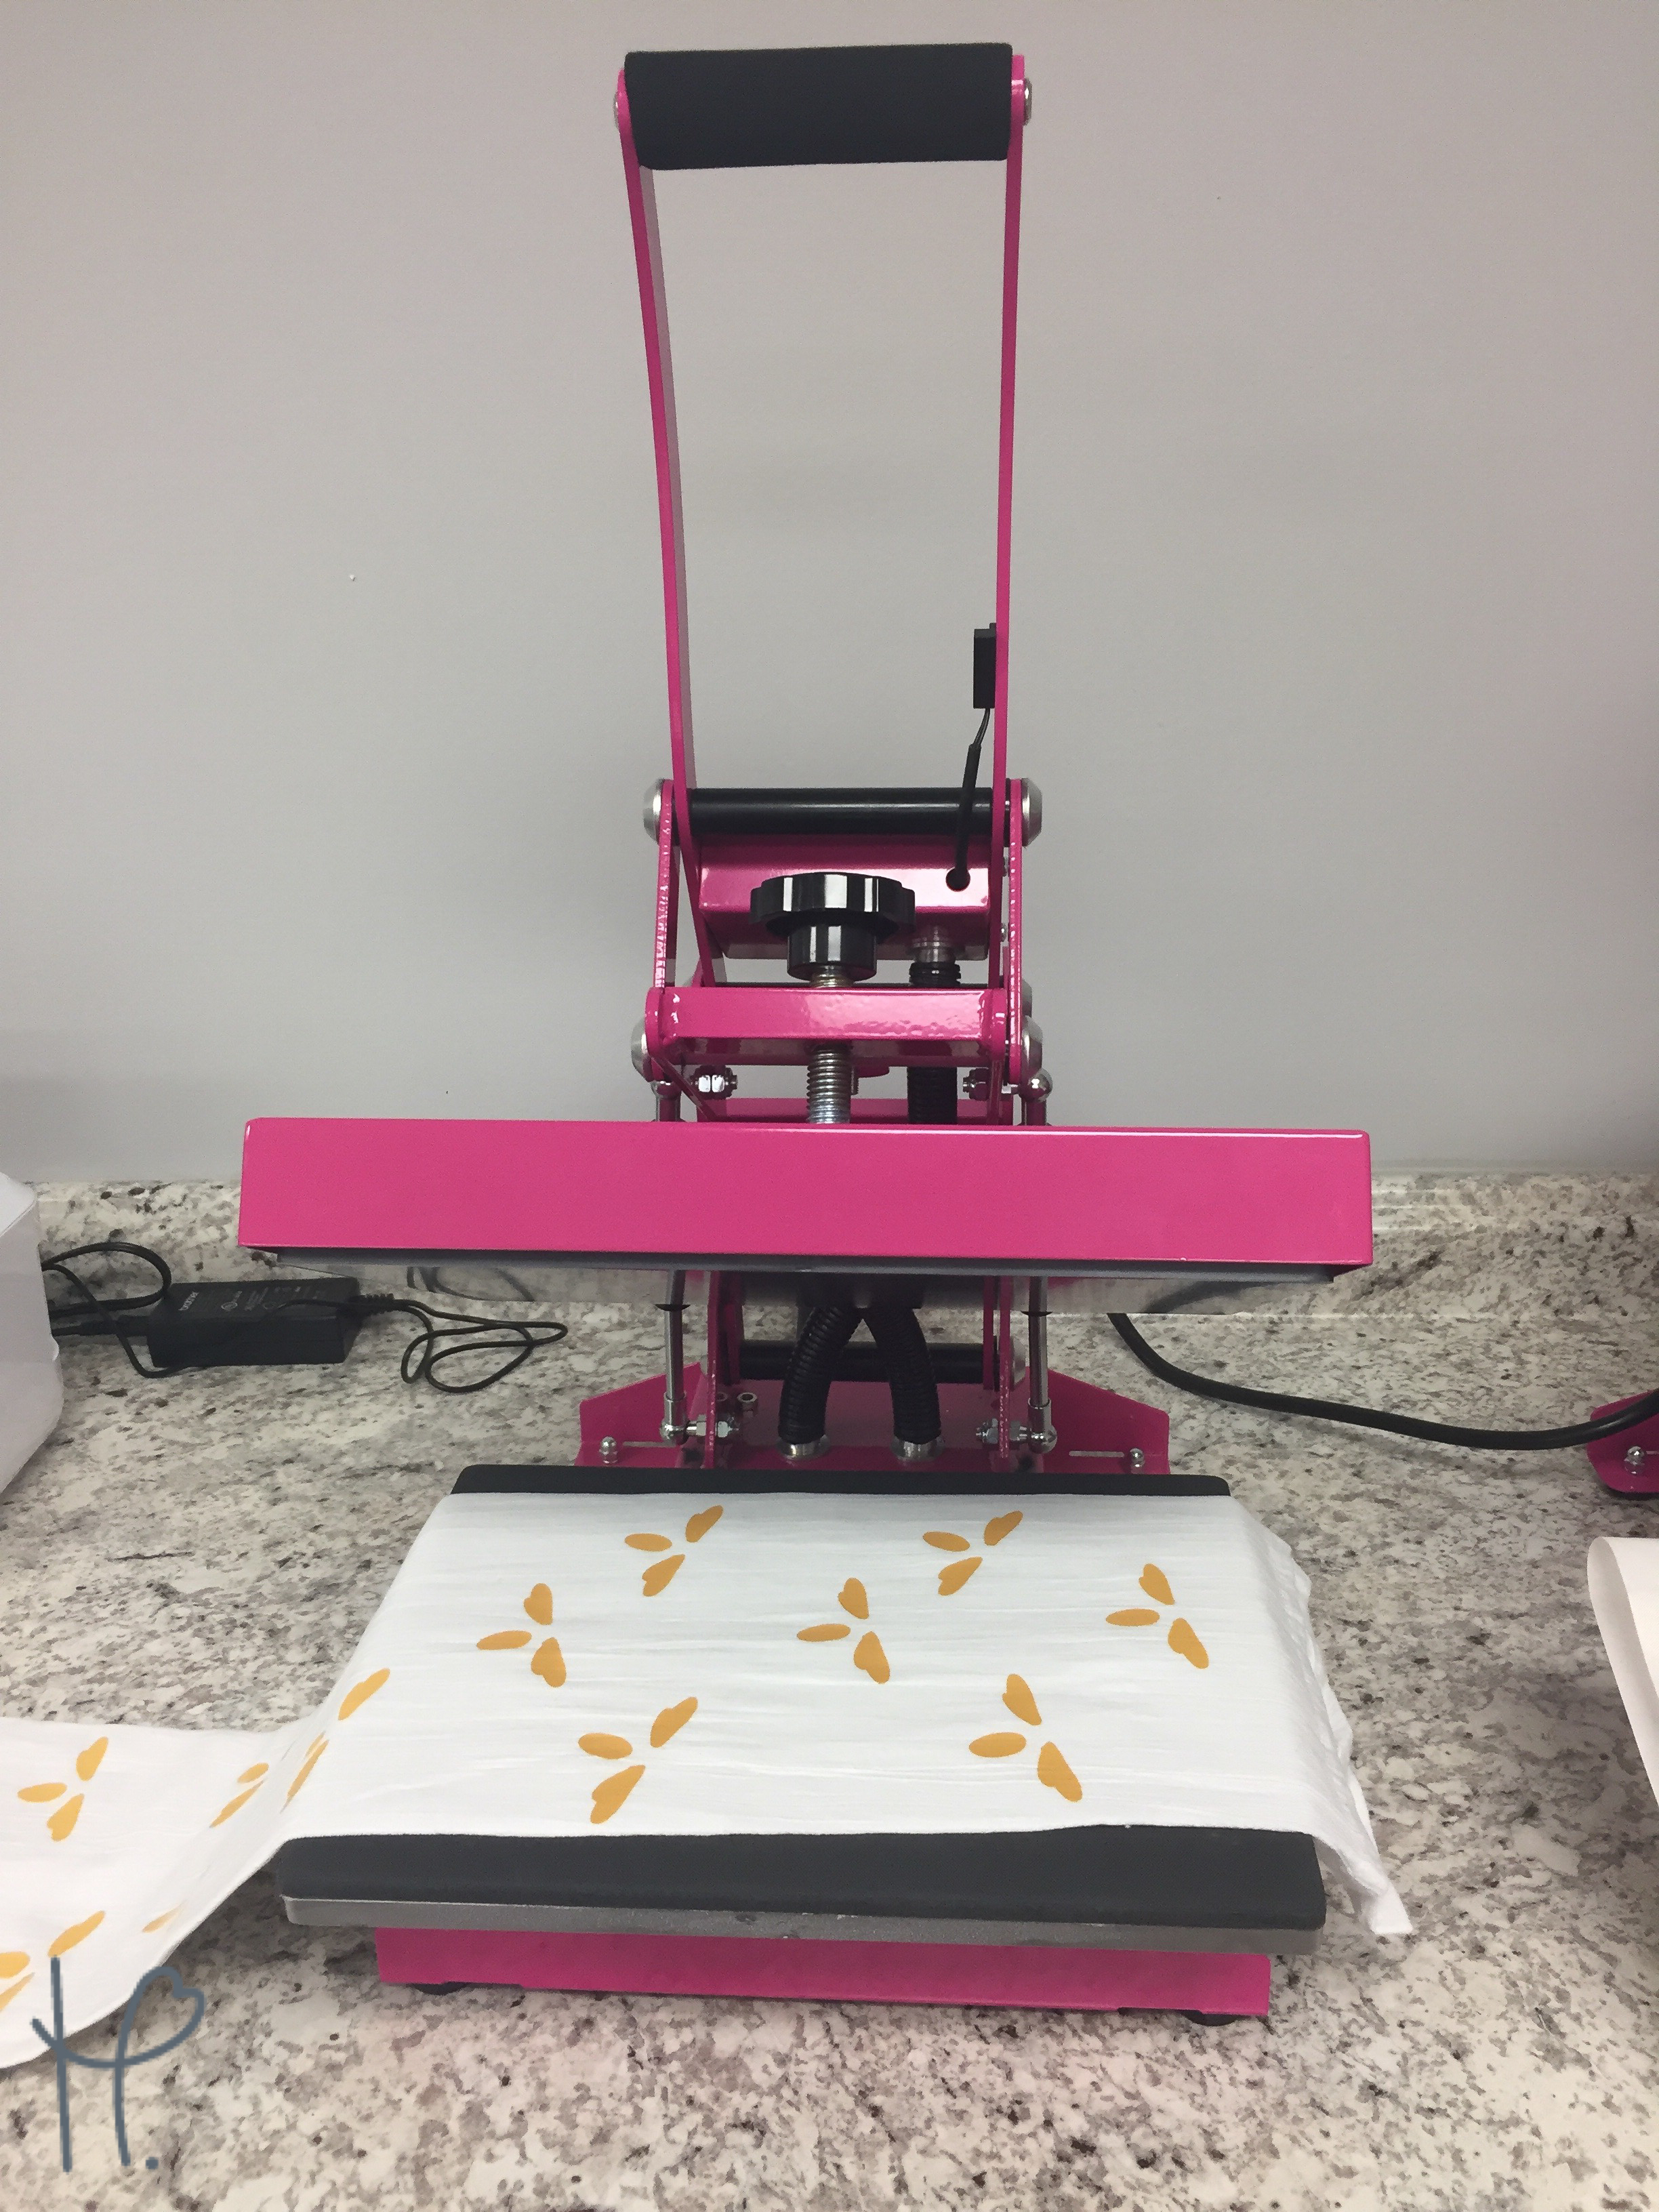
Then I placed the black layer on top and pressed it for the full 10 seconds and peeled that hot as well. Once I repeated this for the entire towel, I was done!
Want to save this guide so you have it later? Pin the image below on Pinterest!

