


If you use Silhouette Studio, it is very likely that you have used the “Trace” feature at some point. This tool is very easy and simple to use for basic shapes and color; however, it can get a little messy when trying to use it with a more complicated image like a photograph. This method is perfect for creating portraits of your favorite people or pets. It’s also a great way to give that perfect gift to someone with very specific tastes. I’ll walk you through my method of cleaning up a photograph, tracing it, and converting it to a t-shirt design all within Silhouette Studio!
Step 1. Choosing and cleaning up your Photo
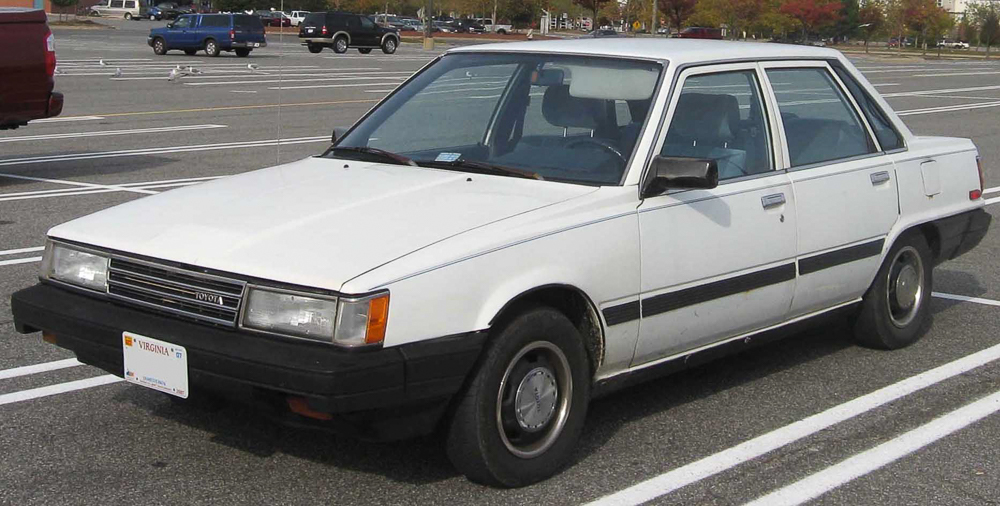
When choosing your photo, make sure to use one that is high resolution, well lit, and has good contrast. The photo I used was 1865 × 944 pixels, so I had no problem with the resolution being too low to trace.
Pro Tip: Make sure to start with a hi-resolution image.
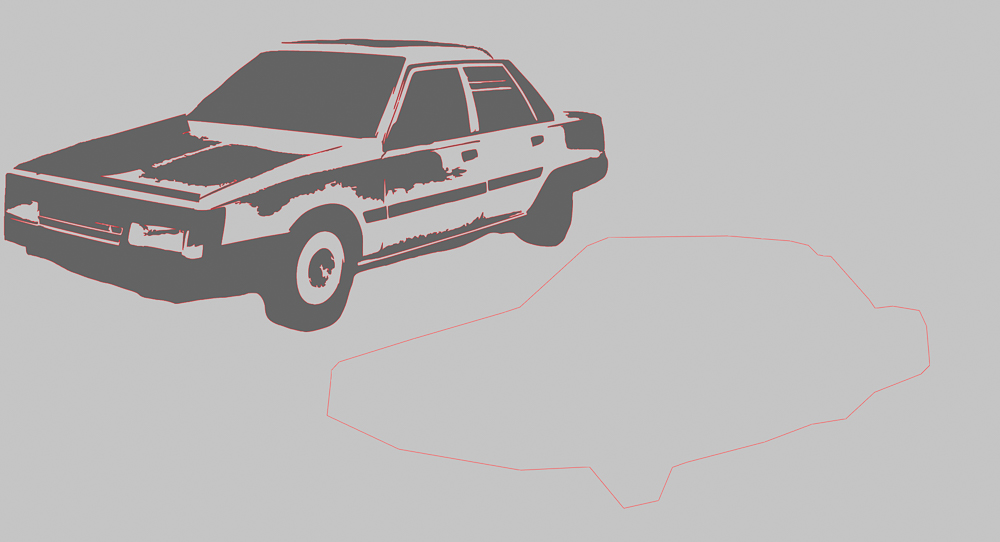
The issue that I did run into with this image, however, was the background. When trying to trace my image with the background intact this is what resulted:
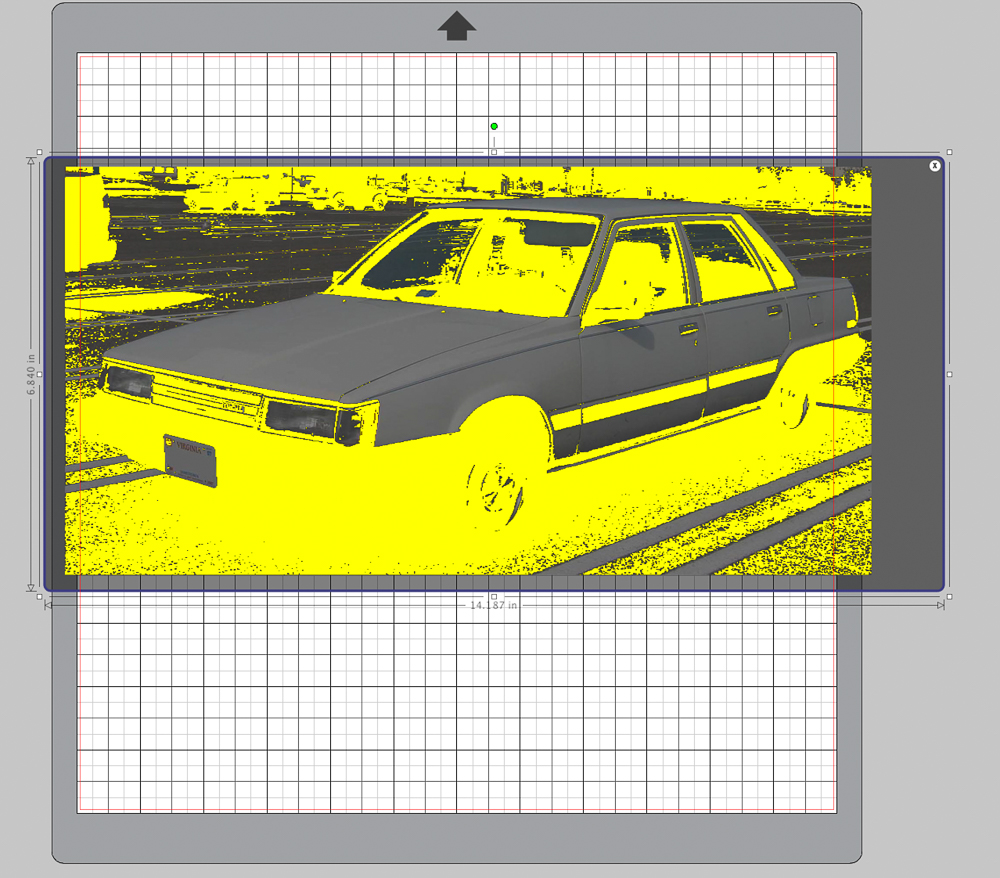
Not exactly what you’d call t-shirt worthy. Luckily for me, Silhouette Studio comes equipped with an erase tool! With a little time and finesse, you can remove even the trickiest of backgrounds.
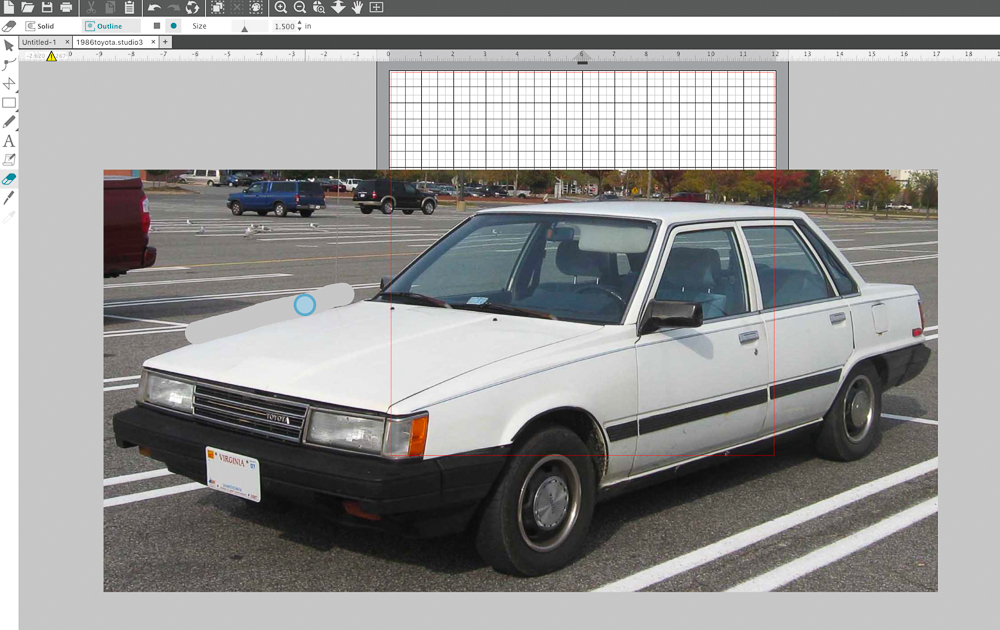
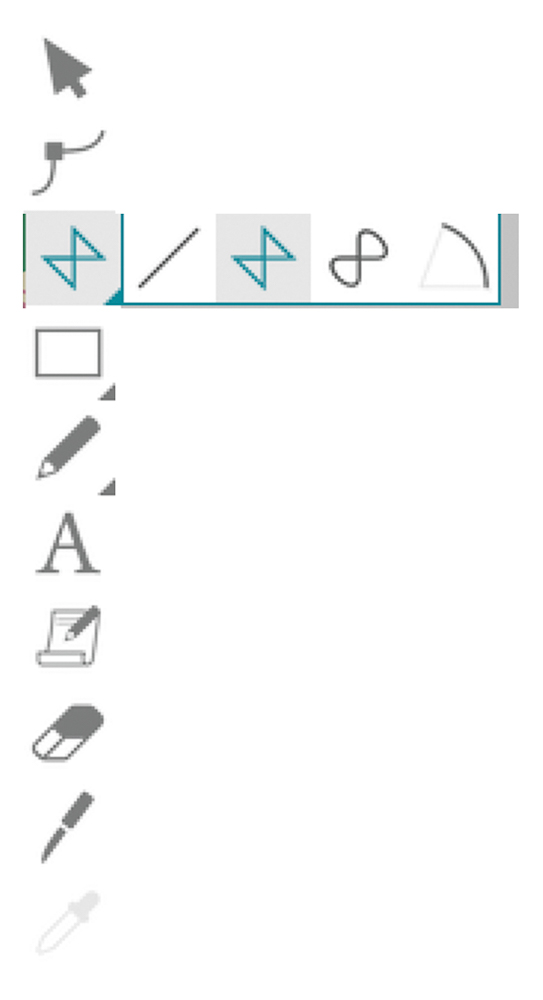
When you need to erase smaller more detailed areas you can find your eraser tool settings in the top bar. Adjust the size as needed.

Step 2: Trace Your Image
Now that my background has been removed, I began the process of tracing my photo. Keep in mind that every image will be different, so your process will vary. For my photo, I used a solid fill, upped my threshold to 53%, and turned my high pass filter as high as it would go.
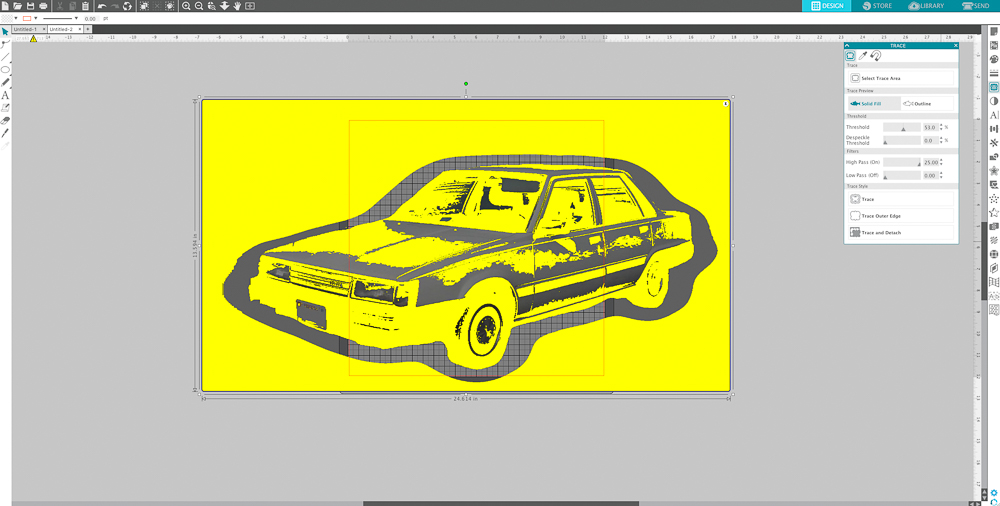
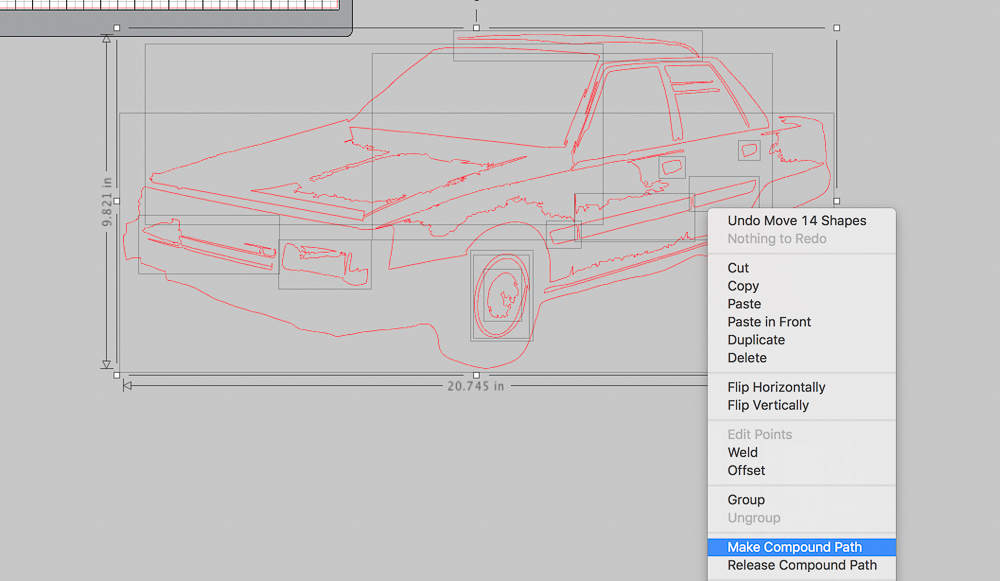
From here I made sure to release the compound path so that I could start to clean up my cut lines.
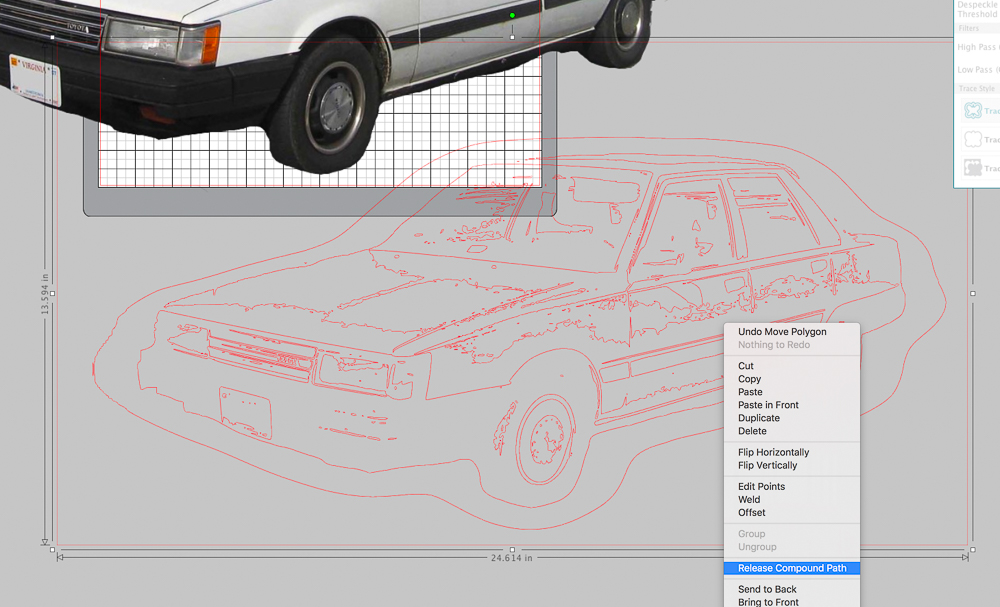
Step 3: Clean up Your Cut Lines
There are a few different methods to clean up your cut lines which makes them a little friendlier to your cutter. The first is to directly select and remove any unwanted elements.
The second is to weld together any separate pieces that you would like to be joined together. I often use the aid of the shape tool for this process.
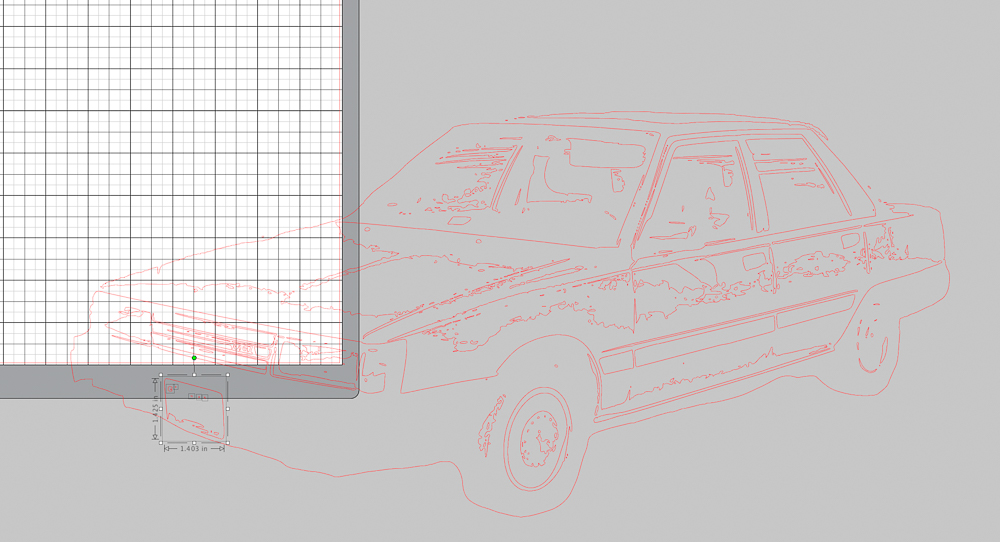
And the third and most effective method is to select your key shapes altogether by holding down the shift key and moving them. This leaves behind all of the stray complex shapes that would only slow down your cutter and tear up your vinyl. You can select these and delete them.
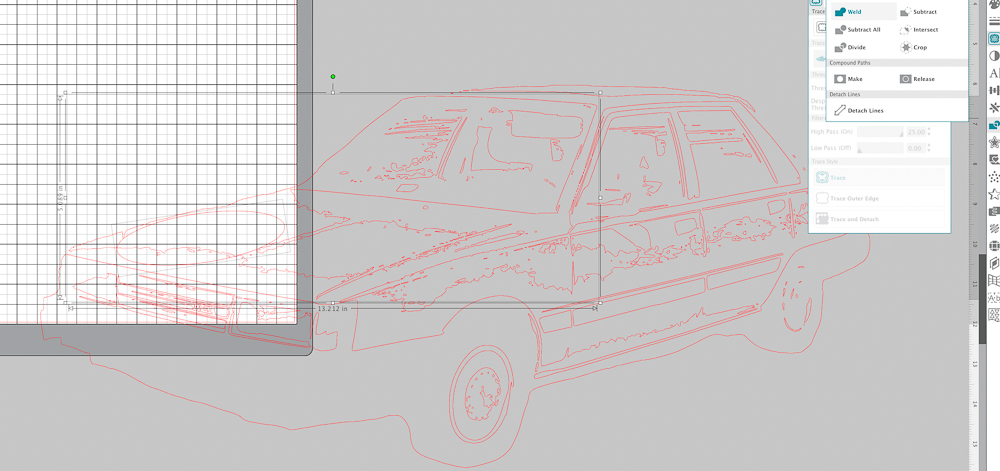
Next, select your design so far and create a compound path. This will allow you to see which shapes are complete, test colors, and adjust more easily.
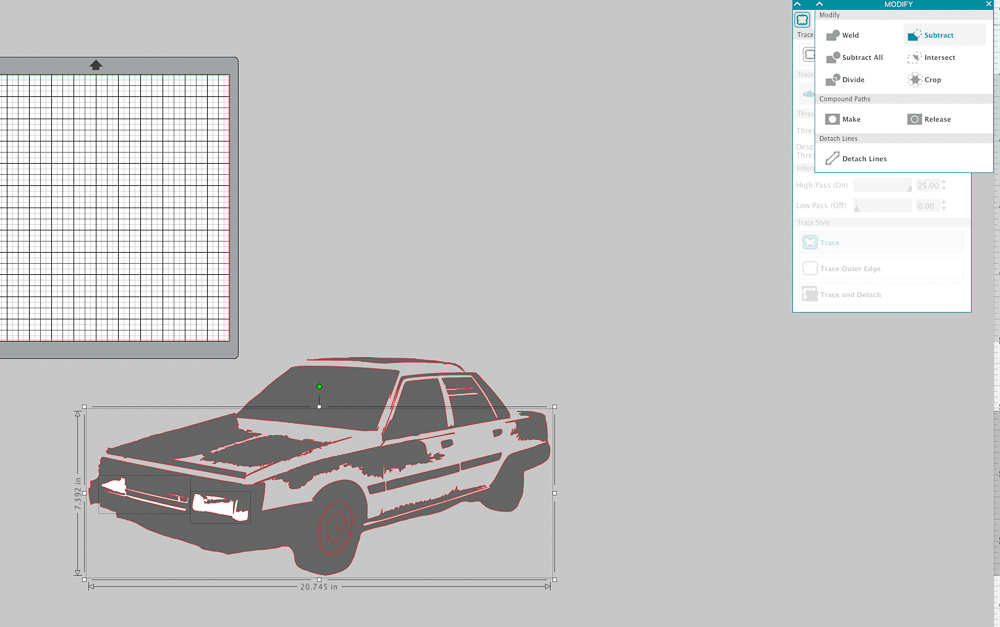
In my design, I had a couple overlapping shapes in the headlight and hubcap. I selected these areas, recolored them, made them their own compound path, and moved them to the front. I kept them selected and used the shift key to also select the shape behind them. Then I used the subtract tool in the Modify menu to cut them out of the main shape.
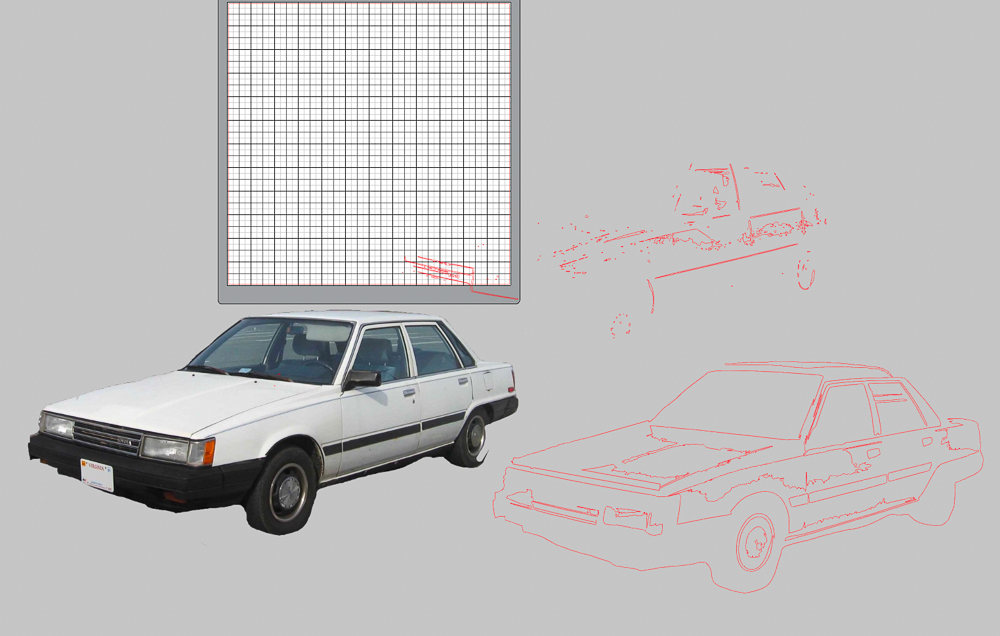
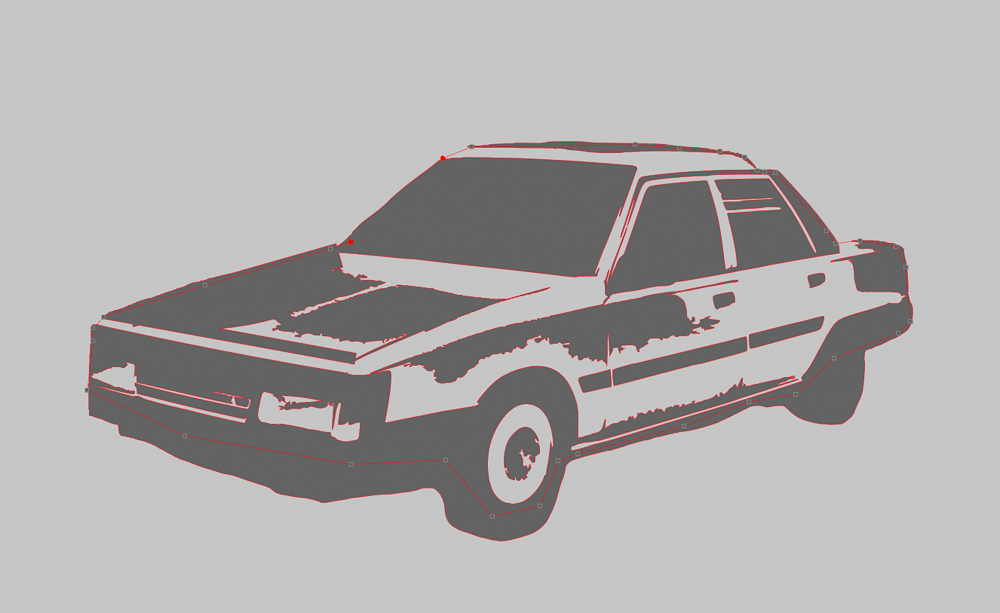
I then touched up my jagged edges with the eraser tool.

Since I was planning for this to be a 2-layer design, I used the Draw tool to make a polygon underneath of my traced design.
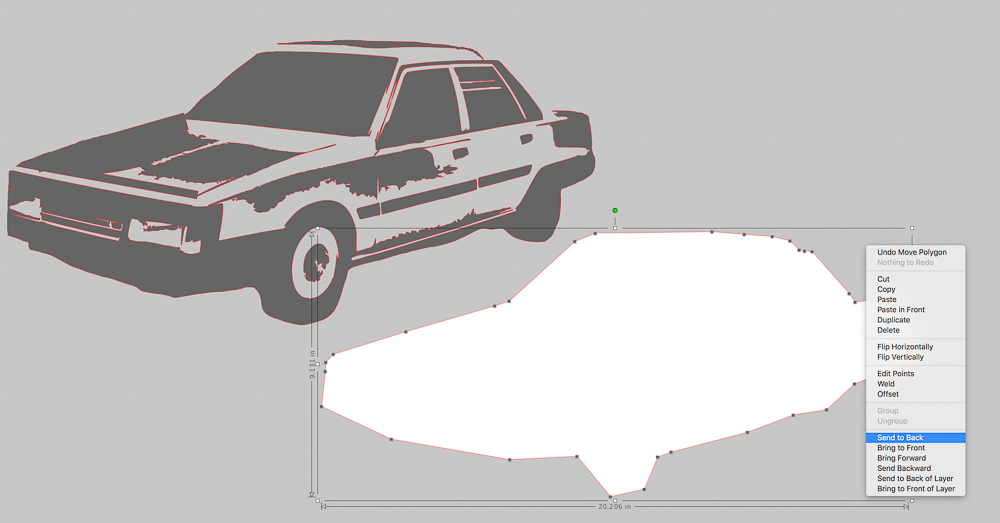
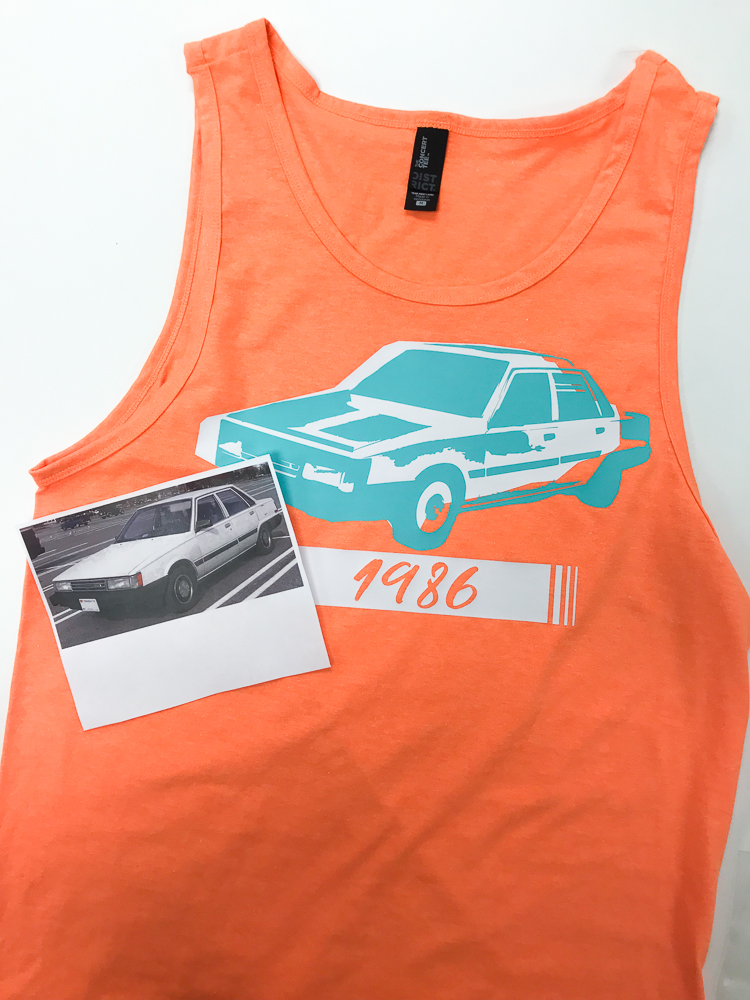
Then it was on to cutting out my two layers! Luckily, since I cleaned up my traced image, cutting and weeding went very smoothly. I used Craft Perfect Heat Transfer Vinyl for its light feel and matte look. This bright orange tank top was perfect for the 80's feel of this shirt. Plus, its available in a variety of colors.
What kind of complex images you traced? Show off your newest creations by tagging us on Facebook or Instagram with the hashtag #IamAHappyCrafter. As always feel free to send us an email to sales@happycrafters.ca if you have any questions!
Until next time!
-Elisha