


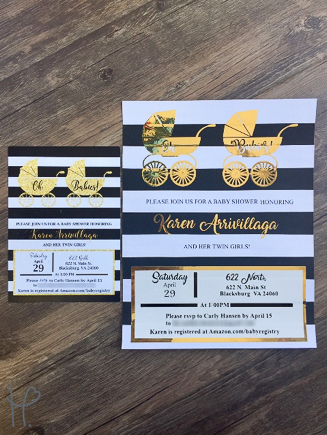
I have always been obsessed with getting customized mail, especially invitations! I try to display them for a while but after a few months, it’s time to put them away. I’ve realized it’s getting harder and harder to take them down knowing how much work someone put into them, so I came up with an idea! I decided to use adhesive vinyl to turn an invitation into a display piece that you can use for décor and not feel guilty keeping out forever!
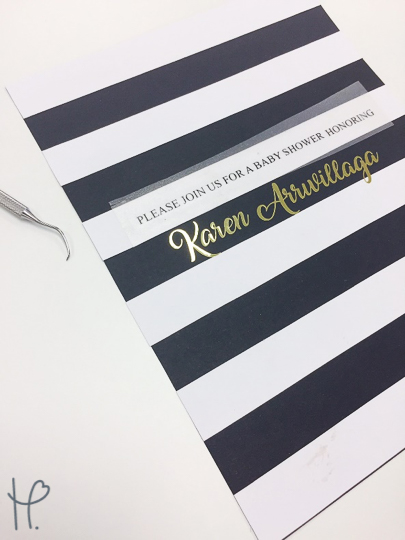
The original invitation was a 5” x 7 “print which I decided to enlarge to fit an 8.5” x 11” frame. This way you could see more of the details and would be large enough to use as art. This invite was for one of my friends baby showers and the new arrival of her new twin girls!
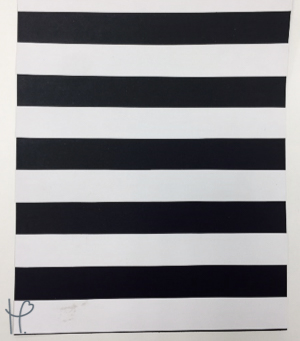
To mimic the black and white background I knew I wanted a thick base so I was going to use cardstock. After searching in multiple craft stores I was unsuccessful. (I thought black and white stripes was a popular pattern?!) I came out with blank sheets of both black and white that I would later create the pattern myself. I was hesitant to cut by hand but with careful measuring and good lighting, I had my stripes lined up!
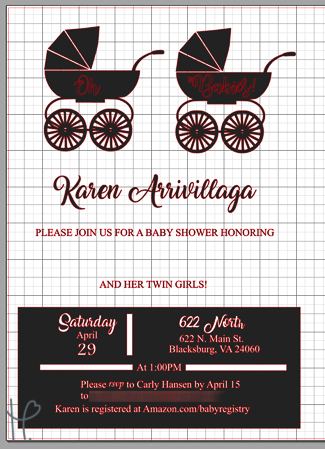
I began the design process by adding images and text in Silhouette Studio. I referred to the original print to use sizing guidelines so the spacing would match once I enlarged. I did not use any equation, just using Silhouette Studio to see what visually looked best!
Even before starting this project I knew exactly what vinyl I was going to use! The Happy Crafters Gold Foil Adhesive Vinyl was great for the shine and the OraCal 651 in black was perfect for the basic lettering. The gold cut easily but I will say when weeding, be aware that it is very sticky. (I was covered in gold shapes!) The black also cut nicely after I went back and made most of my fonts bold. The thin font cut but was harder to weed because of the adhesive on the carrier sheet.
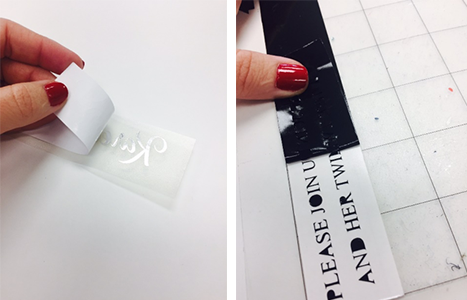
I took a risk with the transfer tape and used it to apply the vinyl to the cardstock, and it worked! It did not pull or tear the paper at all. It was just the right amount of tacky to get the vinyl to adhere. (Thankfully I didn’t have to cut anymore black and white strips!)
I am very excited to be able to give this gift to my friend, and now a new mother! Do you have any invitations or announcements that you would like to gift? Share any that you are working on!