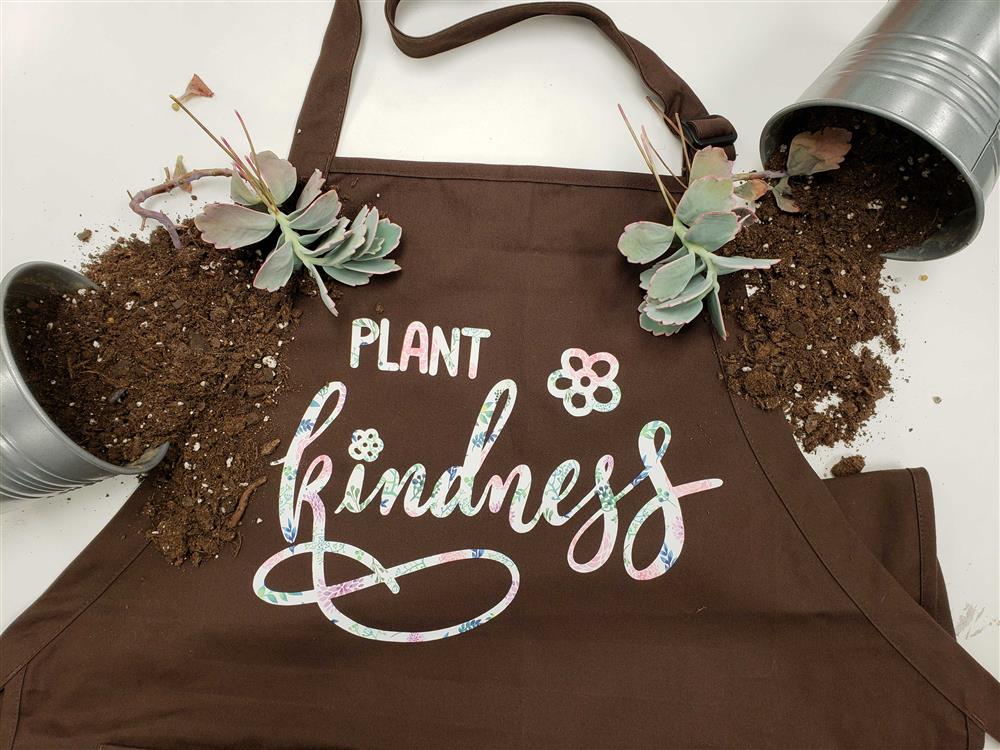

With summer in full swing it is time to get your hands dirty and plant your flowers and veggies! A fun Cricut project for summer is applying HTV to garden aprons. is Enjoy this mini-tutorial on how to create your own garden apron using your own custom lettering made possible with the help of the iPad app Procreate.
Step 1: Draw your design.
Using various brushes, lines, and fonts, create your own hand-drawn design! If you are interested in more information about using Procreate for your hand lettered designs, check out this blog by PersiaLou! Here is what I created:
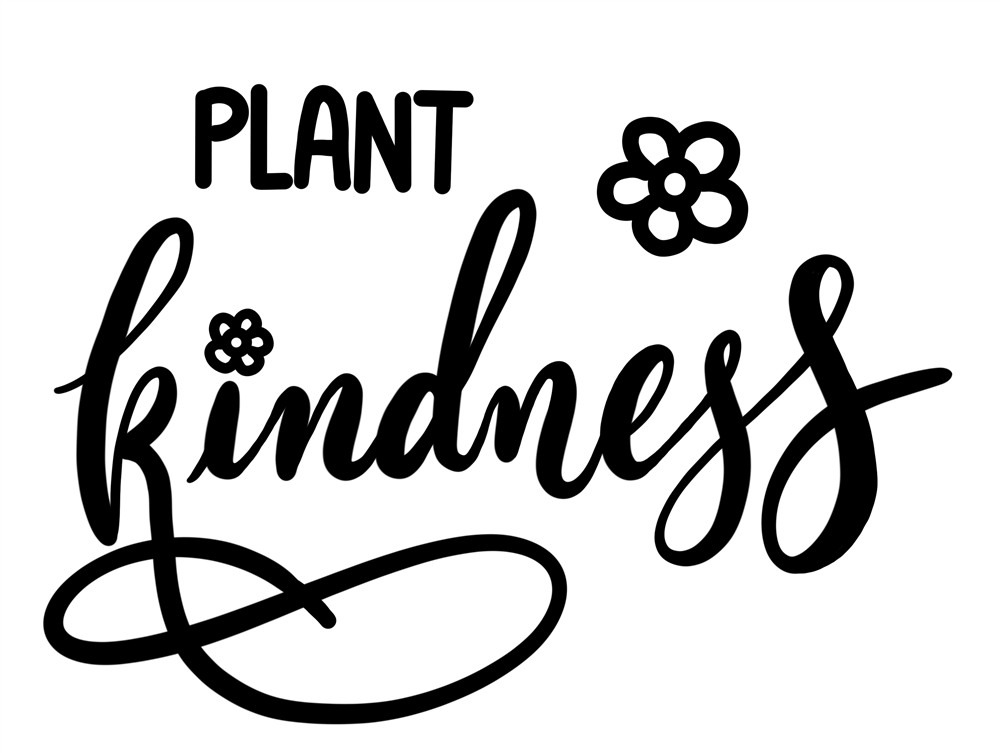
.png)
Step 2: Export your design into your cutter software.
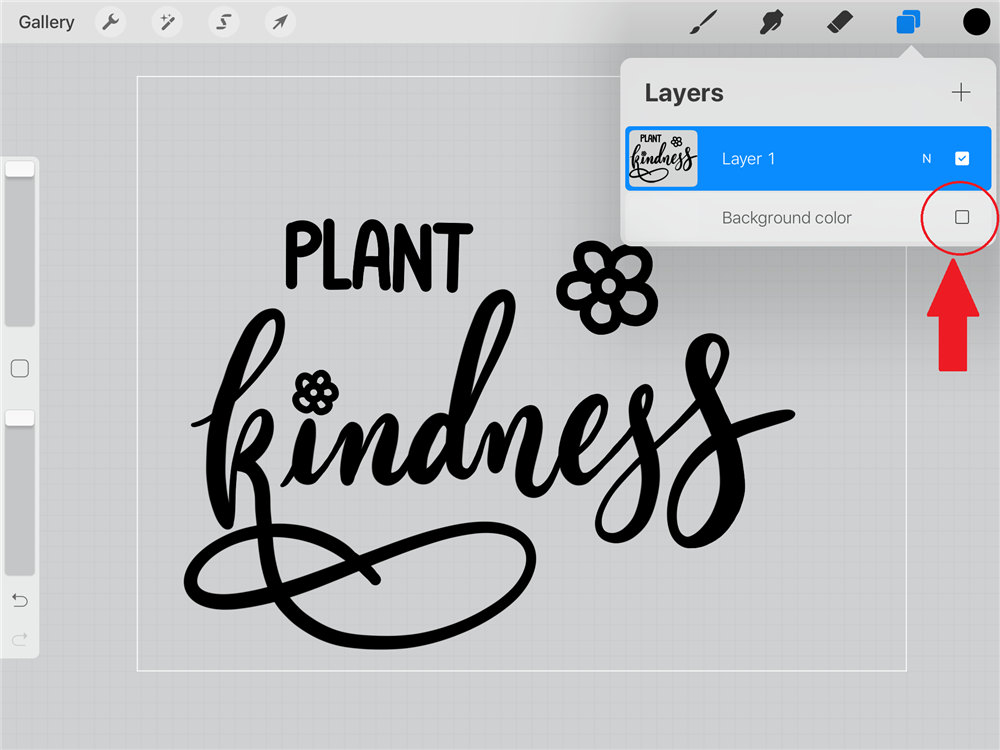
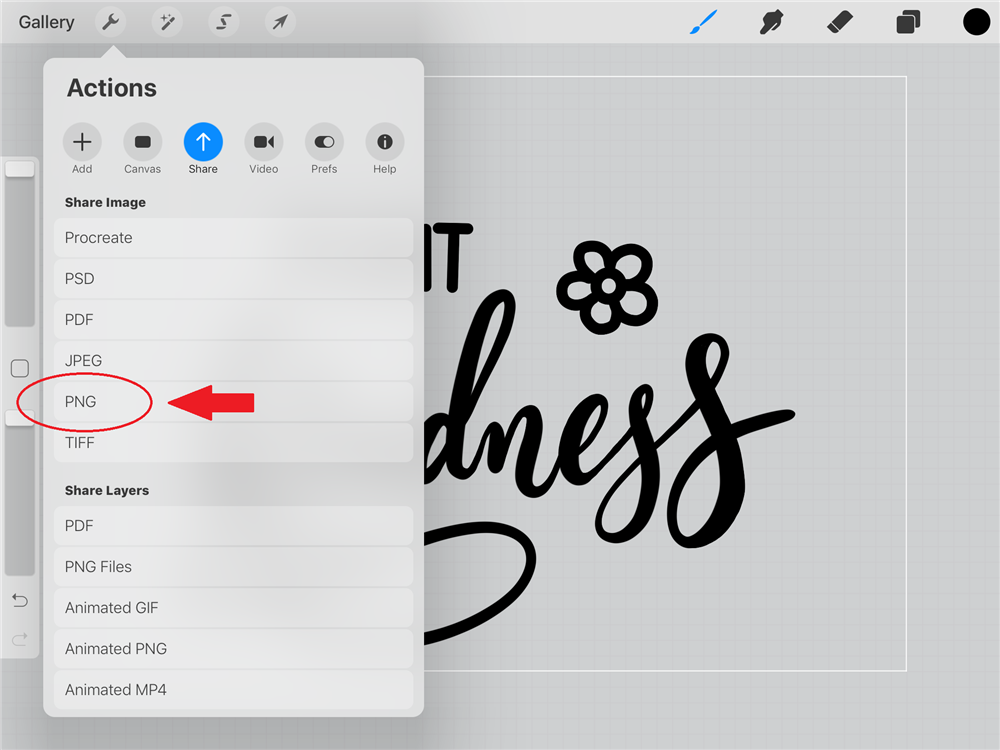
When exporting the file my file from Procreate, I hid the background layer creating a translucent background. This made it easier for Cricut Design Space to recognize what I wanted to cut (don't worry if you are unable to hide the background layer you can erase the background within the Design Space software). I exported the file as “.png”.
.png)
.png)
Step 3: Import your design into your cutter software
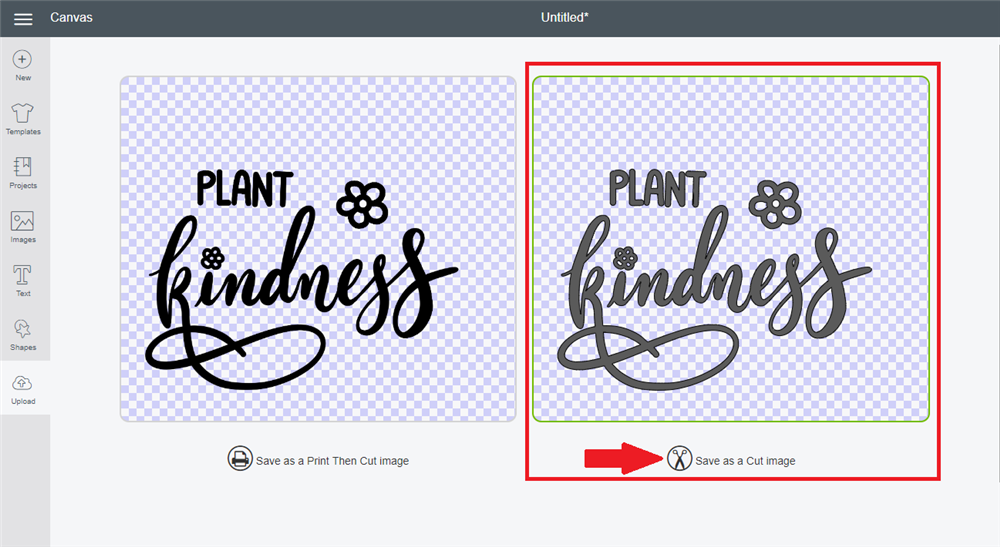
Make sure you select the “Cut only” option when importing if you are using the Cricut Design Space. Once imported feel free to re-size, re-arrange, add other elements, and decide on what colors you wish it to be.

Step 4: Cut and weed your image!
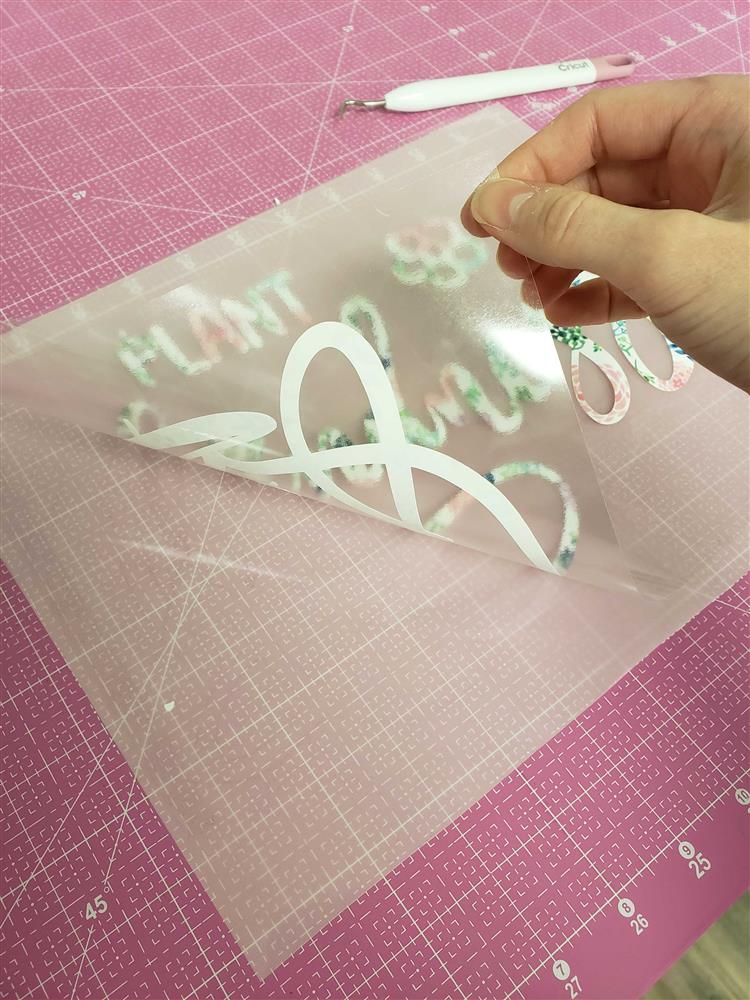
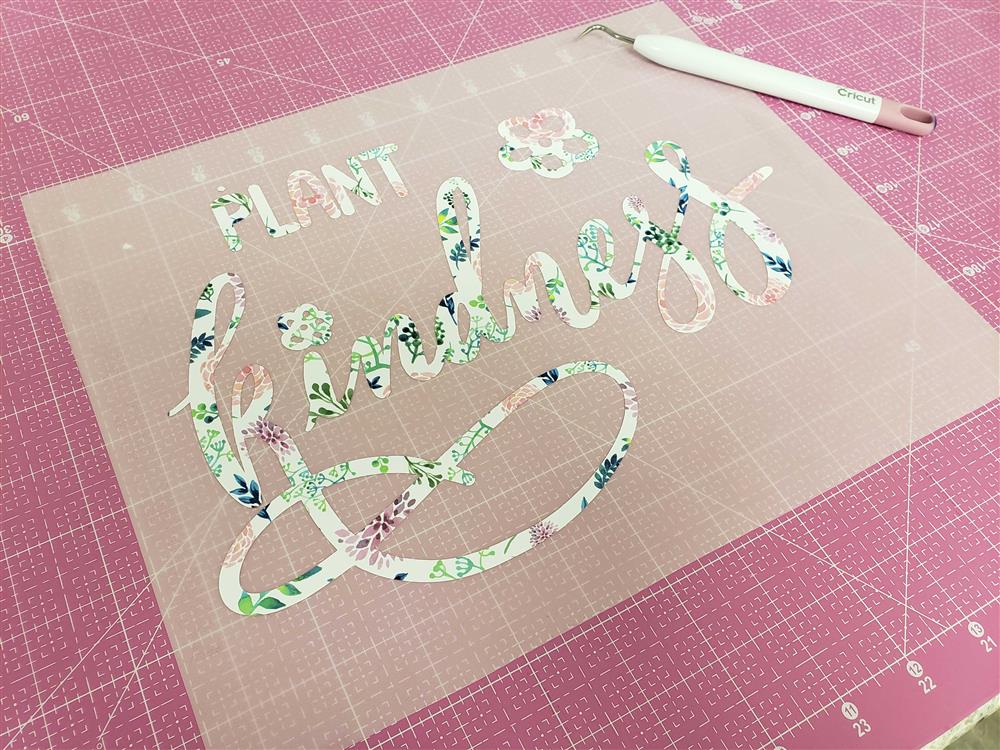
For our pattern HTV, make sure to cut the vinyl pattern side up and do not mirror. Once it is cut and weeded, use our Heat Transfer Mask to lift the design off the backing paper. Then you can move it over to your project.


Step 5: Apply Heat
Using a heat press, I set my temperature at 302 degrees Fahrenheit and pressed it for 10 seconds. To get a more even press I also used a pressing pillow. This helps to absorb any of the protruding seams of my apron, creating a nice, flat surface for the heat to be evenly distributed on.

