


I love every chance I can get to go all out with custom decorating. One of my absolute favorite ways to do this is with cute custom banners. For a long time I was creating unique banners for holidays and events with good ol’ scissors and paper, however, I ran into two issues with my handmade paper bunting. One was that any sort of detail was super time consuming to cut out and glue down (not to mention messy!). Another was that they were fairly fragile which made them difficult to store and use again in future years.
But I have found a solution - burlap banners and heat transfer vinyl!
1. Buy or Make Your Banner
The first step in creating these new versatile banners is the banner itself! If you have spare fabric and some sewing know-how you can easily make your own extremely low-cost bunting. If you are out to save some time, you can pick up blank banners in a variety of materials from various online retailers and craft stores. I purchased this burlap banner from Amazon for around $5. I paired this banner up with my CriCut Explore Air and Glitter HTV.
2. Plan Out Your Text
If you are planning on using any text on your banner, you will want to make sure you plan accordingly. Keep in mind how many pieces your banner is and make sure to use easy to read fonts. There are some gorgeous cursive script fonts out there, but this may not be the best project to use them with. For my project, I chose “Joplin”, a cute handwritten font that had no connecting points.

3. Measure & Cut
Next, I measured my banner for height to properly size my letters. This particular banner was a little over 4” tall so I sized my letters just a little under that. I chose a 12"x20” sheet of Merlot Glitter HTV to cut my letters out of, however for my design to fit within that space I needed to ungroup my typing so that they could be re-arranged on the design mat.
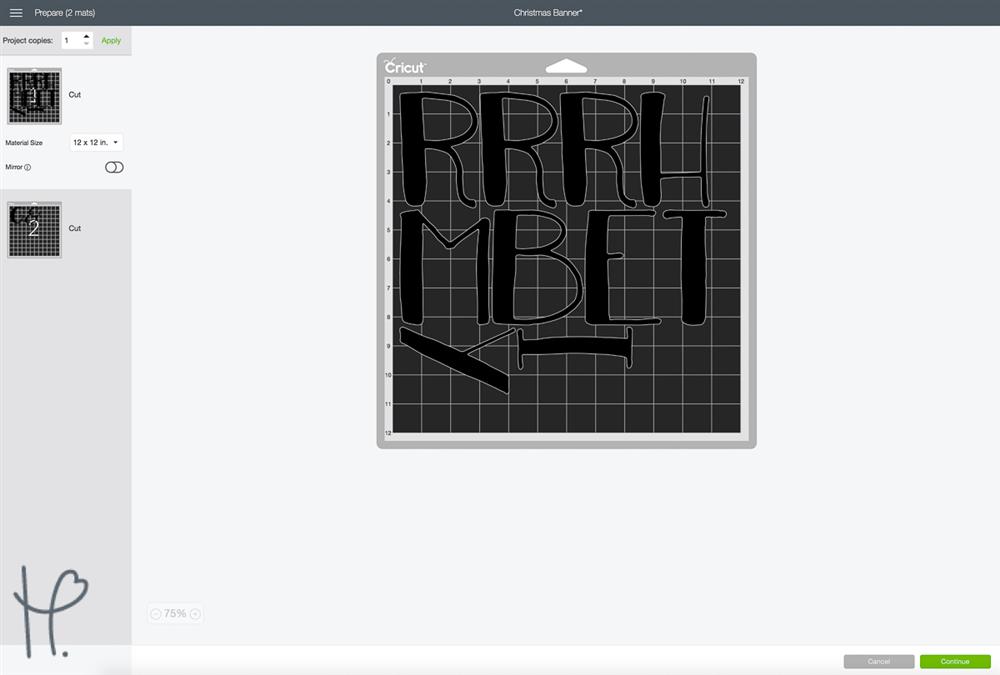
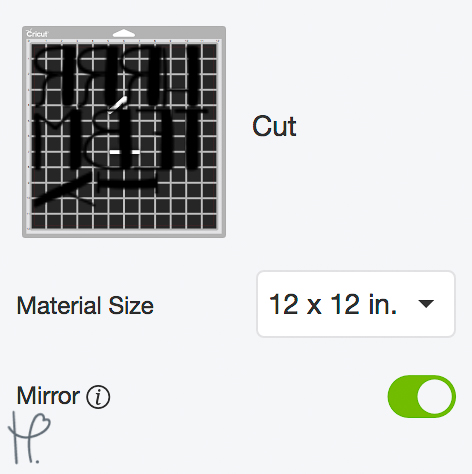
Cricut Design Space does an excellent job and re-configuring your design to fit within the size of your mat. If your design requires more than one mat’s worth of material the software will automatically sort your design by the mat. Make sure to select mirror for both mats if you are using HTV. After the first mat was finished cutting, the second mat only needed about 9” of vinyl which made it possible for me to simply flip around the 20” sheet to cut from the opposite end.
4. Apply Your HTV
Once my design was cut and my excess vinyl was weeded, it was time to put this thing together! I decided to do 3 separate banners out of the one that I purchased (which luckily came with plenty of extra twine so that I could do this). I made sure that my middle and bottom layers had plenty of extra string so that they could hang at appropriate lengths away from my top layer. Feel free to adjust this to whatever your needs are! Once my twine was cut and my vinyl laid out the last thing to do was to apply it!
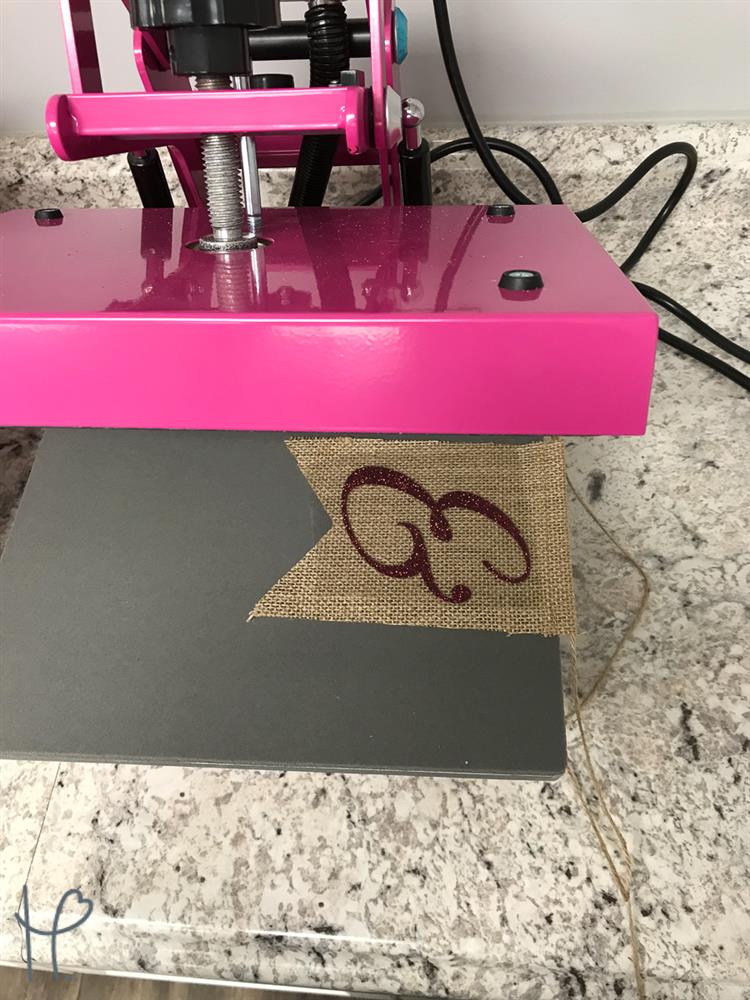
I set my Pink Heat Press to 320º and adjusted my pressure while it was heating up. Always make sure that the material you are using is compatible with the vinyl you will be applying. This burlap banner is made from 100% cotton, so I knew it would work just fine with my glitter HTV. Set your banner pieced on your press so that they lay flat, keeping the stringed end off of your pressing surface. Press for the designated time (for glitter I pressed for 15 seconds).
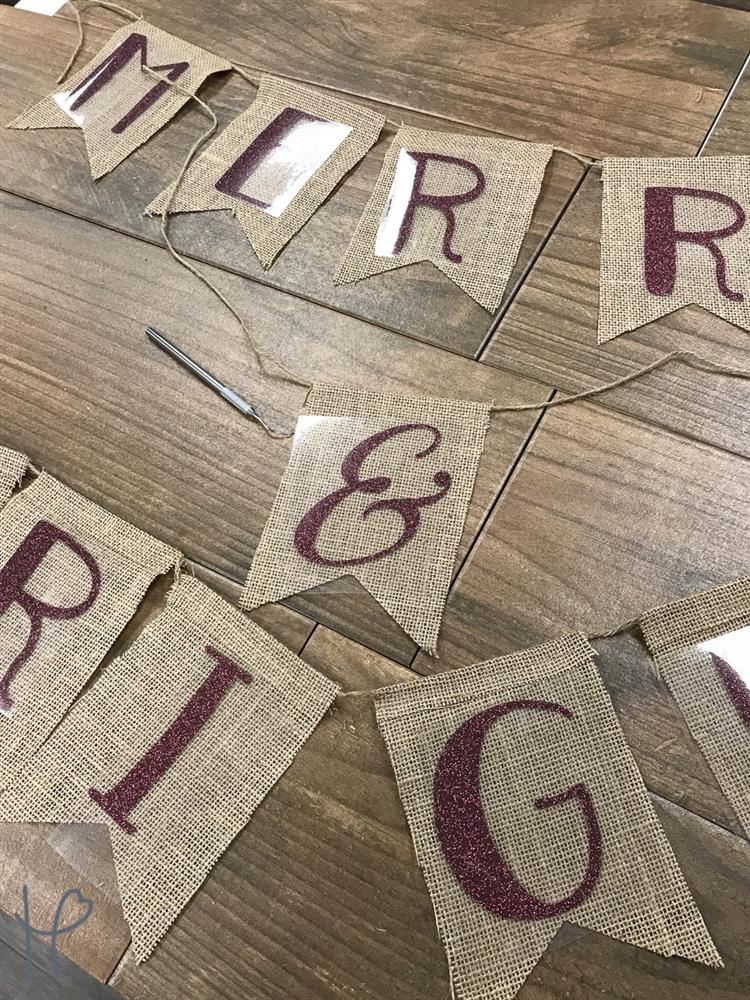
5. Decorate!
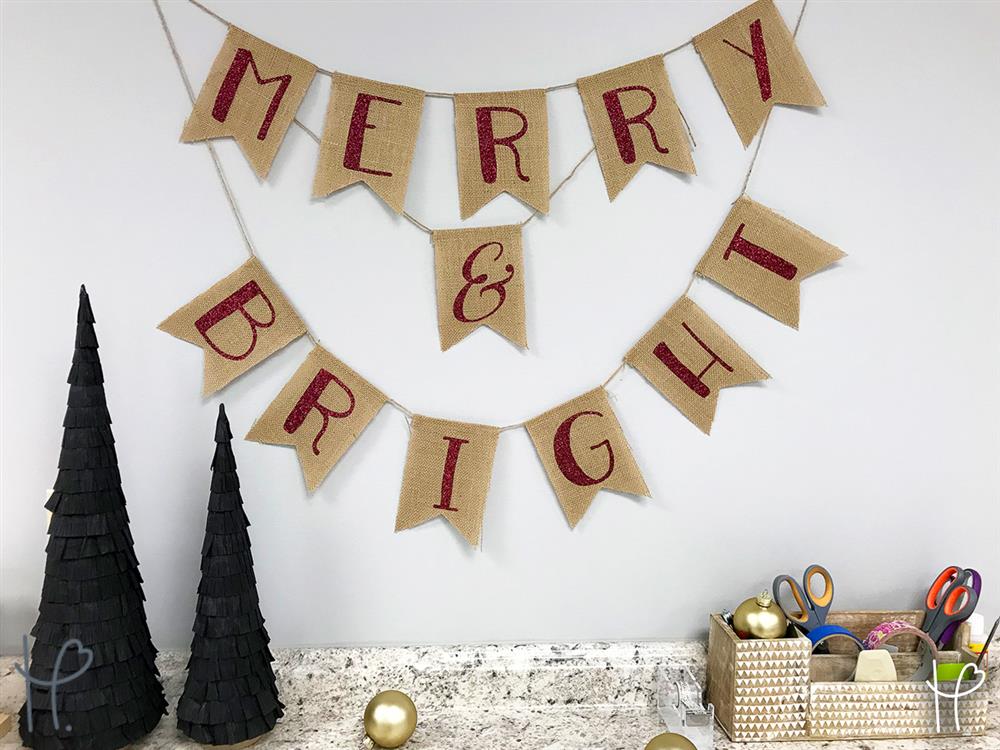
This banner turned out so great, I was thrilled at the chance to finally hang it up! My favorite part about it is how sturdy this came out in comparison to my old paper bunting. I’ll be able to fold this up and use it year after year without fearing that my letters will peel up or get damaged.
Have you made any cute banners with HTV or adhesive vinyl? I’d love to see them! Drop us a comment here or tag us on Facebook or Instagram with your projects!
Until next time,
Elisha