


There are so many different ways to decorate with vinyl but my personal favorite is the most direct – stick it to the wall! The key to applying vinyl on your walls is what kind you use. Oracal 631 is an indoor removable vinyl that is perfect for your walls. It is less sticky than other types of adhesive vinyl so it won’t tear off your paint when it comes time to remove the vinyl! I decided to give this vinyl a chance with some Christmas decorating.
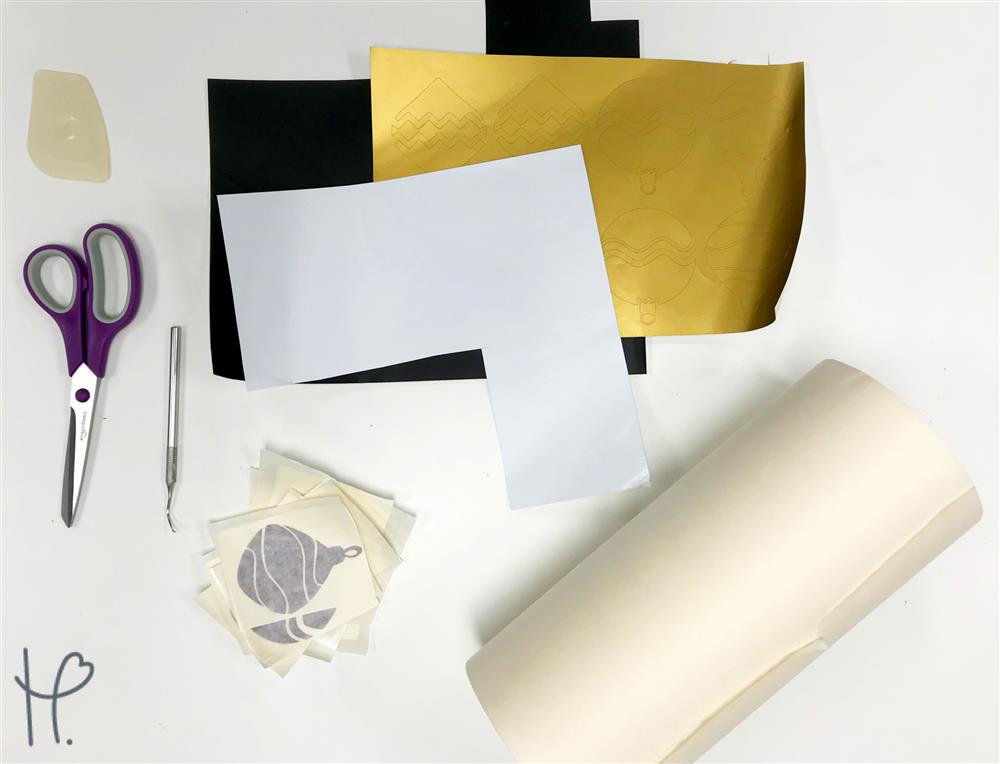
For this project I used:
- Oracal 631 Removable Wall Vinyl Scraps (white, metallic gold, violet, black)
- Paper Application Tape
- Lil’ Chizler Squeegee Tool
- Weeder Tool
- Cricut Explore Air 2
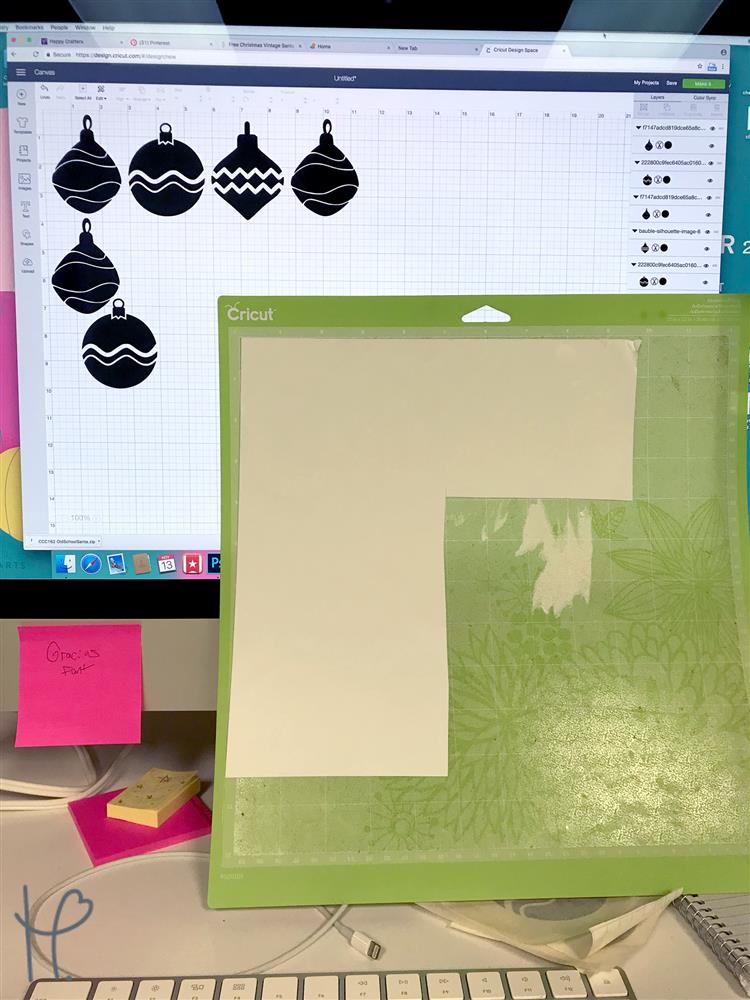
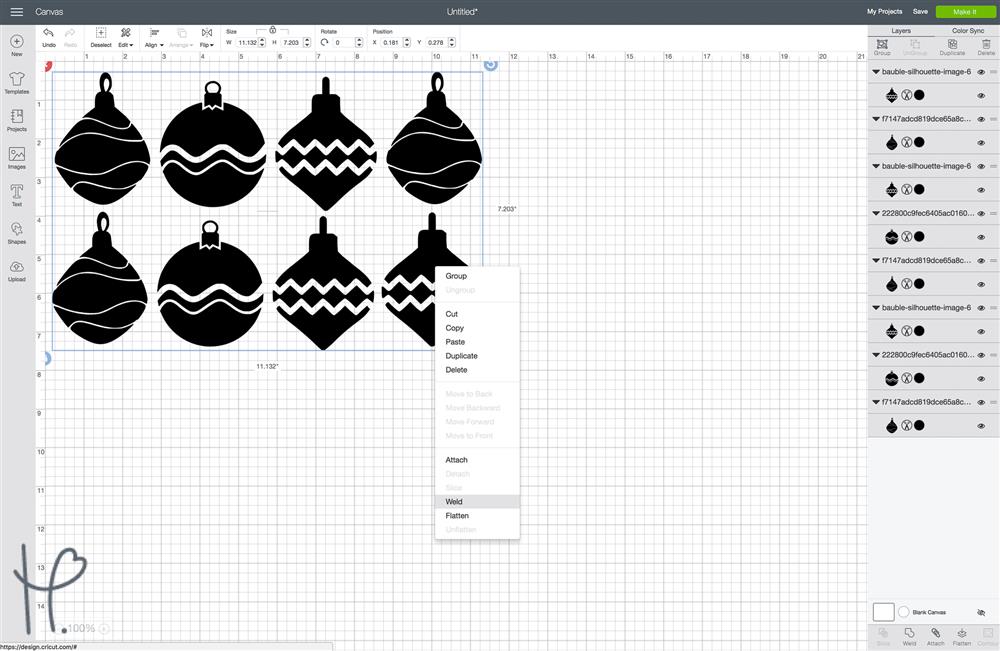
Step 1: Design and Cut in Cricut Design Space
I knew that I wanted to add some cute ornaments to the wall so I decided to use up some scraps to do it! The key to making the best use out of your scraps is to make sure your design fits within the space of your scrap sheet of vinyl. In Cricut Design Space I organized my ornaments to fit within each piece of vinyl that I had. Then I selected my entire set of designs and welded them so that the software would not re-arrange them when it was time to cut. For Oracal 631 I set my Cricut to the Vinyl setting for the perfect cut!
Step 2: Weed and Mask
Weeding this type of vinyl is a breeze due to the fact that it is less sticky than other types.
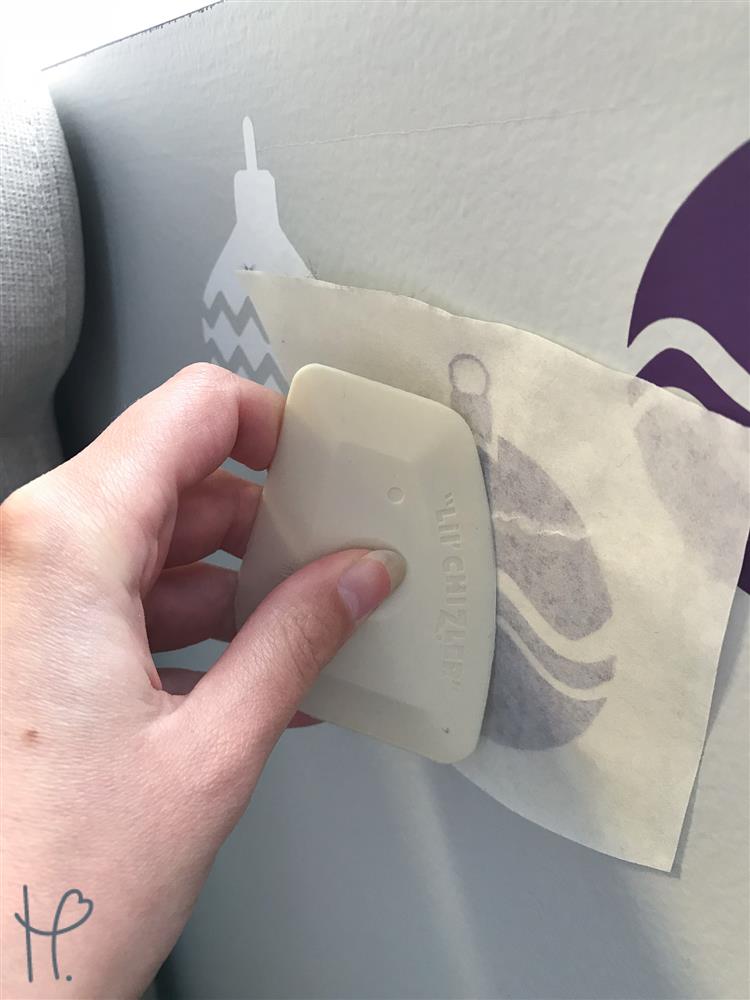
Once your designs are cut and weeded it is time to mask them with application tape. For Oracal 631, I recommend using our paper application tape. I find that the clear plastic tape that we often use for Oracal 651 has just a little too much tack to it to successfully work with the less sticky adhesive vinyl. Make sure when you are masking your designs that you are properly adhering the tape with some sort of squeegee-like our Lil’ Chizler. I suggest pressing from the middle of your design and working your way to the outside edges, focusing and re-adjusting on any stray pieces that may be stubborn enough to not adhere the way you’d like.
Step 3: Plan and Apply
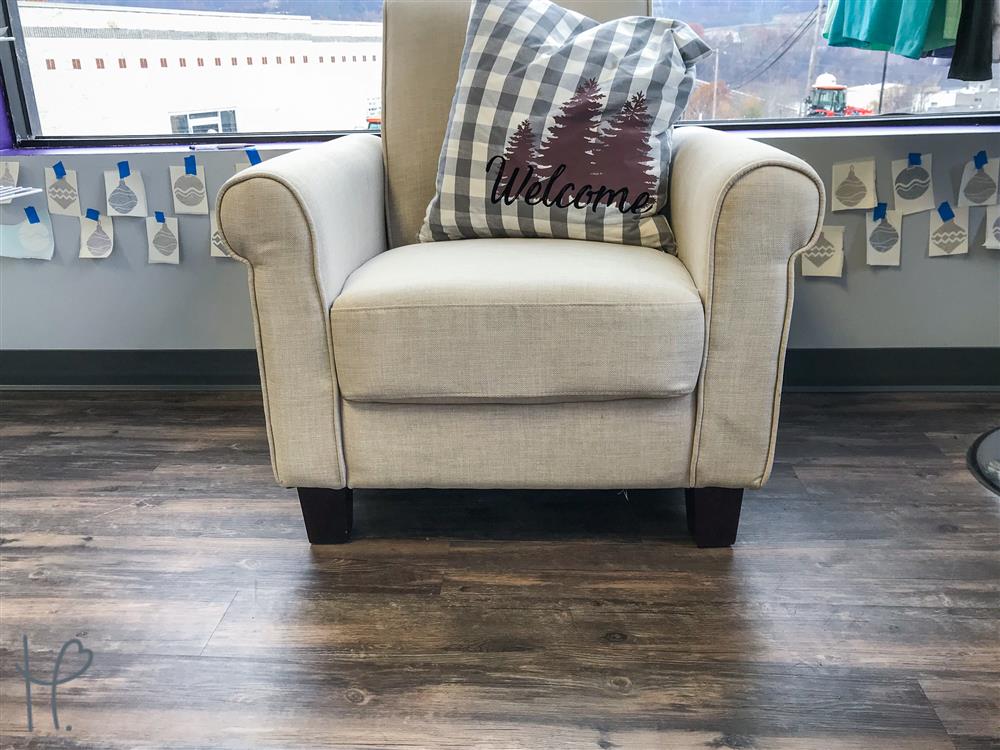
An important part of applying any sort of large design onto a wall is planning. Make sure your design is level and plan the location BEFORE applying. Since this design was cut out of many pieces I had the added challenge of deciding how to arrange them on the wall. What helped me was hanging up my designs with painters tape before applying them. This way I could see how best to hang them before committing to the process, sort of like a decorating rough draft.
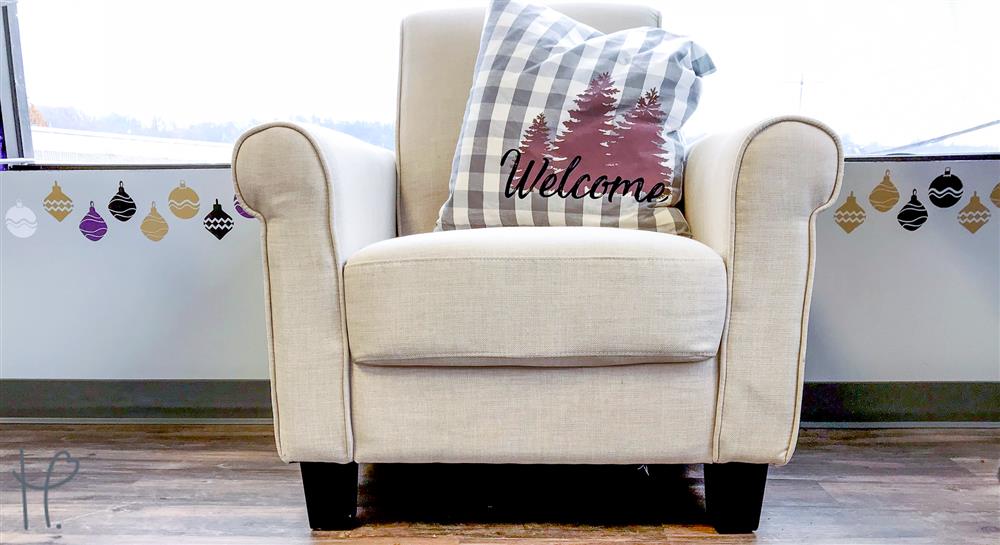
Once ready to apply, I simply peeled away the application tape with the vinyl attached and carefully stuck each piece to the wall. The really wonderful thing about Oracal 631 is that you have a little wiggle room as far as application goes. If you lay your design down gently and find you need to re-adjust before fully applying and peeling away your application tape, you can easily pick it back up and try again. Once your vinyl is exactly where you want it simply use your squeegee tool like you did to apply the application tape to adhere your design to the wall.
And there you have it! One piece of wall décor that you can peel right off after you’re done with it! This ability to remove your wall decals makes them perfect for holidays or an ideal way to make an apartment you rent your own!
Have you done any decorating with removable vinyl? Let us know in the comments or tag us on Facebook and Instagram!
Until next time!
-Elisha