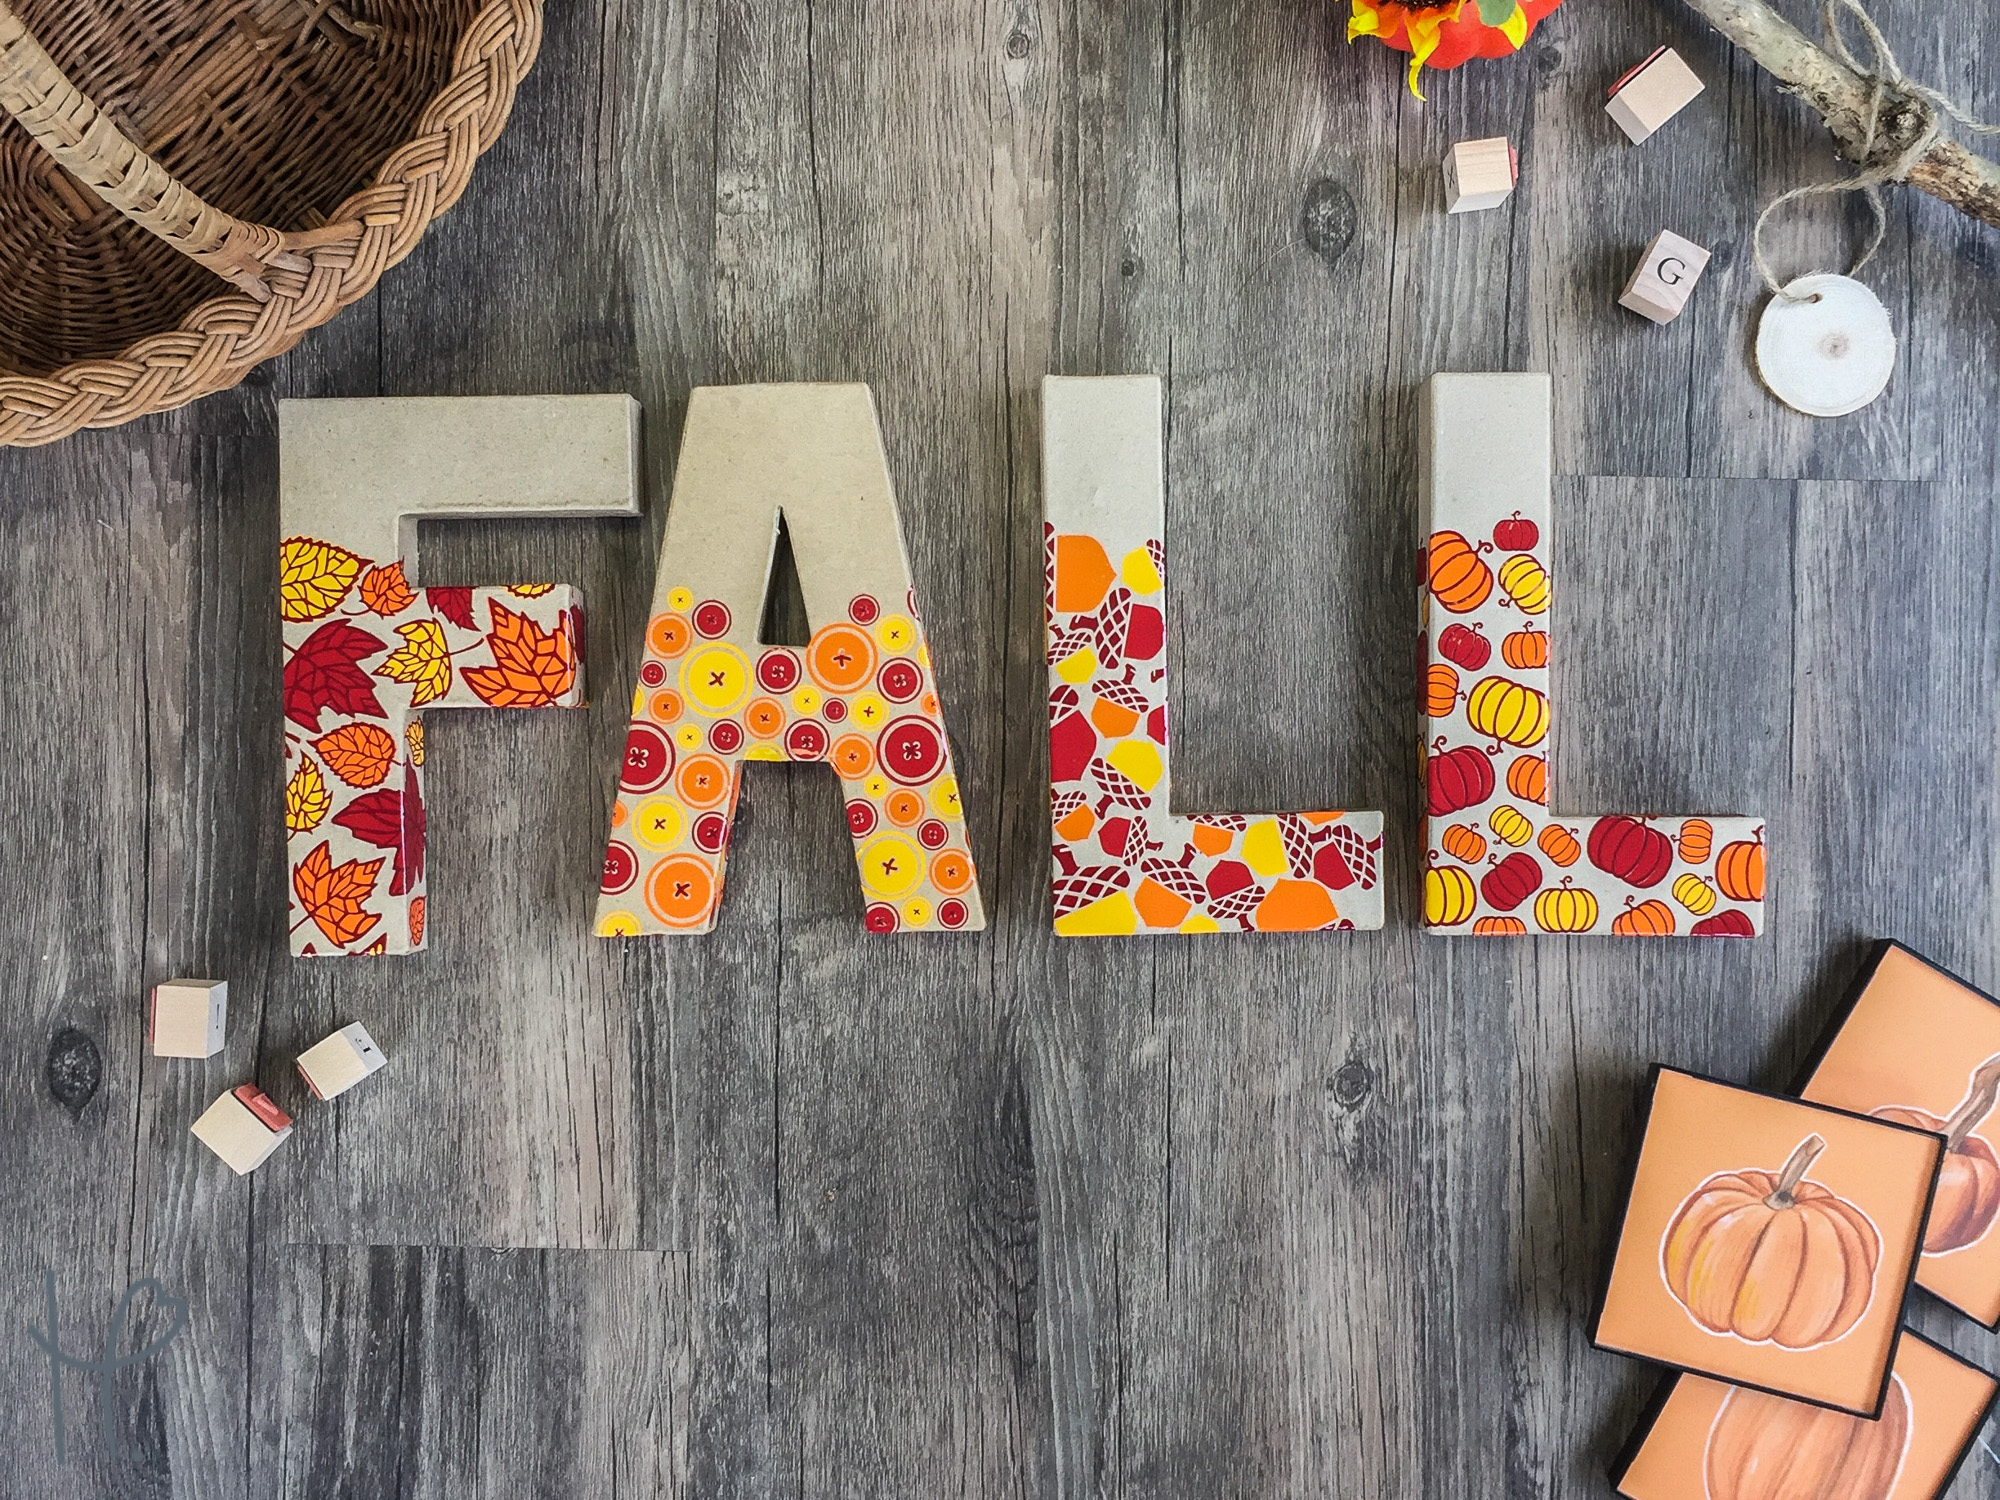
Looking for a quick, easy, fall home décor project that you can make yourself with adhesive vinyl and your Silhouette? I have the solution. Recognize these letters? I used to stop in every local craft store to grab a few for decoration. They are cute by themselves but adding a little detail takes it to a whole other level. Thank goodness “FALL” is only 4 letters because I definitely picked some meticulous designs ;)
I purchased my letters on Amazon to save myself a trip to the local craft store, but Hobby Lobby, Michaels, AC Moore, and even Walmart should stock these letters year-round.
Here are a few other materials to collect:
- Variety of OraCal 651 Permanent Adhesive Vinyl
- Silhouette Cameo 3
- Weeder
- Clear Application Tape
- Lil’ Chizler Squeegee tool
Honestly, the hardest part of this project was confirming what fall related objects to use. After much deliberation, I went with leaves, buttons, acorns, and pumpkins. One by one I copied and pasted my icons to create a pattern in silhouette. I then went through and re-sized to create a proportional pattern by dragging the corner tool outwards.
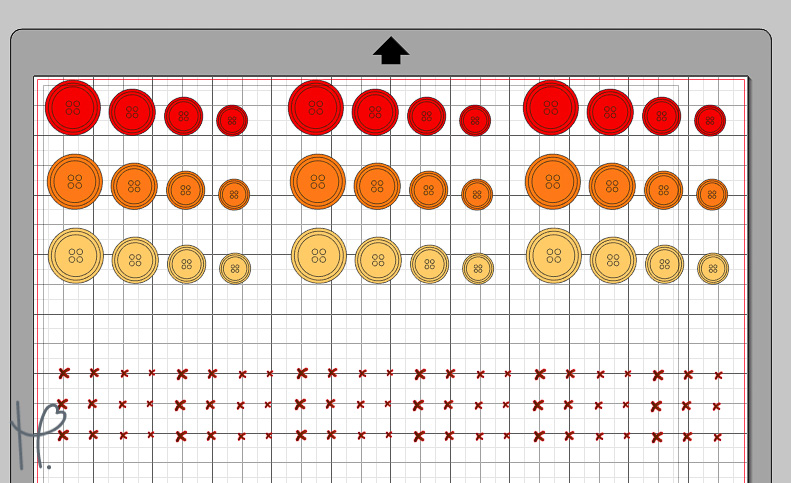
From there, I needed to create two layers so that I could add depth to my design. I right clicked and released my compound path which then separated all my lines within the object. I selected the outer border of these shapes and dragged them to the side of the mat so that they wouldn’t be cut.
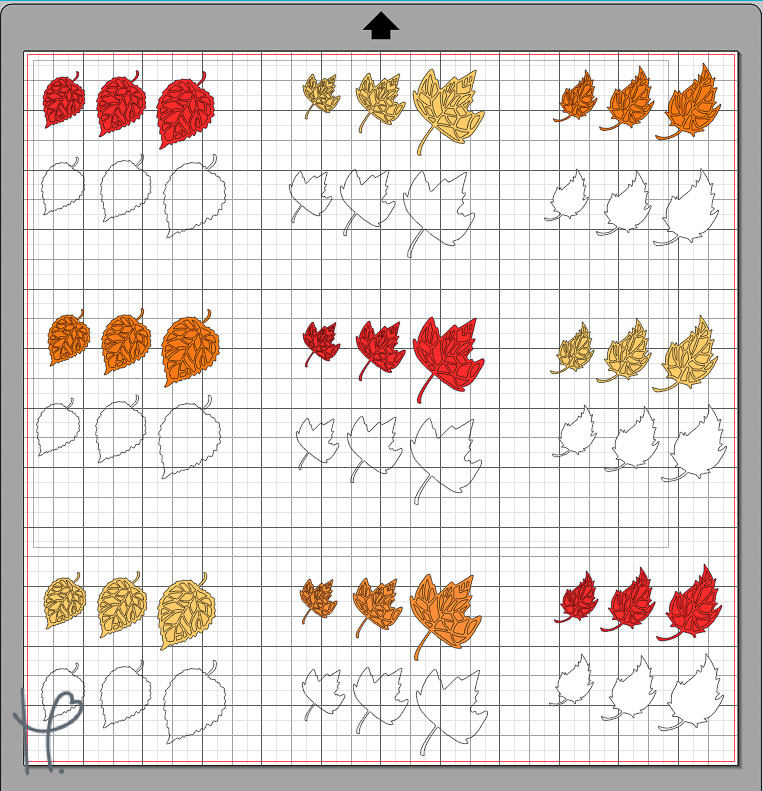
To cut the OraCal 651, I had my blade at 1, the speed at 8, and thickness at 9. I alternated cutting the same pattern with a variety of colors so that at the end I had lots of options for shapes and sizes. I moved this design to the side of my mat and then dragged my borders back on, this way I could cut them all with black.
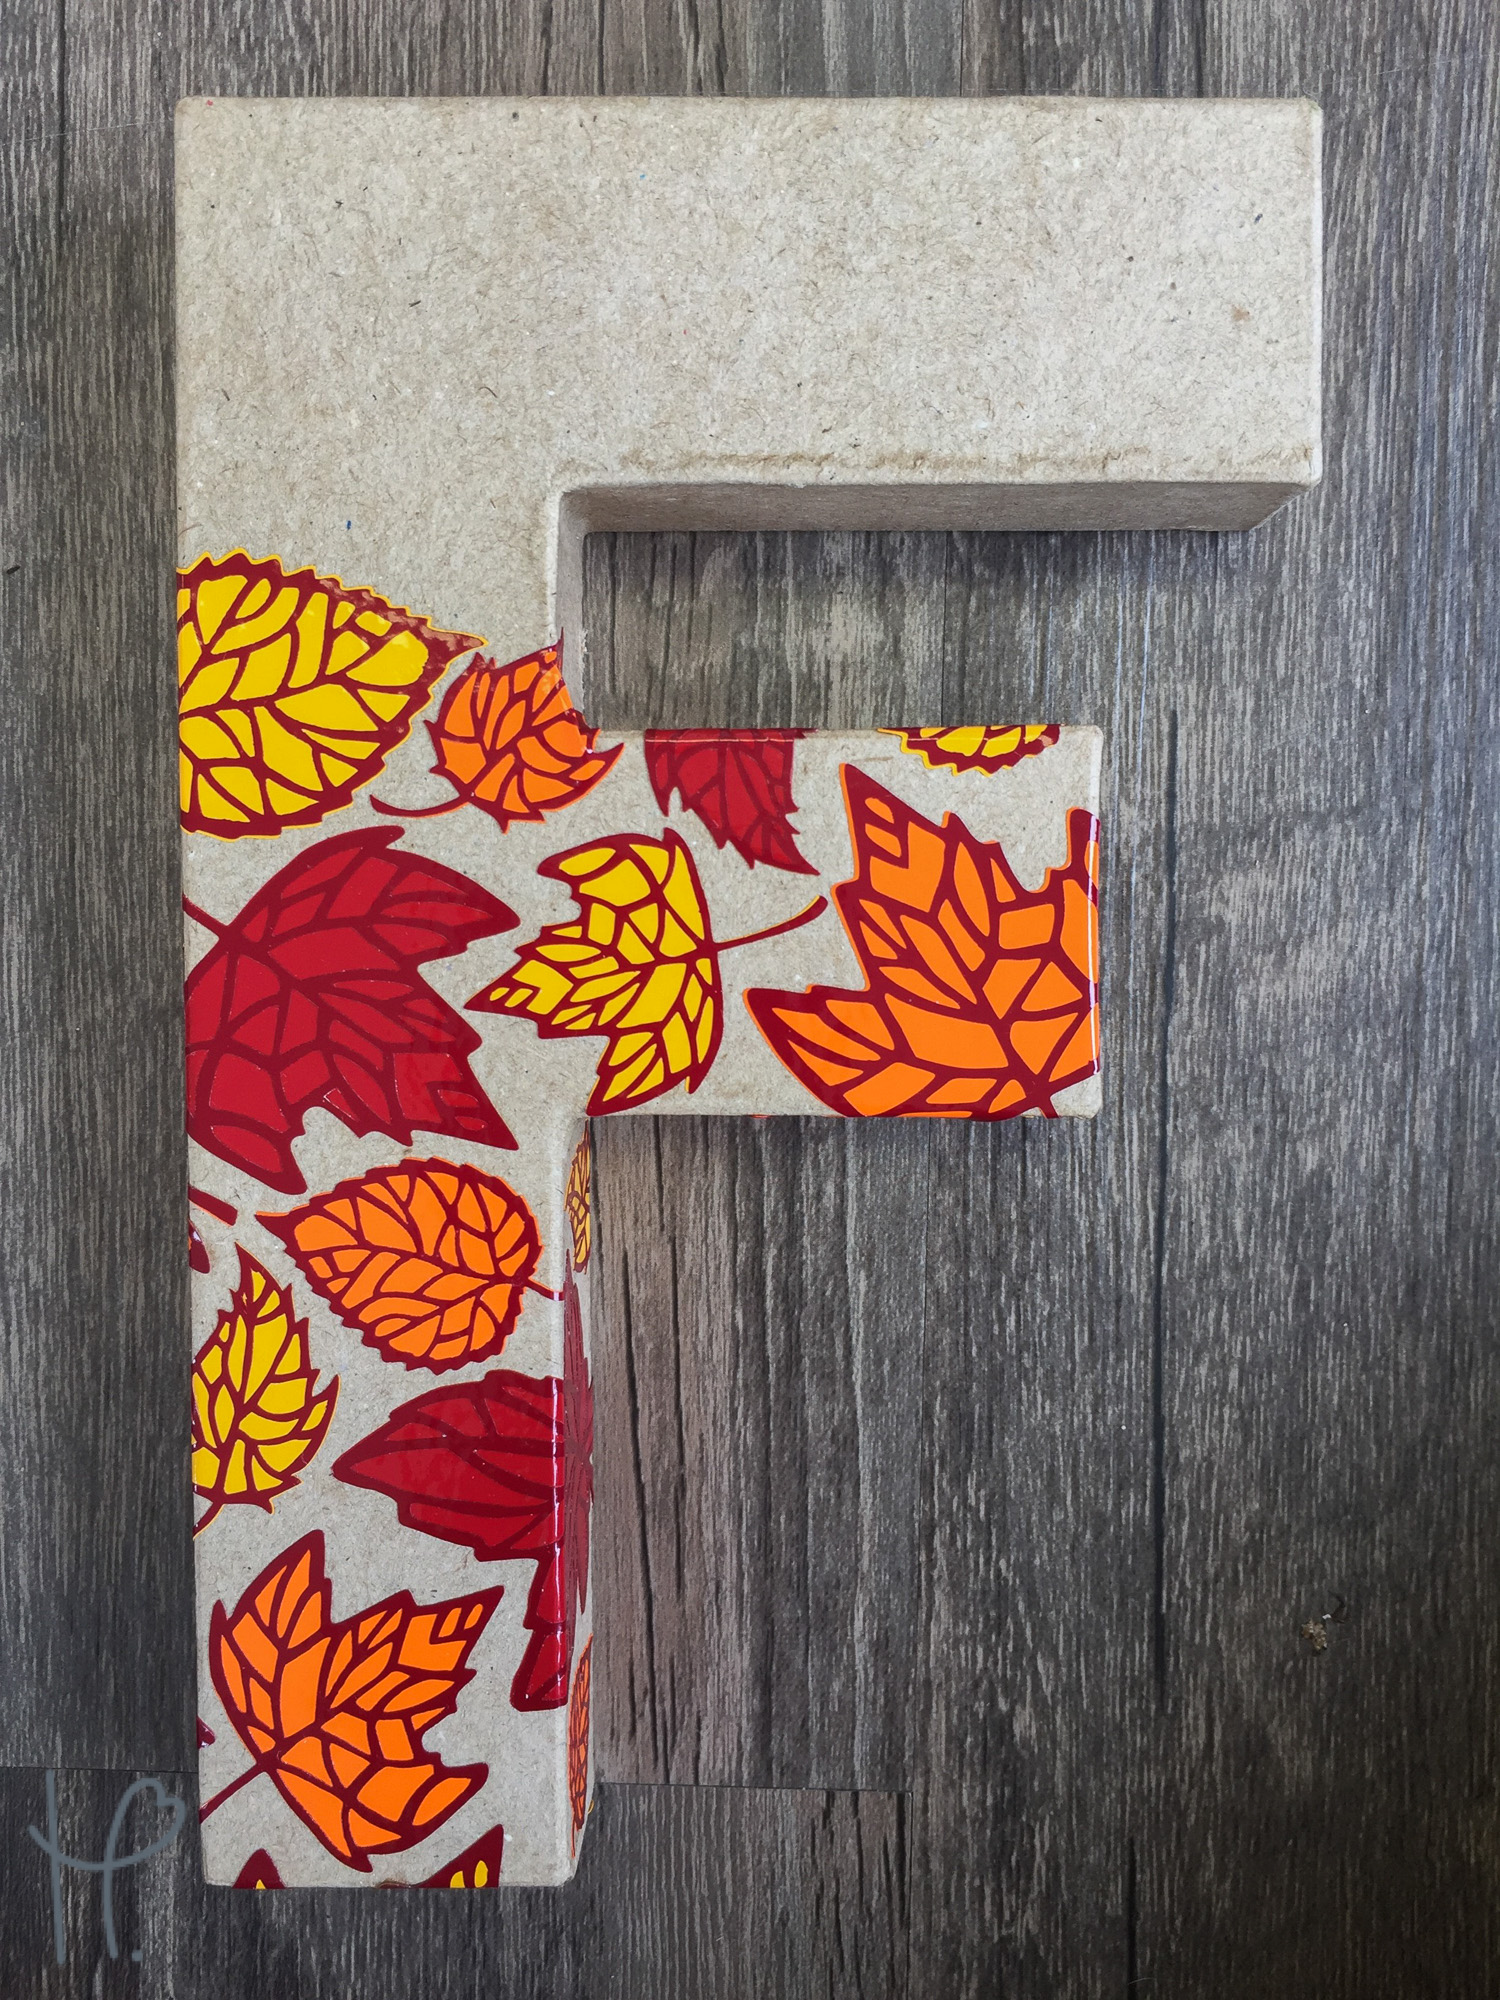
I now had the body of all my shapes out of assorted colors as well as the black borders that I would now layer. I applied the transfer tape over my black outlines first using my squeegee tool to apply pressure, once it released from my carrier sheet I applied it on top of the colored shape. Now that I had the full image on my transfer tape I started applying to the paper Mache letters individually. I just eye balled the placement of each shape so that there was an even amount of negative space throughout.
Also, this project is featured in our “How to Sell at Fall Craft Shows” e-book. This project is perfect for selling for the fall season. It can be customized a million ways and upgraded to wood for décor that will last a lifetime. If you’d like to learn more about selling at craft shows, pricing your products, and displaying, download our full e-book by entering your email address below!