Other than creating custom t-shirts and decals to make a little extra money, one of my favorite perks of owning a Silhouette Cameo is being able to make one of a kind items for myself. When you love a show or movie but struggle to find exactly what you are looking for, it’s convenient when you can make it yourself!
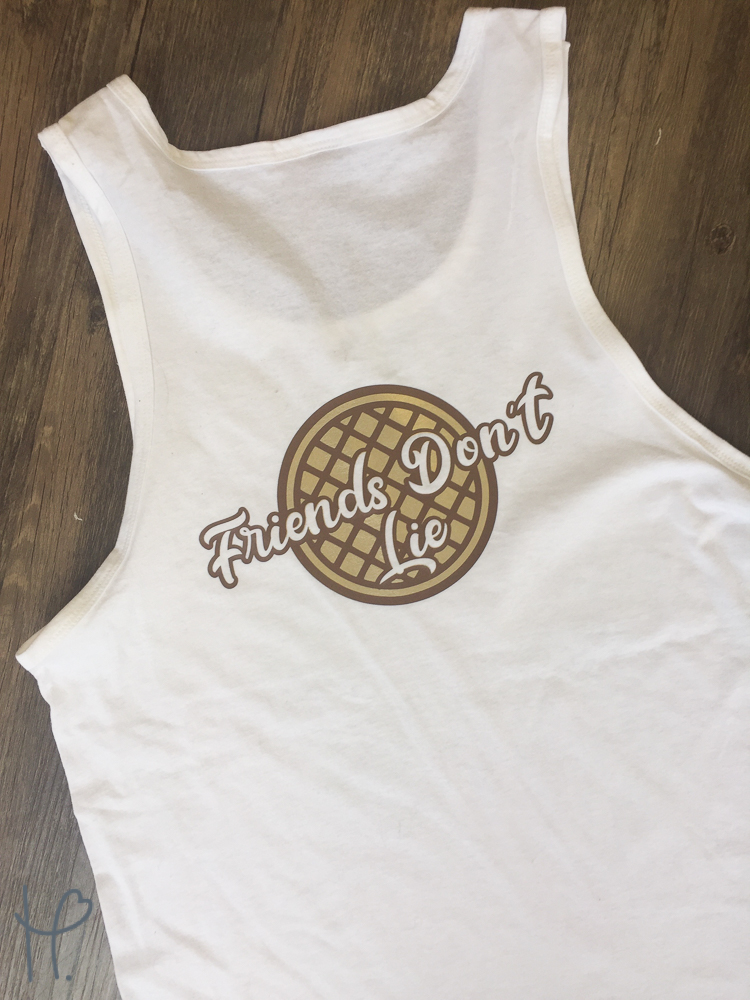
If you’ve seen the series Stranger Things, chances are you’re also obsessed with it. This show has absolutely blown my mind episode after episode. While you can find a lot of Stranger Things merchandise right now, I couldn’t find exactly what I wanted. I wanted a tank top for the gym with a subtle Stranger Things reference, but nothing over the top like a logo or picture of the kids.
Time to Design!
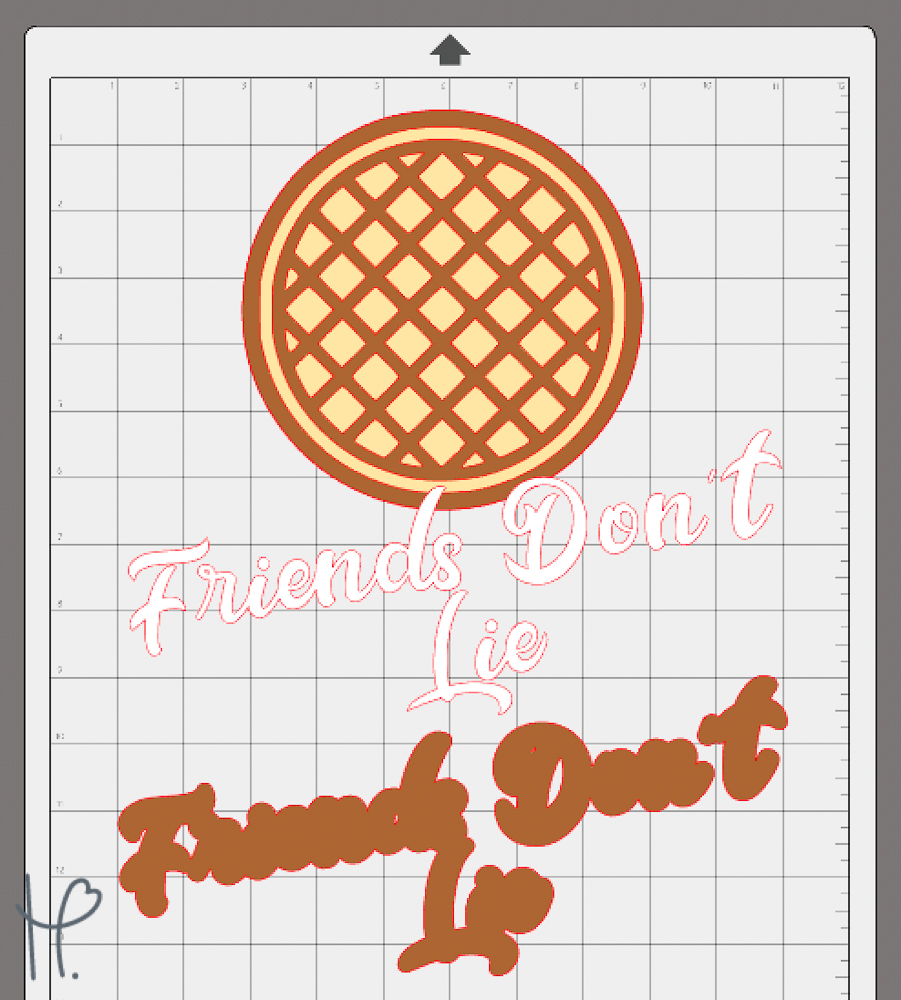
Once I decided on the quote I would use from one of my favorite pop culture references, I opened Silhouette Studio and started designing! I chose a free waffle vector online, picked a font for my quote, and went from there. I wanted to make the design two colors but knew I wanted the words “Friends don’t lie” to be the color of the shirt and not vinyl.
I started by releasing the compound path of the waffle and then duplicating the largest circle. This would allow me to create the “inside” of the waffle as a separate color. Then I could layer the hatch or griddle marks as a darker color. After creating the inside of the waffle, I wanted to work on the font. I chose “Metal Ink” as my font because it was thicker but also a script.
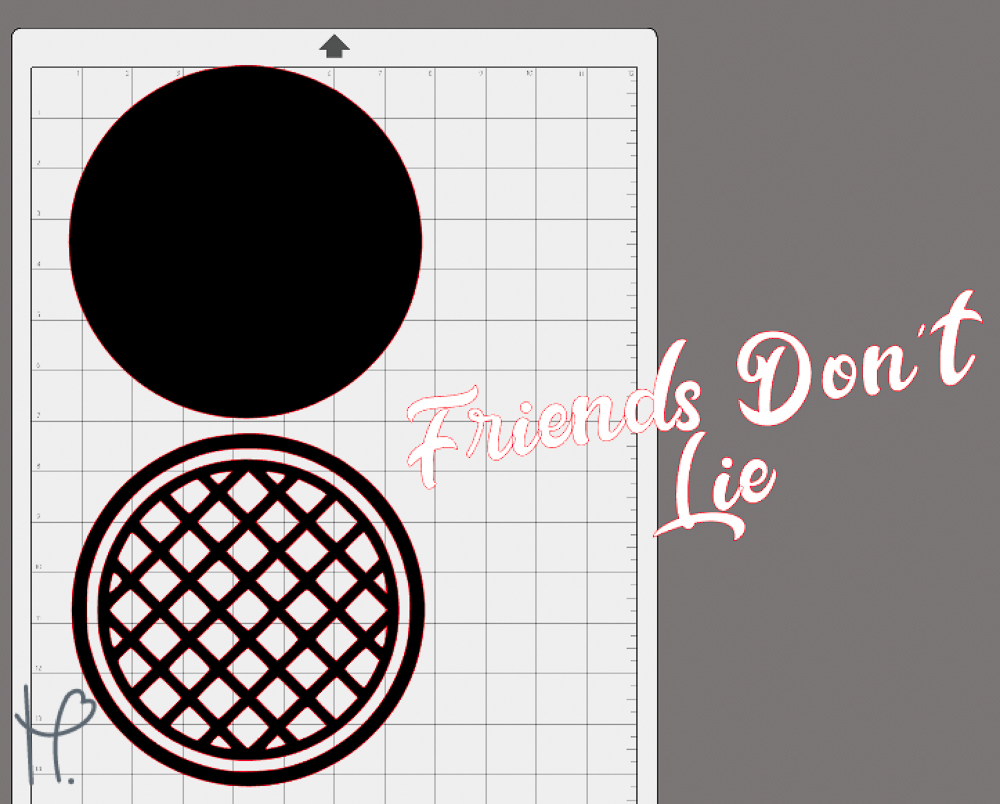
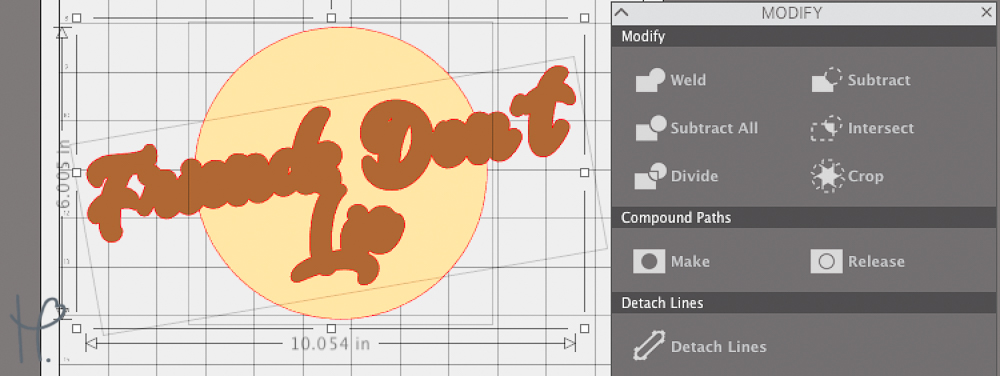
As I mentioned above, I wanted the text to be the shirt coming through the design, not htv. To do this, I aligned the outside of the waffle, inside of the waffle, and the text. When I was happy with the layout of the design, I welded my font. After welding the font, I created an offset path on the font. I didn’t want it to be too large, but large enough of an offset path to outline the text once the inside of the font was gone.
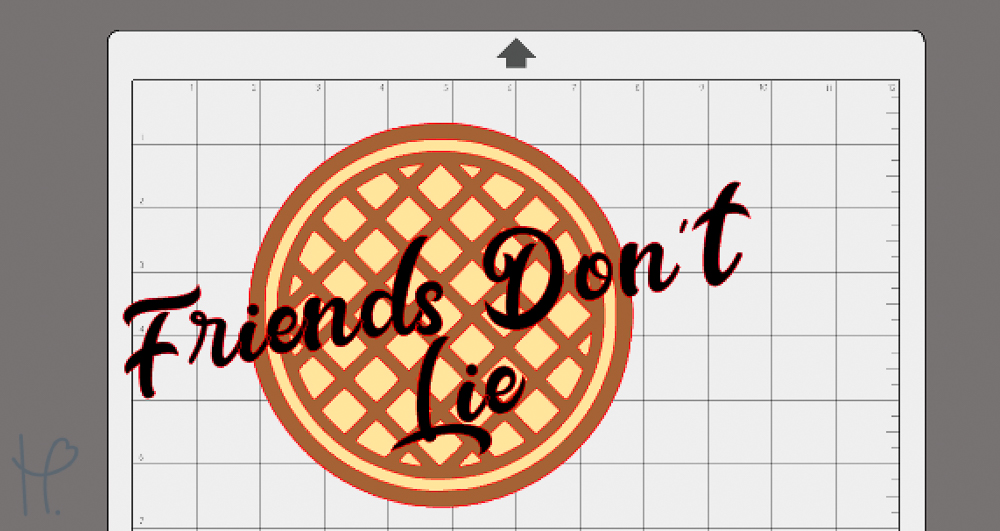
This step leaves you with 4 layers: the inside of the waffle, the outline of the waffle, the text itself, and the offset. Now came the hard part. I needed to subtract the actual text from all other pieces. For this reason, I duplicate the entire design just in case something goes wrong. Plus, then you have the extra pieces that you can use to subtract again.
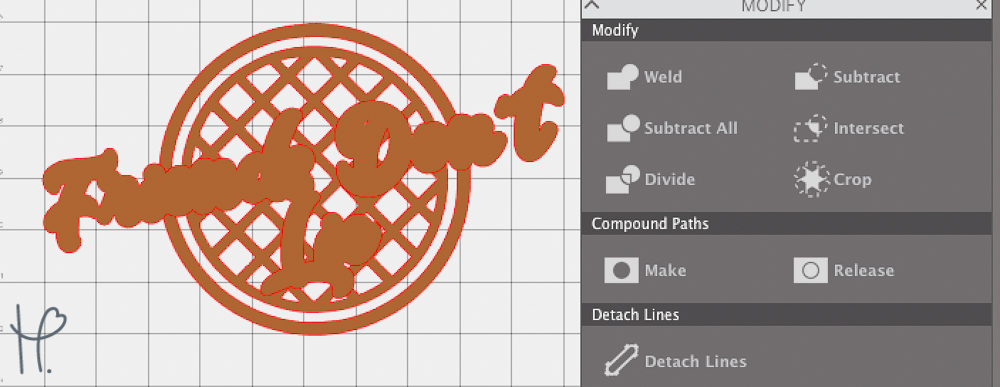
I started by subtracting the offset font layer from the inside of the waffle. This is the easiest step, so get that out of the way first. After this, I layered the offset piece on top of the outside of the waffle. It's important that you layer the offset in the same exact position this time as you did with the inside of the waffle, so I stack them all up again, perfect the placement, then move the inside of the waffle out of the way.
Once it was aligned, I welded the outside of the waffle and the offset path of the text. This allowed me to create an outline of the text and waffle. The last step is to put the text back inside the offset and center it. Then, select the outside waffle/ offset, create a compound path, and subtract the text. This gives you that knockout look you see at the end where the shirt color will come through the design.
Now the fun part!
What I Used:
- Silhouette Cameo 3
- Silhouette Studio
- Happy Crafters Standard HTV
- Pink Heat Press
- Weeder Tool
- District® Young Mens Concert Tank – White
I chose Happy Crafters Standard heat transfer vinyl for this project because I needed something with a sticky carrier. The tiny pieces of the left chest sized waffle were very small, and I didn’t want to mess with weeding something difficult. Also, Standard HTV is easily layered with the two-second tack method.
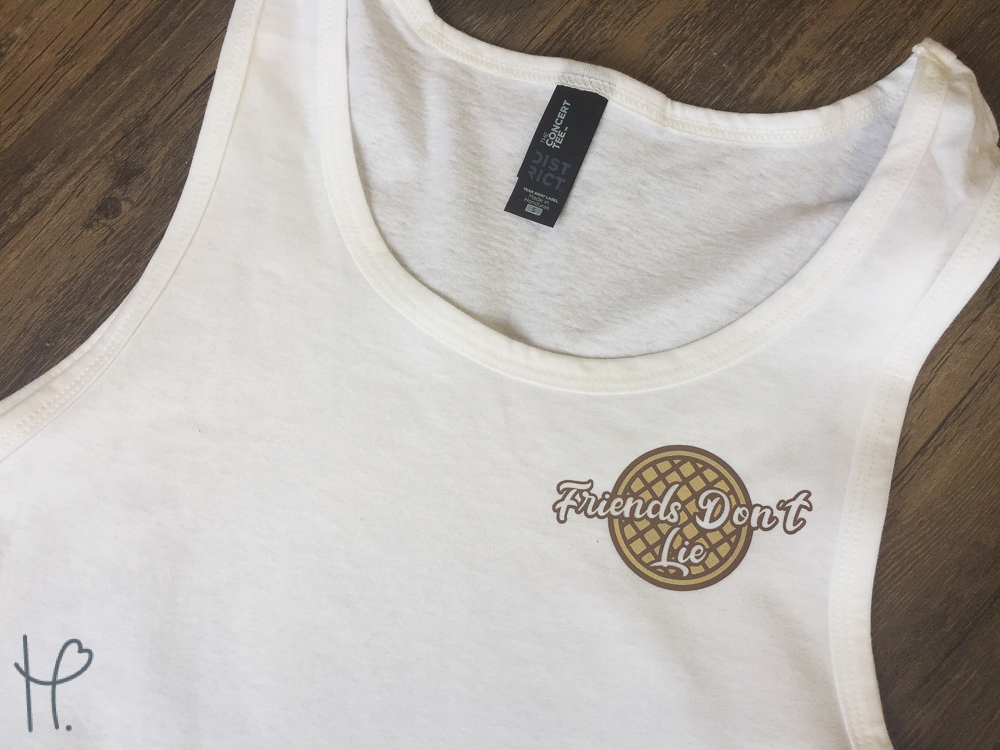
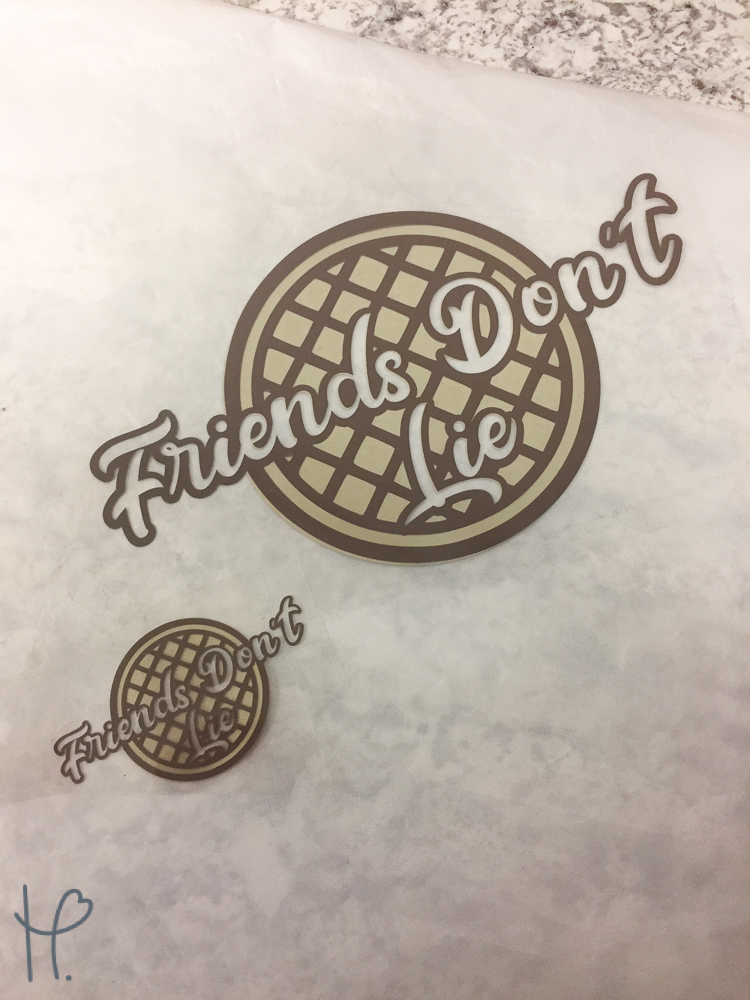
Once my design pieces were finalized, I resized them for a left chest logo size, then I duplicated the entire thing and resized it for a full back design. Instead of choosing “cut by color”, I manually rearranged my mat for each color so that I could decide where I wanted them on the mat.
Cutting!
After aligning my mat, I cut each color of HTV separately using the cut settings heat transfer smooth, blade 2, speed 8, thickness 5. I also mirrored my design pieces myself so that I had control over where they were on the mat.
Once both colors were cut, I weeded out all the cavities and extra vinyl. Since I used Happy Crafters Standard HTV those tiny cavities were a breeze! It held down any little pieces I may have otherwise pulled up, plus it allowed me to push anything I accidentally lifted up back down.
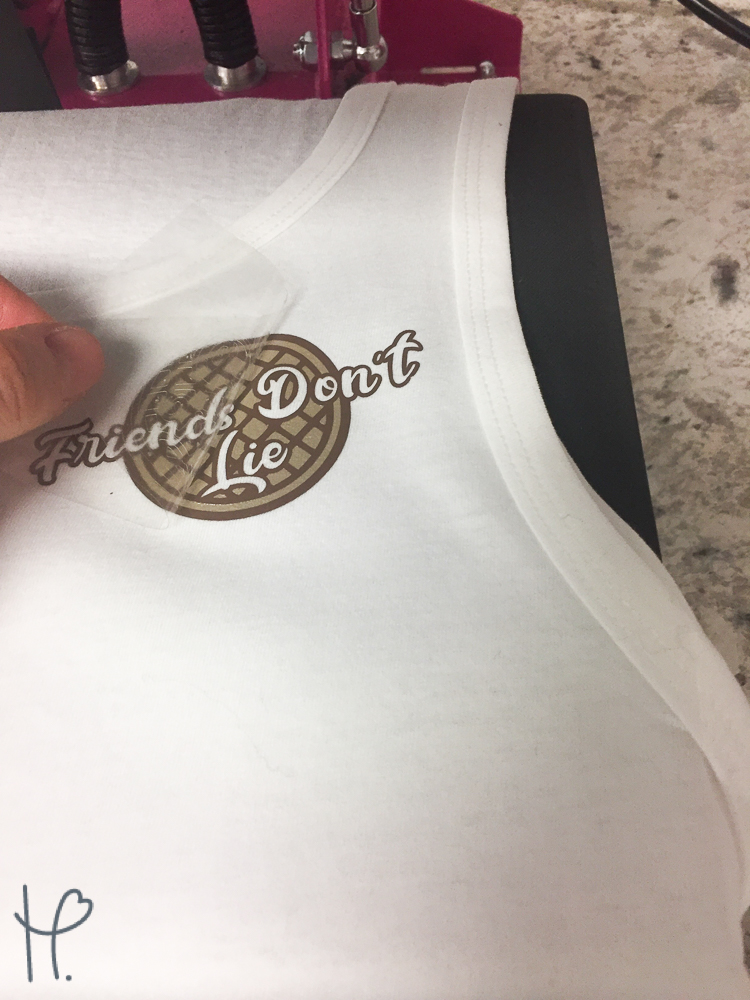
While weeding, I set my Pink Heat Press to 302ºF so it was ready to go when I was. When working with a heat press, one of the most important things to remember is to keep your seams off the press or you won’t get even pressure. Keeping this in mind, I aligned my tank top on the press so that I could get the seams of the shirt off the platen.
Time to Press!
I started with the left chest logo and pressed the Wheat Grass layer first for only 2 seconds. One of the perks of using standard heat transfer vinyl is that when layering, you only have to press each layer for 2 seconds until you get to the top layer. This keeps the vinyl from shrinking or getting over pressed.
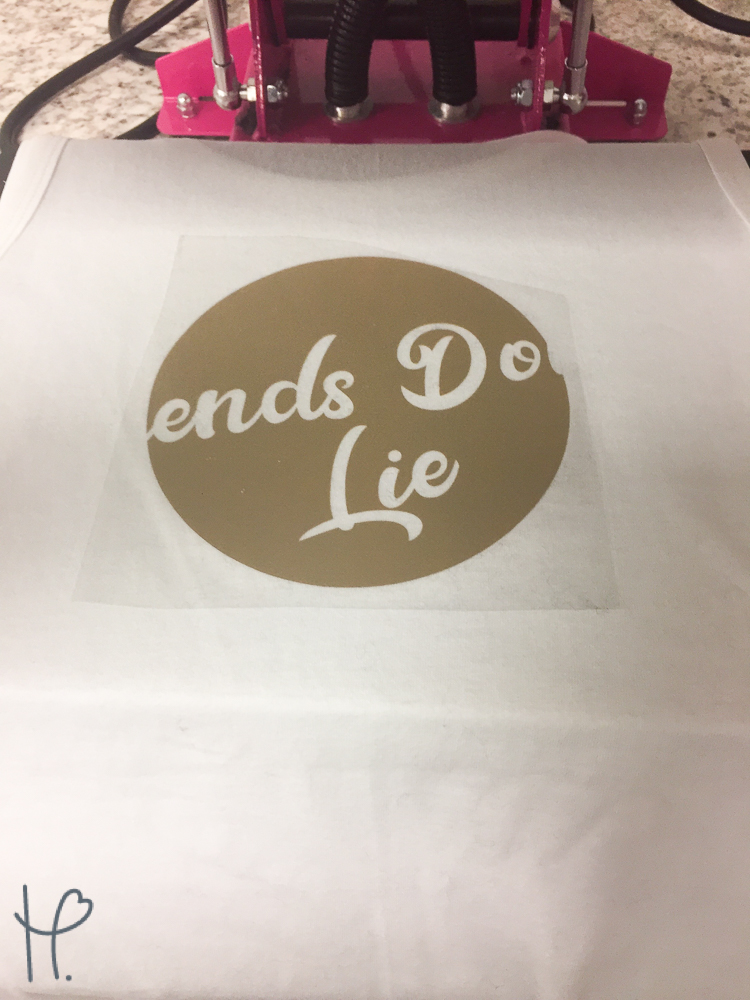
Then I carefully lined up the chocolate layer and pressed for the full 10 seconds. After peeling my design hot, I repeated these pressing steps for the back design.
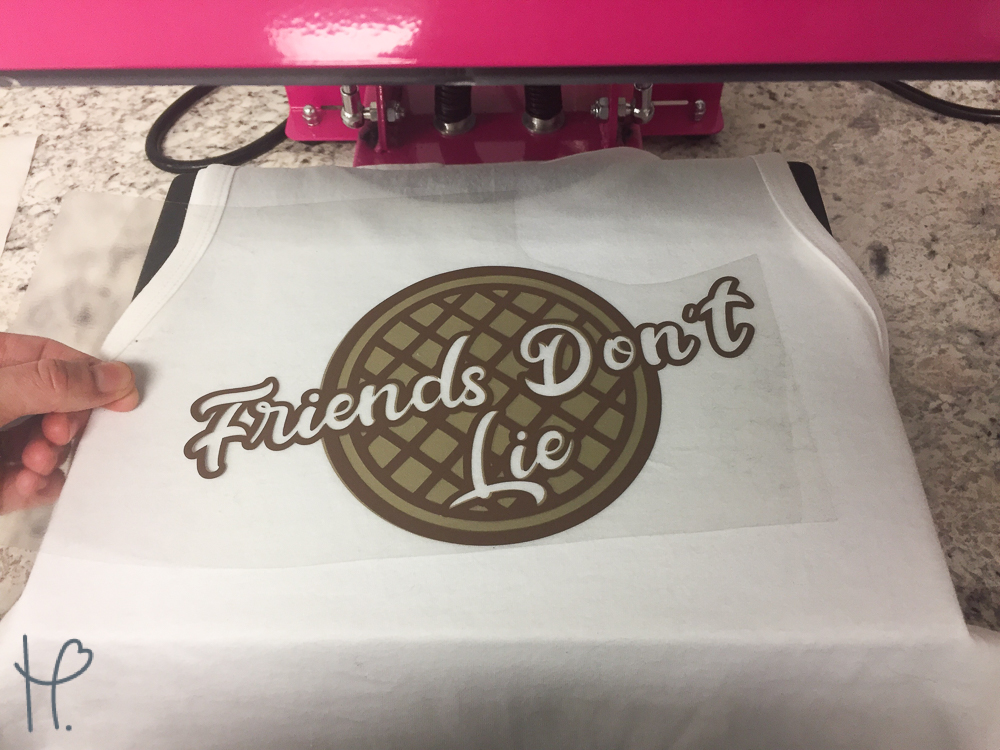
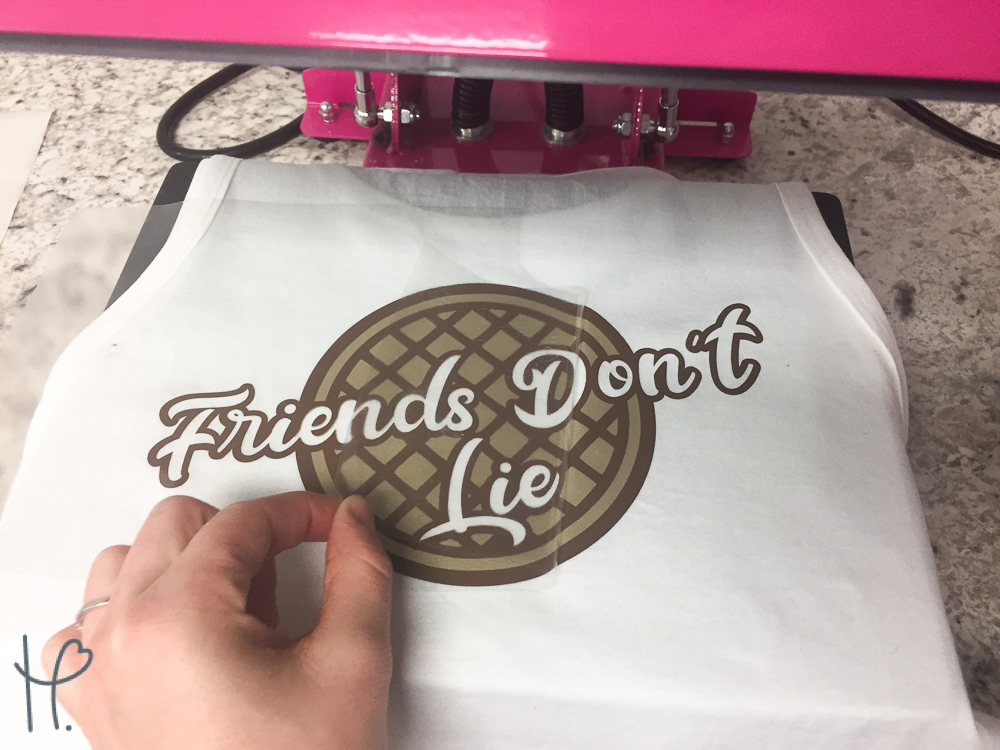
Even though this design seemed to take a lot more time than a simple layered design, I was really happy with the different look that I achieved with the knock out text option. I was happy to eliminate a layer of vinyl while pulling in the white on the shirt.
Make Your Own!
Want to make your own “Friends Don’t Lie” shirt? Download the cut file here!