


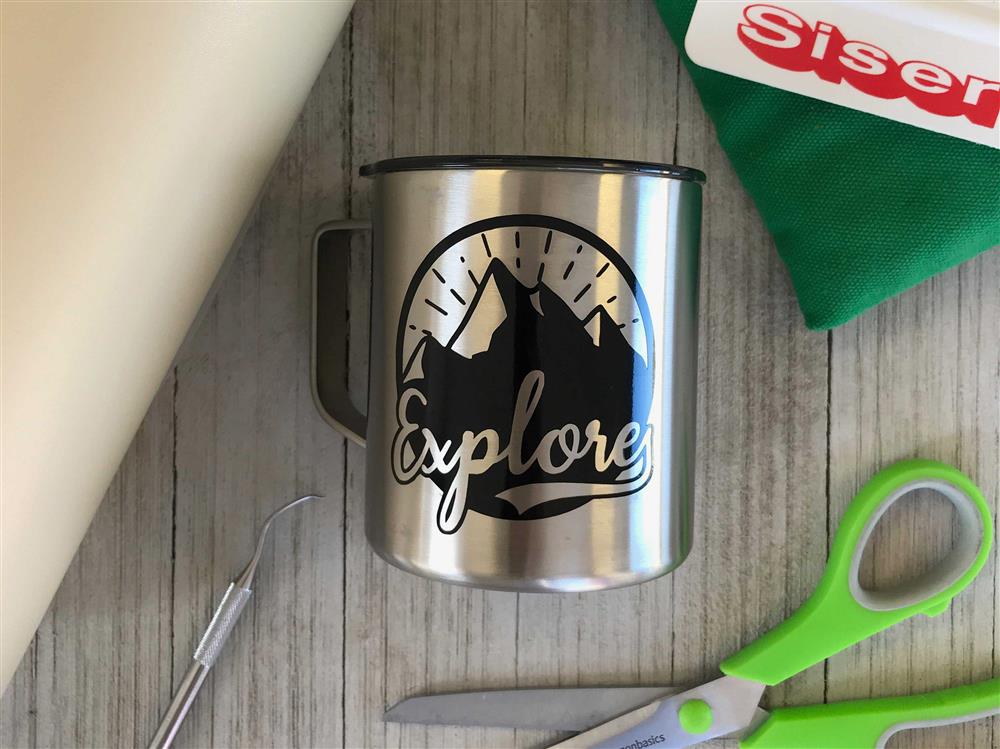
So many of our crafters start working with adhesive vinyl like OraCal or Siser® EasyPSV™ first to create things like car decals, labels for storage organizers, and tons of back to school inspired projects! These items generally have a flat smooth surface which is great for applying adhesive to. When you start to run into the rounded surfaces, like cups and tumblers we find that people start to panic. It is a little bit more of a challenge but with these tips and tricks, you will all be pros in no time!
Don't forget to grab the cut file we used for our project here!

Step 1: Clean Your Surface
With anything you are making, you will want to make sure your surface is clean first. You can use rubbing alcohol to wipe any residue off. Just make sure you wait for it to completely dry before applying vinyl to it.


Step 2: Create and Cut Your File
When you are in the design process, the main thing you will want to consider is the sizing: Here is why: You want to find a font or design that is not too thin but also not too thick! If it is super thin then you may have an issue with getting that area to stick. If it is too large your vinyl will be more likely to create air bubbles.
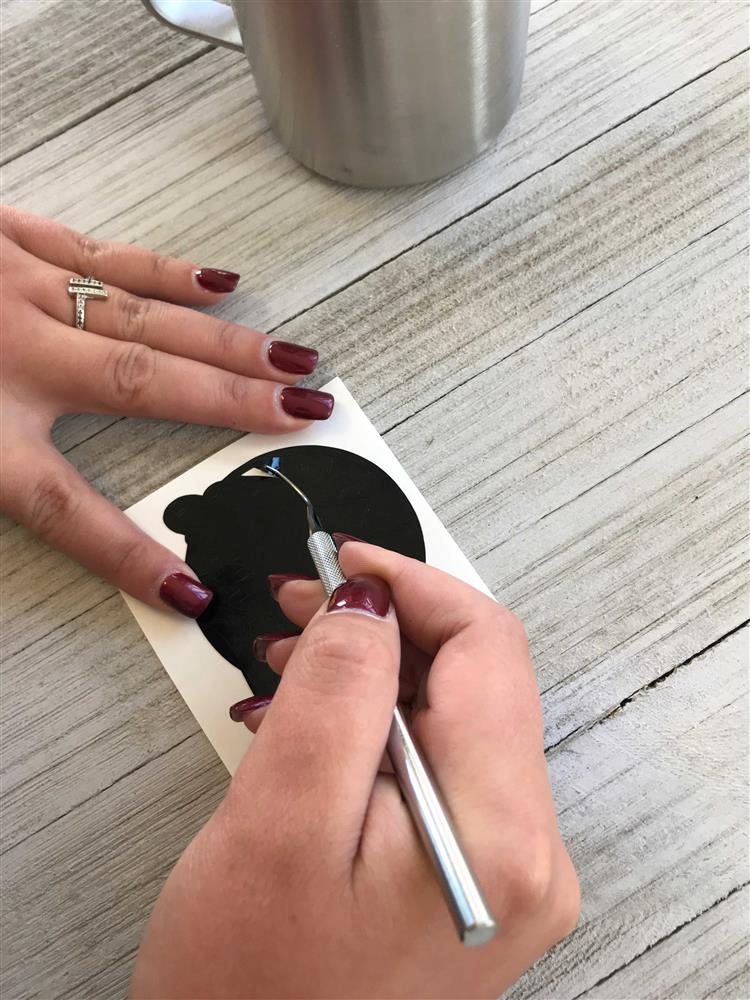
Once you have created your design in either Silhouette Studio or Cricut Design Space, you will want to cut your material. Be sure that you are using the recommended settings. If you cut your material too deep you will have a hard time getting the vinyl to peel away from the paper backing.

Step 3: Mask Your Design
It's important to choose the correct application tape for adhesive vinyl. Here are some tips:
Happy Crafters Clear Application Tape allows you to transfer even the most intricate designs such as monograms or lettering easily without losing your design when applying. This is considered a moderate tack that will be used for most of your projects.
Happy Crafters Paper Application Tape allows for easier "release" from your surface making it a better choice when applying to objects that are more sensitive. Most wood projects work nicer with paper tape, as well as the “water application” technique. This is a technique that allows you to adjust your design even after you place it on your surface. With a water solution, you can move up and down until you are happy with your placement.
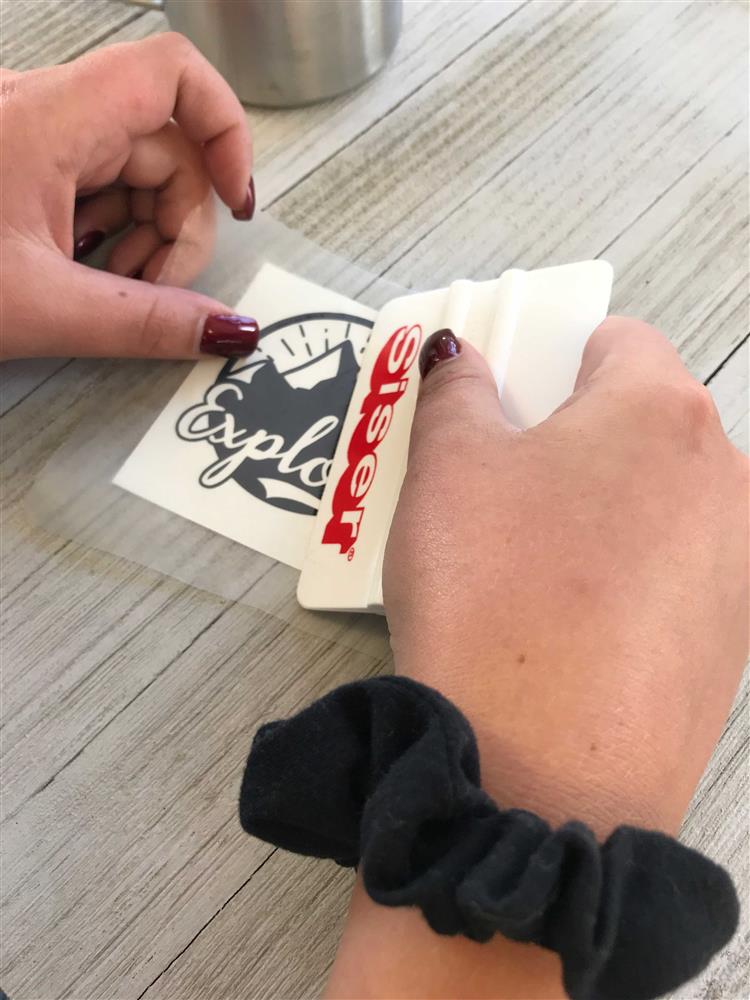
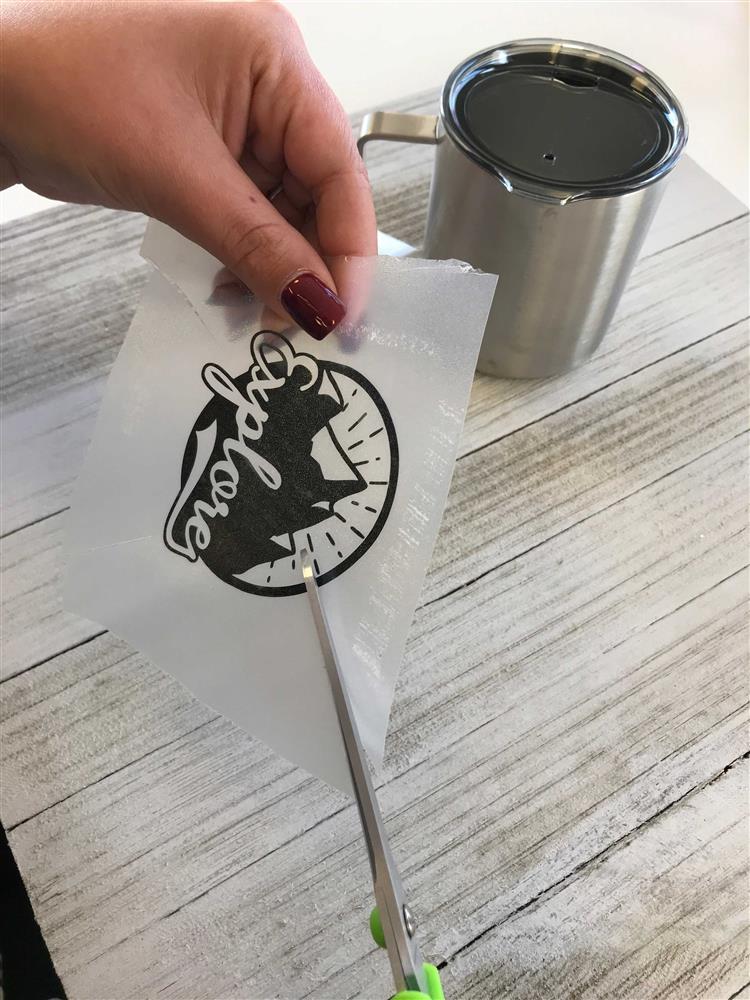
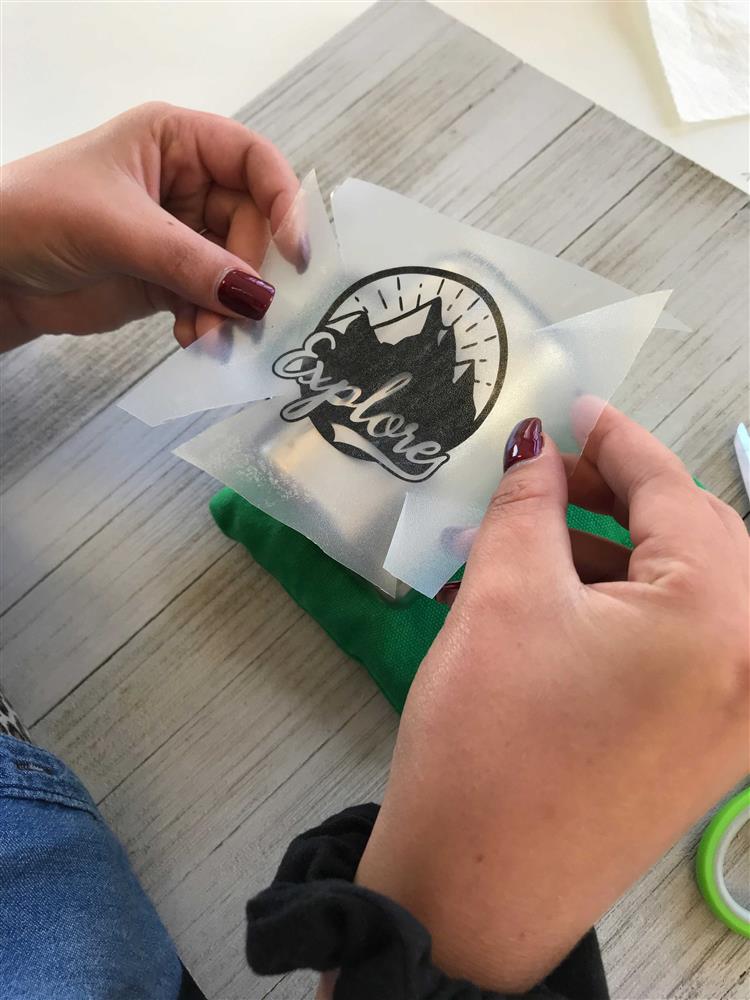
Now that you have weeded out your design it's’ time to place the tape on top! You will want to trim the tape pretty close to the outer edge of your design. This will make your application easier.
Depending on your design, you can make a few slits on the tape. This will allow you to place your design in sections so that you can control smaller areas. You can apply one section at a time to smooth out the surface.


Step 4: Apply Your Design
To keep your round object still, you can use a cornhole bag or a bag of rice. Pretty much anything that will mold to the shape of the surface is perfect!
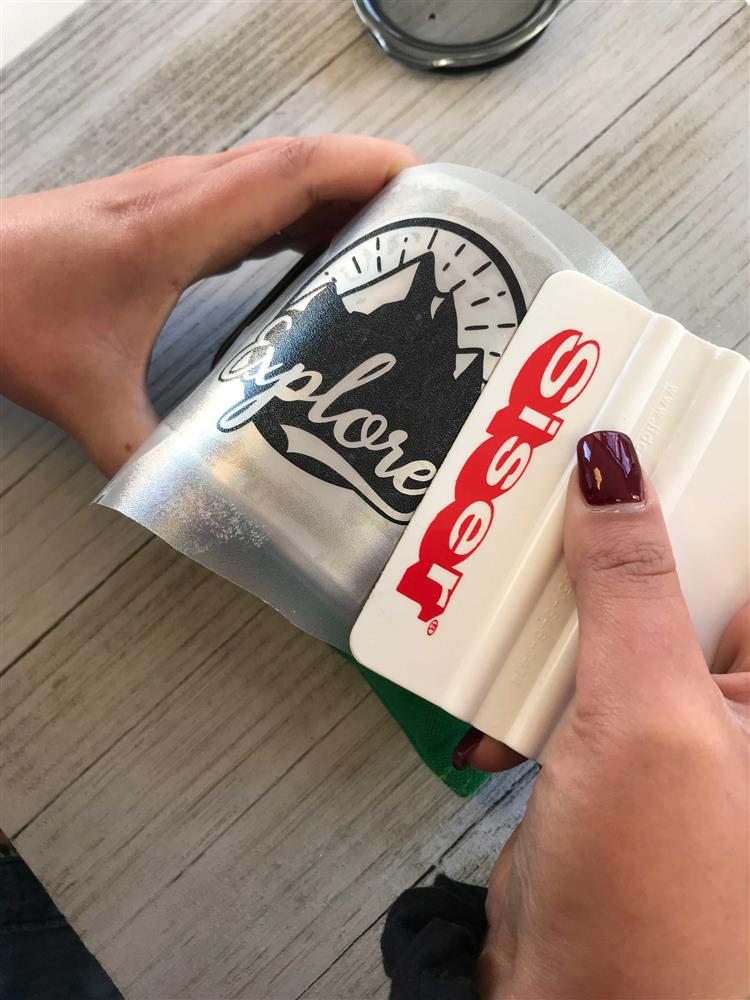
Use your scraper tool from the center to the outside to press any bubbles that may have appeared.
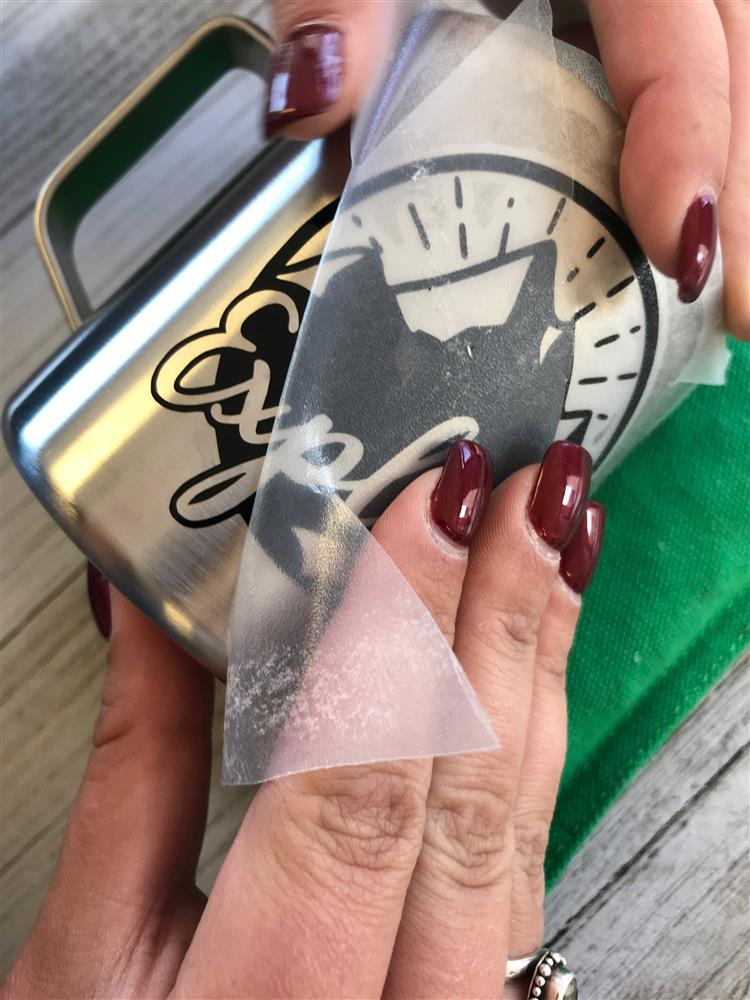
Once the design is completely adhered, gently roll back the tape onto itself from corner to corner to release your design to the surface.
If any bubbles are still visible you can take a little heat from a hairdryer and warm up the vinyl. After a few seconds, you can use your fingers, or the scraper tool to press again onto the vinyl to get the air out!
Adding just a few of these tips to your application process will help you get that perfect design! We would love to know which tip was the most helpful for you. Be sure to comment below or email us if you have any other questions.
As always, Happy Crafting!